A few months ago, I published a blog about the tools beginners can use to get started with sourdough. That blog gave lots of tips and tricks for getting started and how to get by without investing too much. Today I am writing about essentials you will need to get serious about your sourdough baking. Maybe you’ve made a few loaves and want to level up, or maybe you are new to sourdough but want to jump right in with the right gear. Whatever your skill level, these are the essential tools for creating timeless, artisan sourdough. You can also follow along with my favorite sourdough recipe to make a simple and delicious loaf: Super Simple Overnight Sourdough Bread Recipe.
A Few Words on Starter
An active starter is your greatest asset when baking sourdough. Be sure yours is active and bubbly to ensure maximum success. I wrote a blog about sourdough starter success a few months ago so be sure to check that out for more information.
Measuring Scale
I exclusively use an inexpensive kitchen scale for measuring. It is as easy as placing your bowl on the scale, zeroing out the scale, and adding ingredients as you watch the weight of the scale.
A large bowl
For resting your dough in when proving and fermenting. I have used many different ones but love natural croc and pottery. This one is beautiful and made in the United States.
A Banneton
A banneton is a traditional sourdough proving basket used to rest your bread in. I line mine with flour before adding bread to proof overnight.

A Baker
Finally, and most importantly, you will need something with a lid to bake in. I would recommend one of three options:
Deep cast iron pan with a lid
This deep cast iron with lid is a very great option for many people because cast irons are easy to come by and fairly inexpensive.
Dutch oven with lid
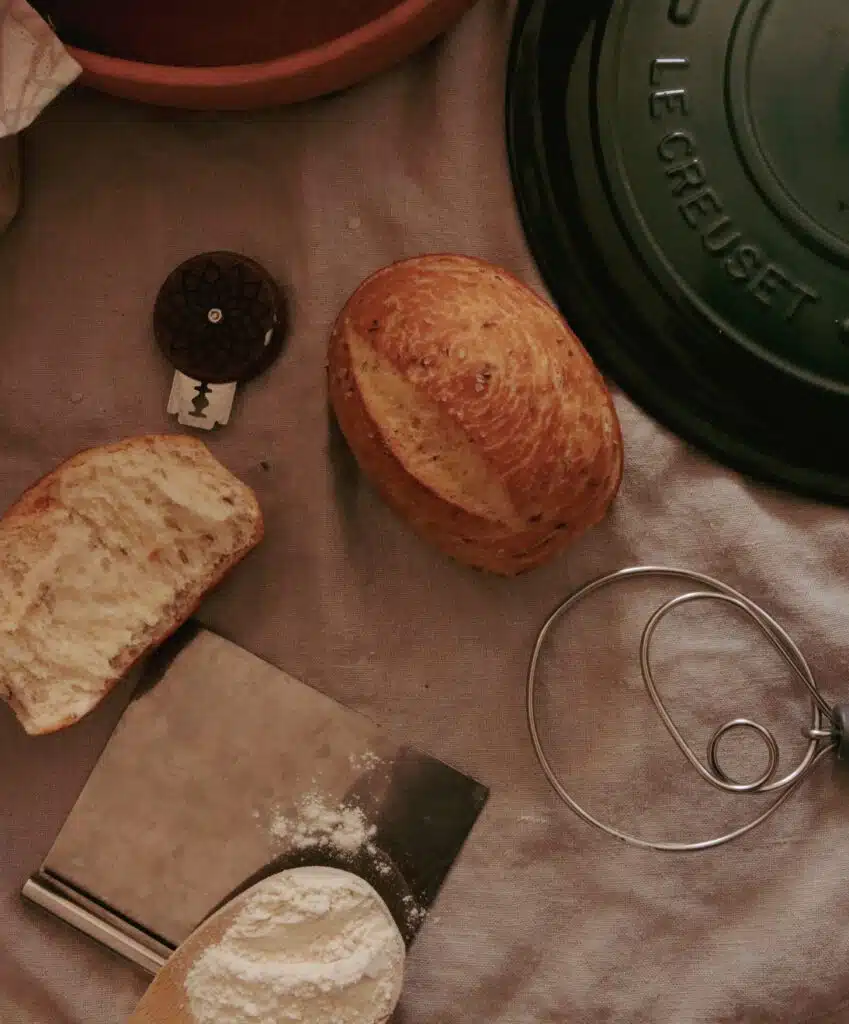
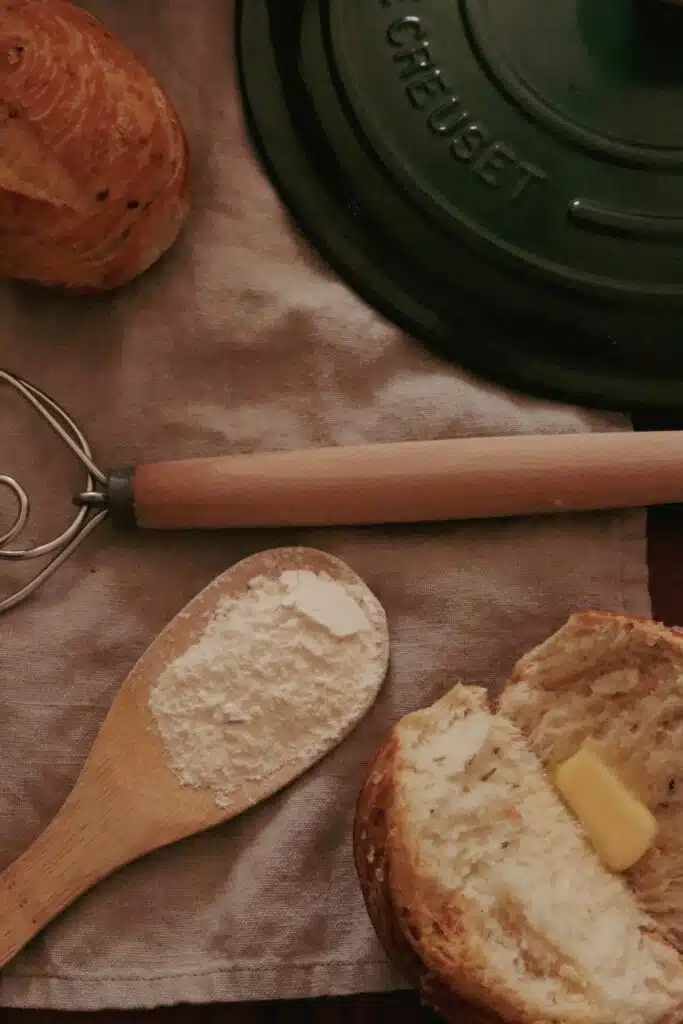
For my birthday this past year, my boyfriend gave me this incredible Le Cruset and I have been using it to bake sourdough ever since. I love how deep this pot is because I can bake some very large loaves in it! I also love that this pot can go between extreme temperatures without breaking.
Clay baker
This more traditional method is one of my favorites. A clay baker (with lid!) is a really beautiful addition to your kitchen and the price point is more accessible for someone just starting out with sourdough. I have two and absolutely love them, especially my oblong-shaped baker for longer loaves. One drawback of this kind of baker is that it is a one-trick pony; you cannot use it for anything but bread. If you have a small space, it might be worth the money to invest in the Le Cruset.
Linen Tea Towels:
I use damp tea towels to cover my bread as it ferments to retain moisture and heat.
A Bench scraper:
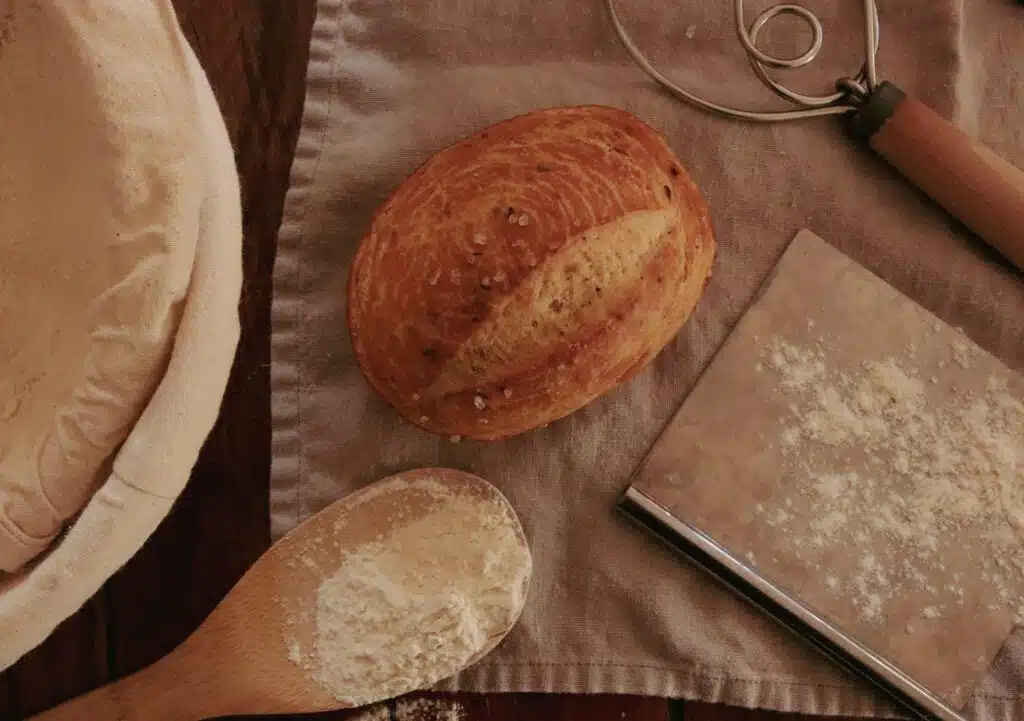
A bench scraper is essential to shaping your dough for the final bulk ferment. The scraper helps you to lift large portions of the dough without deflating all the precious gas you have been working so hard to build up.
A Lame:
A lame is the blade with which I score my dough. There are many kinds out there but I prefer this small wooden one without a handle because it gives me the most control of the blade when scoring.
A Dutch Dough Whisk:
This whisk, a thoughtful gift from my father, is one of the tools I never knew I needed. Before trying this whisk, I thought that struggling and fighting dough to mix was just a way of life. Enter: the dutch dough whisk. This wisk is incredible at incorporating all your ingredients without getting bogged down with large chunks of dough.

Other Ingredients:
Organic unbleached bread flour
Salt
Unfiltered water
This post may contain affiliate links, which means I make a small commission at no extra cost to you. You can view my Privacy Policy Here.
Leave a Reply