Making sourdough is both an art and a science. It requires knowledge, patience, and skill. That being said, anyone can begin with a few basic supplies and ingredients. This list of sourdough baking supplies covers the basics of what you will need to get started, not the fancy equipment you see in baking videos. That kind of equipment is wonderful and can sometimes make the process faster or easier (like a stand mixer), but isn’t necessary is you’re just starting out!
This post may contain affiliate links, which means I make a small commission at no extra cost to you. You can view my Privacy Policy Here.
Sourdough Baking Supplies:
Before you preheat your oven, you will need to gather a couple of things to begin. There are many additional sourdough baking supplies for when you’re ready for all the bells and whistles (I’ll do another post later on my recommendations), but here is a list of the absolute basics you will need to get started:
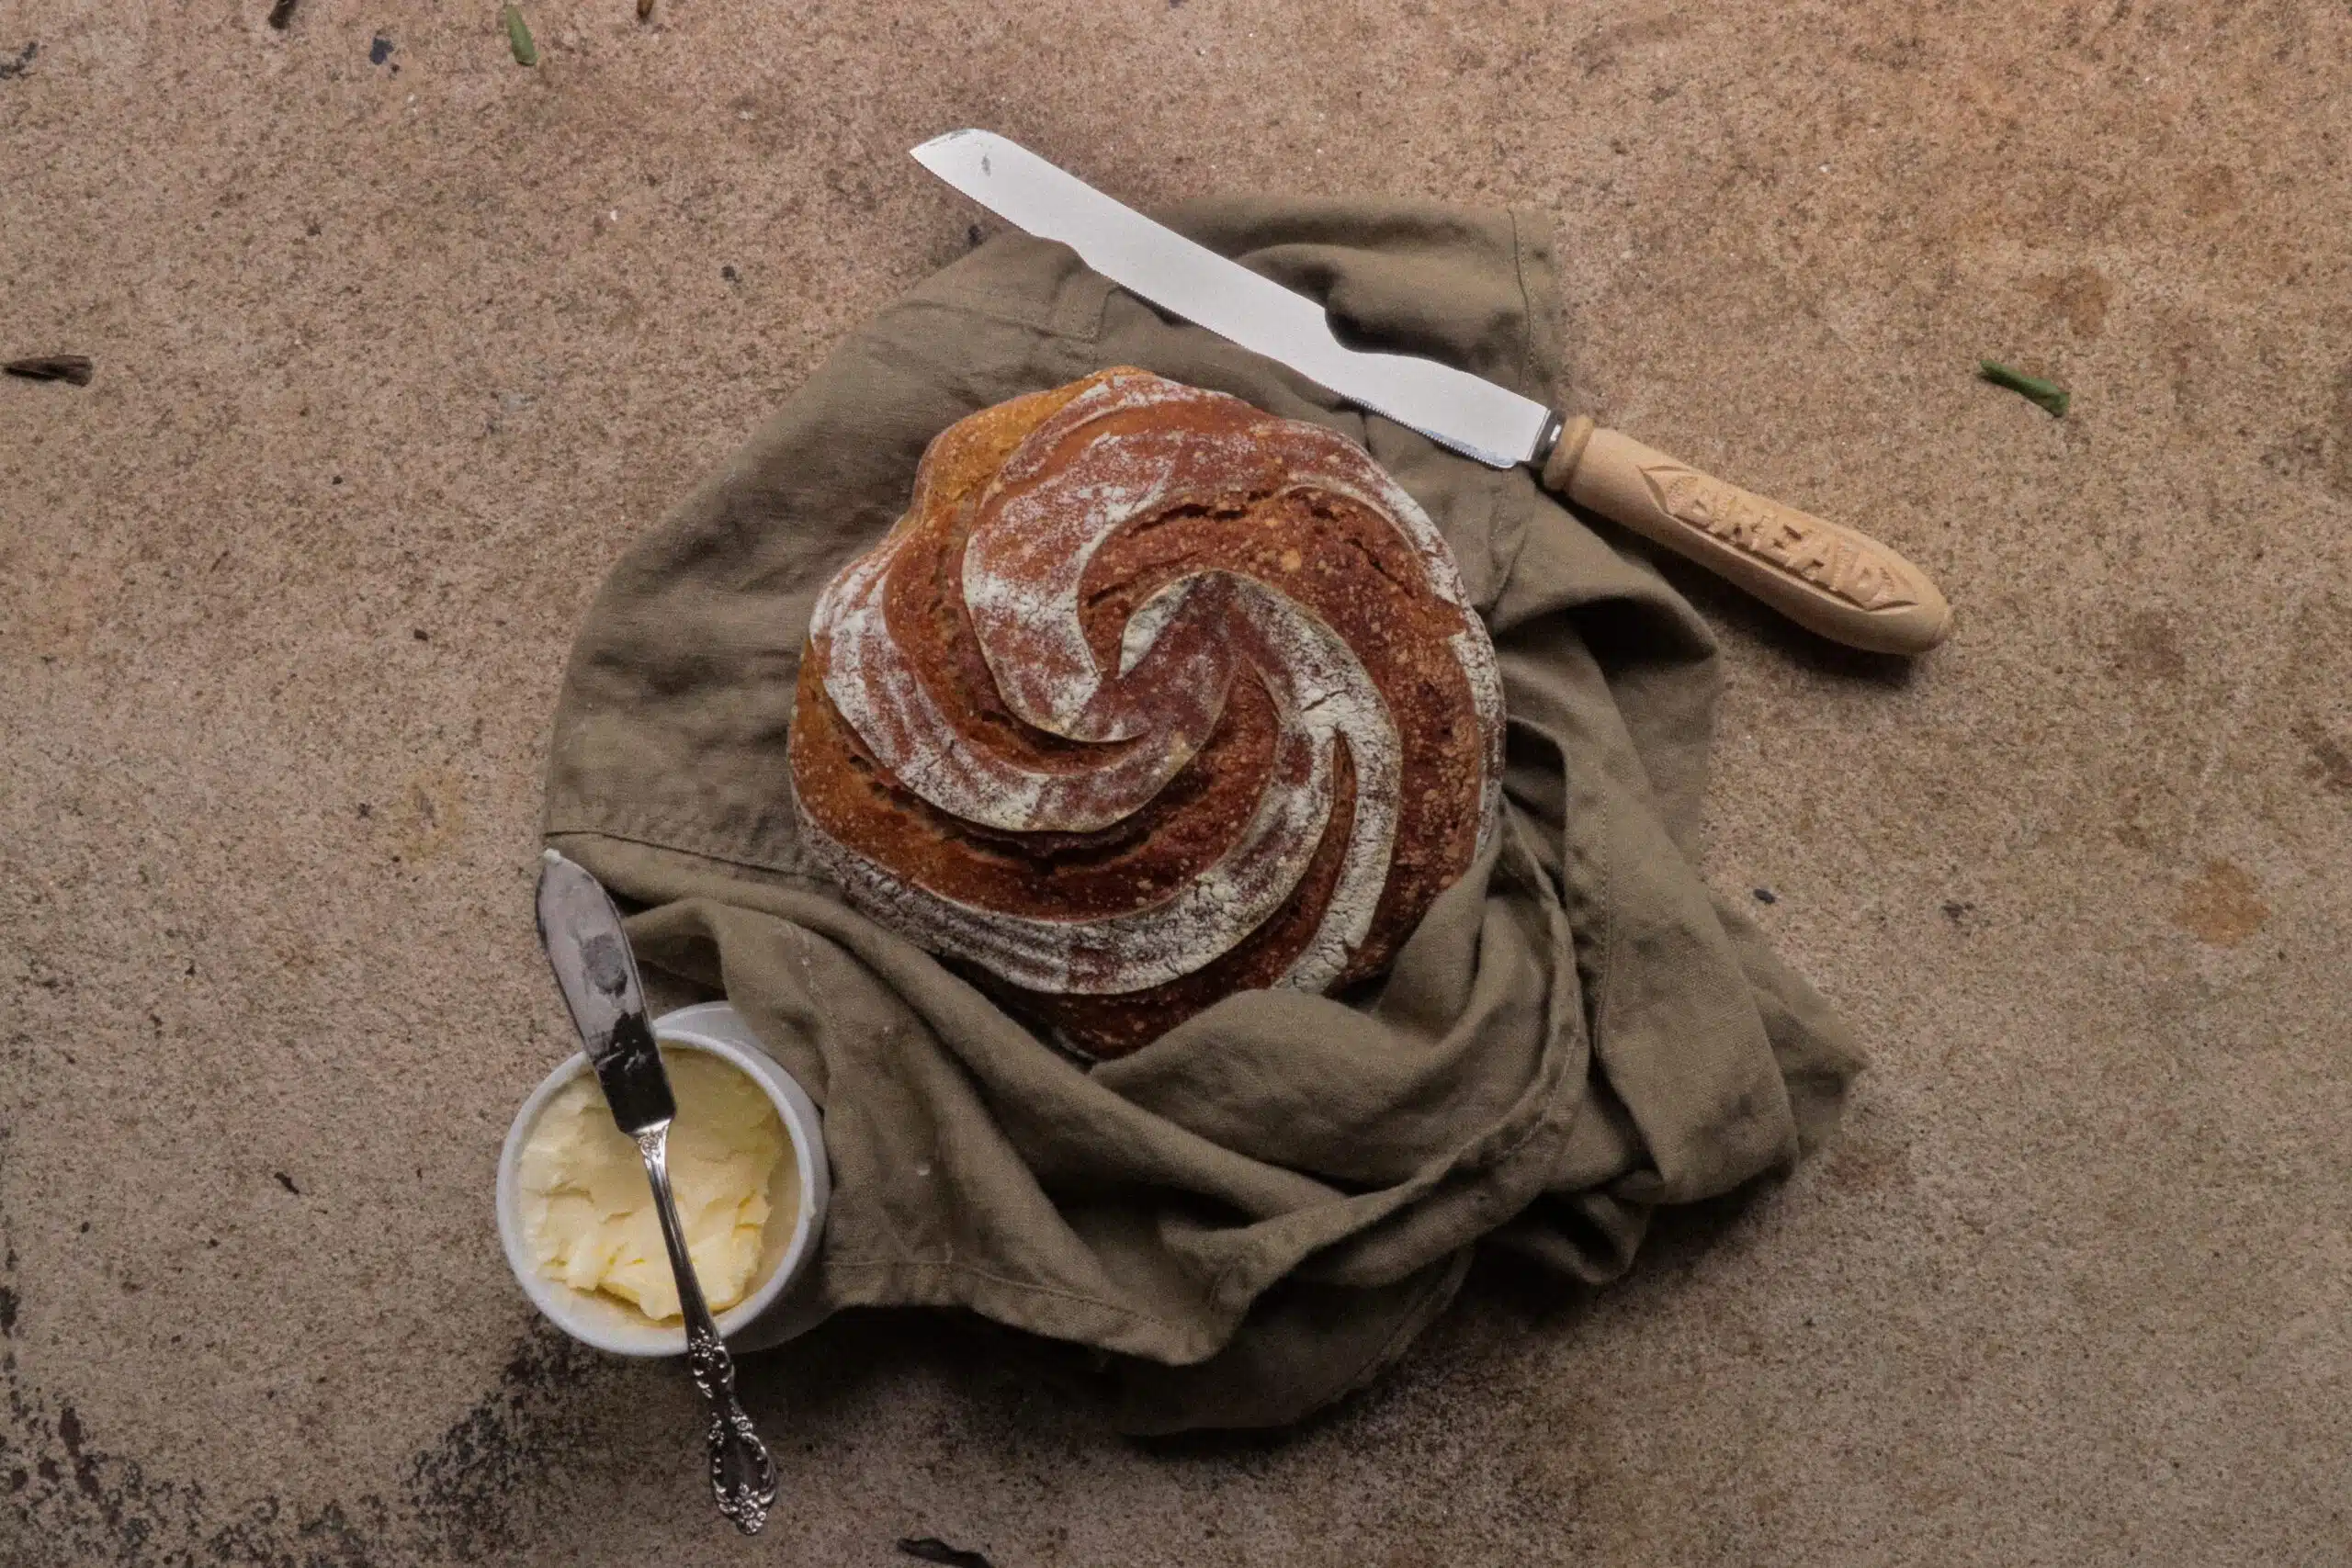
Bread Lame
~to score your dough. This is the one I use and love!
Measuring Tools
An inexpensive kitchen scale is a non-negotiable for sourdough.
A Large Fermentation crock of bowl with lid
I use a fermentation crock or a kitchen aid bowl with lid for resting dough when proving and fermenting
A Banneton Basket
A banneton basket is a traditional sourdough proving basket used to rest your bread in. When you’re just getting started, you can use a flour lined tea towel in a bowl as an alternative.
A Baker
Finally, and most importantly, you will need something with a lid to bake in. I would recommend one of three options:
- Cast Iron deep Skillet with Lid
- This is a very accessible option for most people because cast irons are common and fairly inexpensive.
- Enamel Cast Iron Dutch Oven
- This is my favorite method for baking sourdough! A dutch oven is also a versatile pot to have in your kitchen for soups, stews, roasts, and more.
- Cloche Bread Baker
- This was my first baker before I leveled up to my Le Creuset and I absolutely loved it! These range in price, but are usually less than $50. The one downside of this baker is that it is not a versatile tool. Unlike the previous two options, a clay baker can only be used for bread in your kitchen. If you are running low on space or do not want to commit to homemade bread yet, I would start with a baker that can serve other purposes in your kitchen as well.
That being said, I’ve used all three of these methods and love each, so it comes down to which is already in your kitchen and how much money you want to spend.
Ingredients for baking sourdough
Because we use so few ingredients when making sourdough, the quality of those ingredients matter greatly when it comes to the flavor and nutrition of the bread.
Organic, Unbleached Bread Flour
I always buy bread flour that is unbleached and has not been sprayed with any pesticides (organic) or I mill my own.
Filtered Water
Never use unfiltered water when making sourdough as it can interfere with the fermentation process. The British Berkefeld is my favorite water filter because it is third party certified, uses natural ceramic filters, and filters out heavy metals, fluoride, pharmaceuticals, and more.
Salt
I always use natural mineral salt.
Starter
An active, healthy starter is the most essential of the sourdough baking supplies. This is the foundation of your bread and must be taken care of to see excellent results. The rumors are true, a starter is alive and will need regular tending, similar to a pet fish!
How to find a sourdough starter:
- Make your own
- You can actually harvest naturally occurring bacteria by mixing flour and water over the course of many days. (will insert a link of how to do it here) This will take about a week and will require some patience and attention, but is a great option if you want something free and are willing to wait.
- Grab one from your local bakery
- This is how I found mine. Usually, local bakeries will share a small amount of starter for free if you ask them (and maybe also politely purchase a coffee or pastry to go with it).
- Buy one
- There are dehydrated starters available online in many places, follow the instructions for a bubbling starter in no time.
Leave a Reply