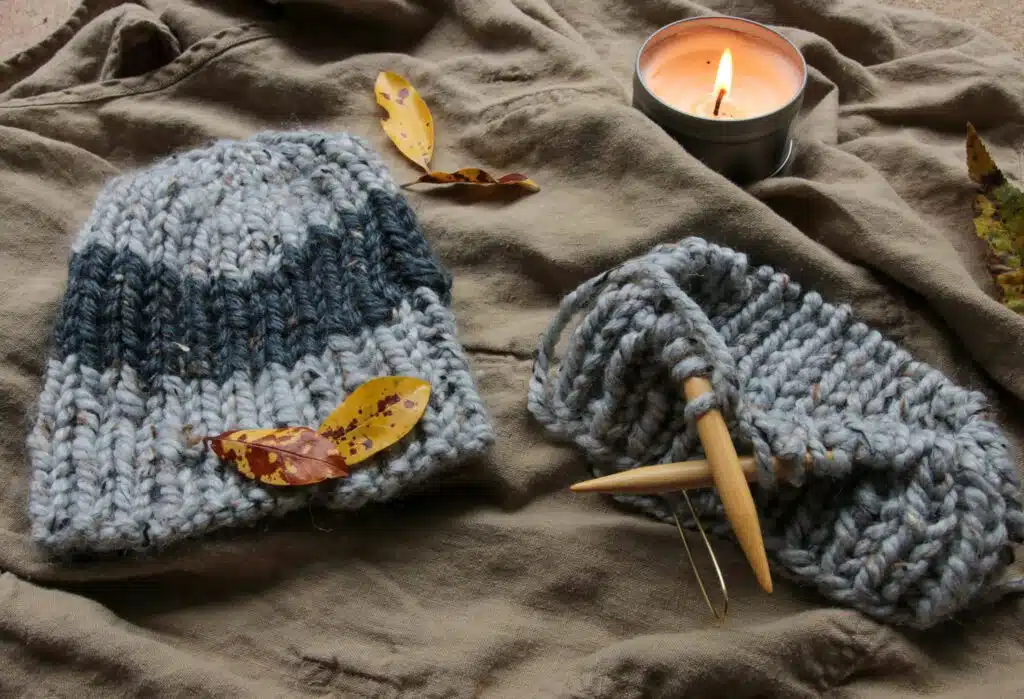
For years I have been looking for a knitting pattern to create a simple and masculine hat. As much as I have searched, there are just not as many knitting patterns for a classic men’s beanie. Once I discovered the fisherman’s hat ribbing, I knew I needed to experiment and create something different. This Fisherman’s beanie knitting pattern is perfect for beginners who want to create a quick and easy hat.
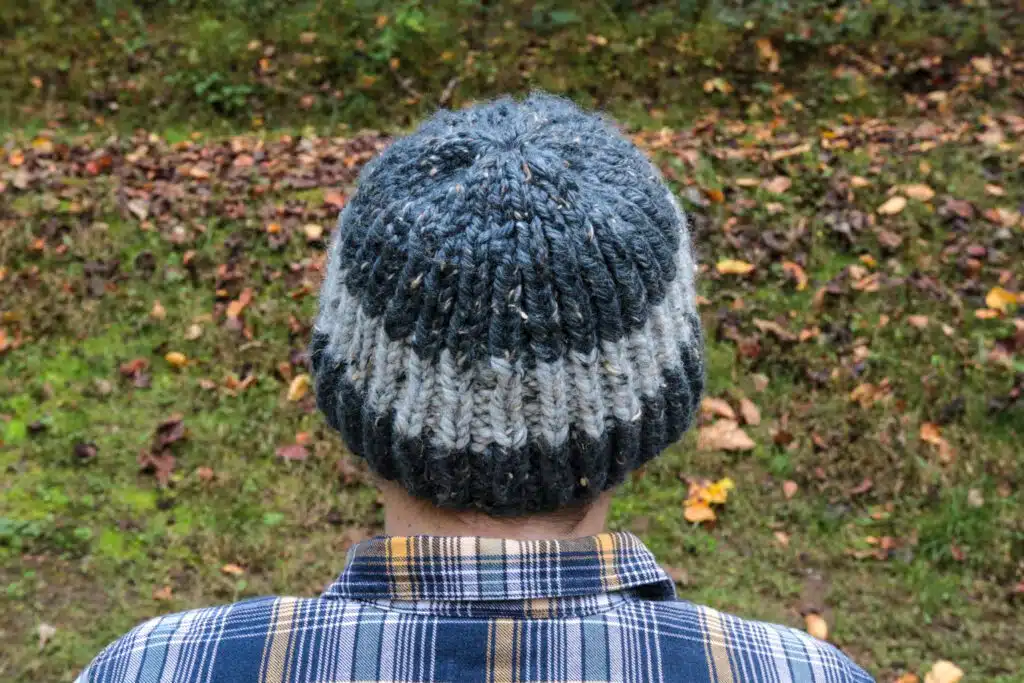
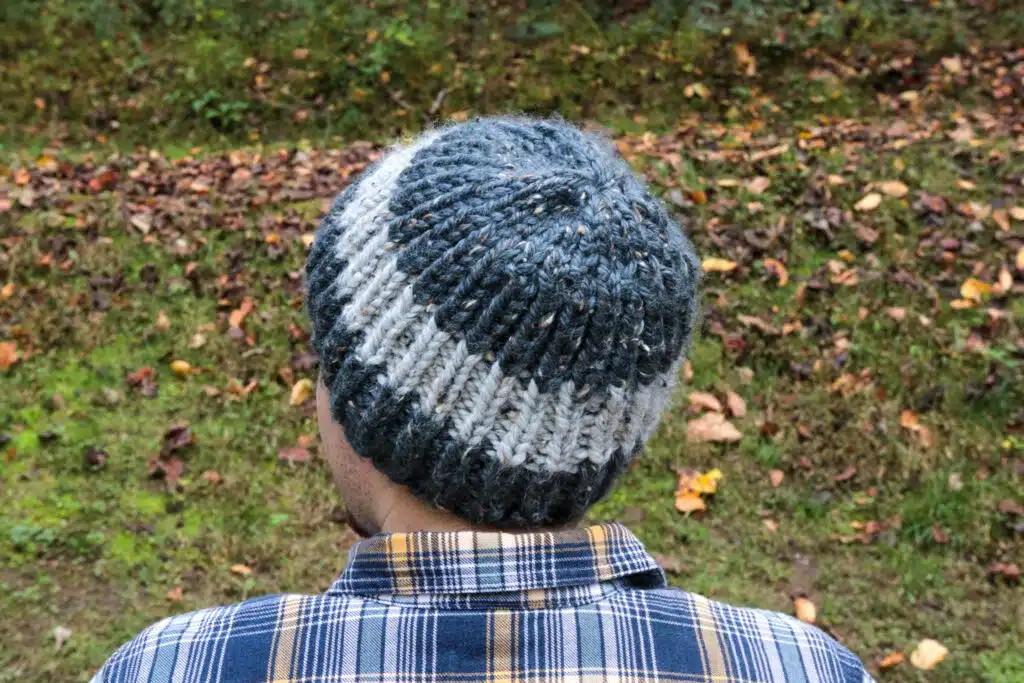
These hats make the best gifts for guys (they can also be more feminine depending on what colors you use, but I think the simple fisherman’s ribbing is perfect for a no-frill men’s hat). My father, who loves anything handmade, wears his while hunting and fishing in the elements. I also knitted one for my boyfriend (who kindly modeled for the photos below). He can be found sporting this fisherman’s beanie beside fall campfires and on chilly winter walks. If you enjoy this pattern, you can also follow my pattern to knit a matching fisherman’s cowl.
Color Blocking:
You do not have to incorporate multiple colors, but I found it to be a simple way to make the hat very unique and cool. I did this by deciding what colors looked nice together and choosing how wide I wanted the layers to be. I usually wait until my first color (the one I cast on with) is knitted to create a few inches of hat before switching to a new color. For the hats pictured, I used one color as the main color and another color as an accent to create the stripe. This is a great way to use up random leftover yarn for the accent stripe.
Hat sizing:
I have a fairly small head and 48 cast-on stitches is great for me, but for someone with a larger head, you might want to try 54 or 56. Remember that yarn does stretch out over time so you might want to make something slightly smaller than you think you need to.
Glossary of Abbreviations:
- ST(s) = stitch(es)
- CO = cast on
- K = Knit
- P = Purl
- K1B = Knit one through the back loop
- SL1, K2TOG, PSSO, = slip 1 stitch purl-wise, knit 2 together, then pass the slipped stitch over as if casting off. (Decrease)
Supplies:
Around 90 yards of super bulky (weight 6) yarn: My favorite is the Thick and Quick from Lion’s Brand. It’s so soft and comes in all the colors.
Needles: US 15/ 10mm 16″ circular knitting needles
Fisherman’s Beanie Knitting Pattern
CO 48 sts in the round and join. Place a stitch marker to identify the beginning of the round.
Round 1: K1 P1 repeat until you reach the end of the round
Round 2: K1 P1, being sure that each stitch aligns with the same kind of stitch beneath it from round 1. For example, if you are doing a knit stitch, it will align with the knit stitch below it from the previous round. repeat until you reach the end of the round
Repeat this pattern until your hat is the correct size and ready to decrease
Decrease rounds:
Round 1: *(Sl1, K2Tog, PSSO), P1, K1b, P1, K1b, P1; Rep from * to end of round.
Round 2: *K1, P1; Repeat from * to end of round.
Round 3: *(Sl1, K2Tog, PSSO), P1, K1b, P1; Rep from * to end of round.
Round 4: *K1, P1; Repeat from * to end of round.
Round 5: *(Sl1, K2Tog, PSSO), P1; Rep from * to end of round.
Round 6: *K1, P1; Repeat from * to end of round.
Finishing:
Cut yarn, leaving a long tail. Thread the tail through the remaining stitches and pull tightly through the inside of the hat. Reverse the hat, you will see that the tail is now extending from the top of the inside of the hat. Pull tight and tie off. Weave through stitches until secure and tied off several times. Cut the remaining tail. Enjoy your fisherman’s beanie!
This cap is so simple and beautiful, you can easily complete it in a few hours if you knit straight though. Please let me know in the comments if you try this pattern and if you have any questions.
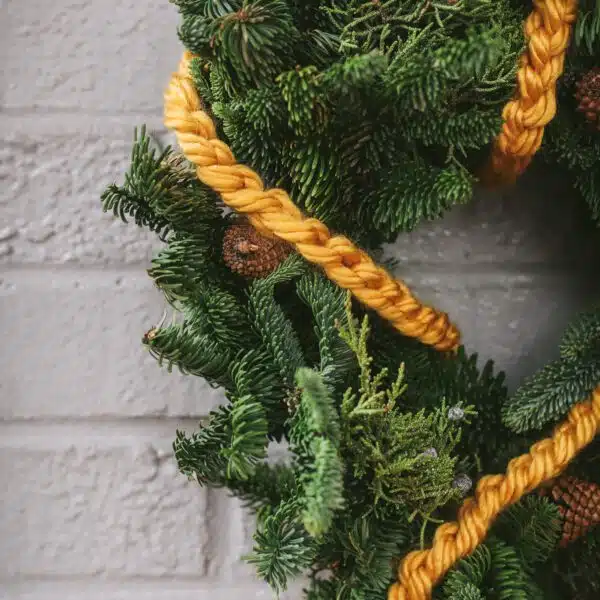
Crochet Garland Christmas Decor
I don’t want anyone to get the wrong idea here, I am not an expert at crochet. I actually just started learning a few months ago. My progress has been relatively slow (as I have so many knitting projects going) but I’ve been slowly plugging away at it. When I first started learning crochet, the…
Fisherman’s Cowl Knitting Pattern
A quick and simple knitting pattern for a masculine fisherman’s cowl. This project comes together in less than 2 hours and is great for beginners.

Braided Crown Knitted Headband Pattern
A free beginner knitting pattern for a braided crown headband. This pattern takes less than 2 hours and makes a perfect Christmas gift!
Hi, I am getting a little confused with the decrease rounds. Is it K1B (knit one BELOW) or k1tbl (knit one through the back, as written in the description)? Also, when slipping one purlwise, is the yarn held in front or in the back of the row? Thanks
Hey meg, K1b means knit one through the back loop 🙂 all my patterns have abbreviation glossaries that explain what everything means, this one is right before the pattern.
Hope this helps!
xo,
R
I am doing the cast on 48 stitches. What is the hat length before cast off, it’s not written anywhere.
Thanks
It really depends on how long you like your hat to be. I have made this hat to be a tight beanie or I have made it long enough that the end can be folded over to make a cuff. I would try it on and see how long you like it!
xo,
Regina