Everyone is experiencing a bit of sticker shock right now at the grocery store. Handmade, organic, artisan products, like sourdough bread or local jams and jellies, are becoming even more costly this year. In 2021 I made it my goal to not purchase any bread from the store when I could easily bake it myself. This challenge helped to cut down on my grocery bill and also forced me to get creative when I was craving carbs. Another thing that has become incredibly expensive is raw cultured butter, costing as much as $8-10 dollars for a small block! I love organic, grass-fed, cultured butter as much as the next gal, but I can’t justify paying so much for it when it can be easily made at home. That is why this year, I am transitioning to making butter at home instead of buying it from the store.
Back in the spring I did some experimenting with making raw cultured butter and found a few different ways to make it and tips to make the process easier.
I want to encourage you to thoroughly read through this entire blog as making raw butter is not just about following a recipe. Culturing and churning your own butter involves some background knowledge that I like to call “butter theory”. Learning butter theory will help you to troubleshoot some of the issues you might encounter and avoid other common mistakes.
Butter Theory
Do I have to use raw milk?
Yes, you will need to use raw (neither pasteurized nor homogenized) milk to make this kind of butter. If you want to learn about raw milk and why it is so healthy for you, read this blog.
Did you know that most heavy creams you can buy from the store have more ingredients than just cream? In addition to pasteurization (which is poor for making quality butter), many store-bought heavy cream products will have at least one of the following additives:
- Carrageenan, which inflames the gut
- Guar and Gellan gums, which also inflames the gut
- Mono and Diglycerides, has trans fats
- Polysorbate 80, which is a hormone disruptor and inflames the gut
Not only are these additives bad for your health but they are also not conducive to making quality butter.
Separating the cream from the milk
Separation is natural! When you buy raw milk the cream will naturally separate and rest on top of the milk unless you shake or stir it. You will need to remove this cream from the milk in order to make butter. I’ve found the best way to do this is by placing a wide-mouth jar of your raw milk in the refrigerator for 12-24 hours or until you can easily see a cream line about three-fourths of the way up from the bottom of the jar. Once you see a distinct cream line, use a ladle to gently transfer the cream to a new jar. By ladling gently and slowly you can avoid accidentally adding milk to your cream jar.

Do not over or under-mix your butter
Be careful to watch your cream as it approaches the butter point! You will notice the butter fat (which will be more yellow) pulling away from the buttermilk (which will appear thin and white). As soon as you reach this point, stop mixing!
Avoid using too much cream
You can avoid using too much cream by only filling your mixing container halfway full. This will give your cream plenty of room to “slosh” which is essential to becoming butter.
Temperature matters
The temperature of your cream makes a big difference in how quickly your butter churns. Cream will churn best at 60-65 degrees fahrenheit. If your cream is warm it will be too soft and if it is too cold, it will take far too long to churn. I prefer to place my cream in the fridge after culturing and then set it out to allow it to come up slightly in temperature before churning. Don’t worry, I will discuss more about this part of the process below.
What are the benefits of using cultured cream?
Cultured butter has far more live enzymes than sweet cream (or uncultured butter). This results in a healthier product. Additionally, cultured cream is easier to churn into a more consistent butter. I know it might seem like more work but it only takes a little bit of passive time to culture cream, and the result is so worth it! Most importantly, raw cultured butter tastes so much better than “sweet cream” and you need to give it a try to find out.
How to culture raw cream
There are three main ways to culture your cream before it becomes butter:
- Add a tablespoon or two of buttermilk to your raw cream and allow it to rest at room temperature for 4-6 hours or until it smells fragrant and cultured.
- Add a tablespoon or two of raw milk kefir to your raw cream and allow it to rest at room temperature for 4-6 hours.
- Place your raw cream in a dark place at room temperature for about 24 hours or until it begins to culture, smells fragrant and slightly sour.
I prefer the last option because it results in a more gentle, less intense cultured flavor and is entirely hands-off!
Four ways to churn butter
In a jar
This is the most simple and cost-effective method because all it requires is a wide-mouth jar that seals really well. Fill the jar halfway full with cultured cream and shake until your butter separates from the buttermilk. This stage will be fairly obvious as you will see small yellow chunks of butter floating in a more thin milk liquid.
In a blender
This method is also great and is much easier than shaking a jar. Fill your blender no more than halfway full with cultured cream and blend until the butter separates from the buttermilk.
In a stand mixer
Fill the bowl of the stand mixer no more than halfway full and blend until the butter separates from the buttermilk.
Old Fashioned or electric butter churn
If you own one of these, you probably already know what to do!

How to use homemade buttermilk
Buttermilk is the natural byproduct of making butter. You can use homemade buttermilk in all kinds of baking and cooking recipes as you would normally use store-bought buttermilk.
Washing your Butter
One of the most important steps after making butter is to wash it very thoroughly. This step is essential because if there is still some liquid buttermilk in your butter, it will spoil much more quickly. The best way to avoid this is to wash it before salting and storing.
How to wash your butter
- Once your butterfat separates from the buttermilk, reserve the buttermilk and place the butter in a bowl of cold water. I like to use cold water because it keeps the butter from melting when I use my hands to knead it.
- Knead your butter with your hands or with a wooden spoon or butter paddle.
- The water will become cloudy with whatever excess buttermilk was in the butter. Dump out the water and fill the bowl once more.
- Repeat the kneading process until your bowl of water is clear.
Salting your butter
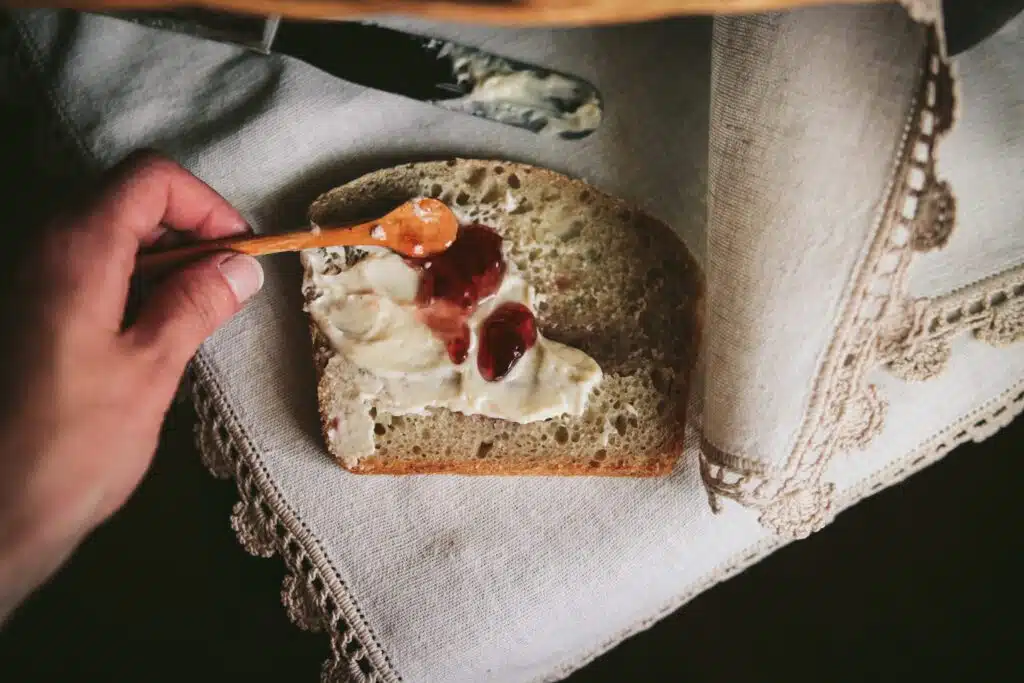
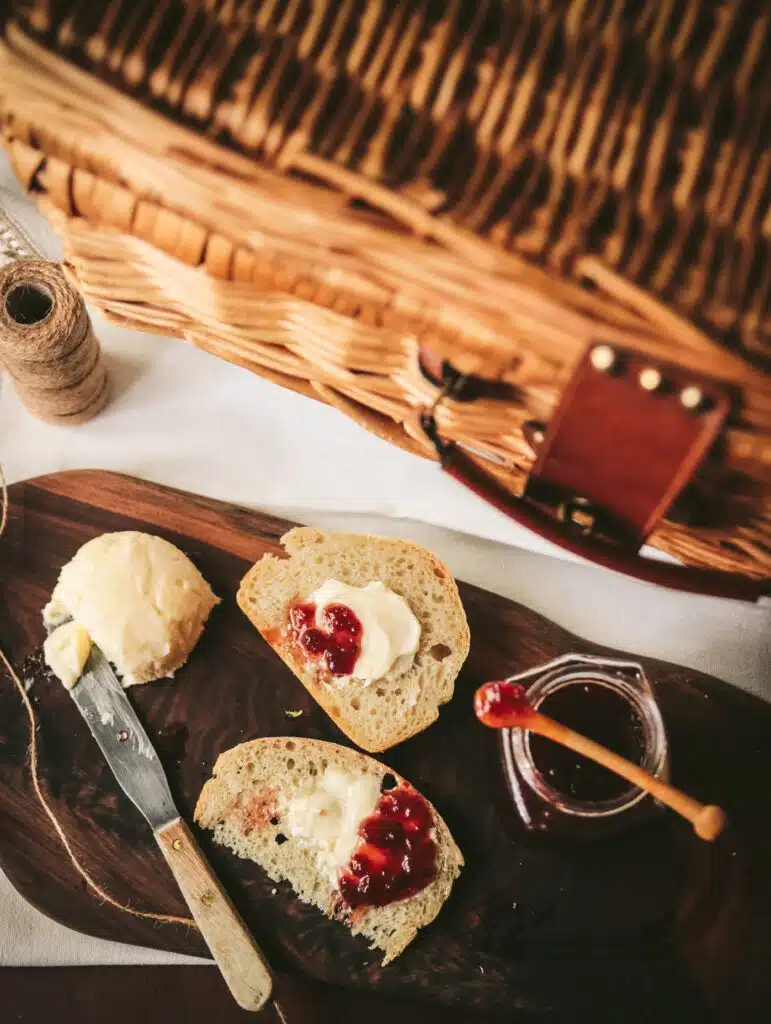
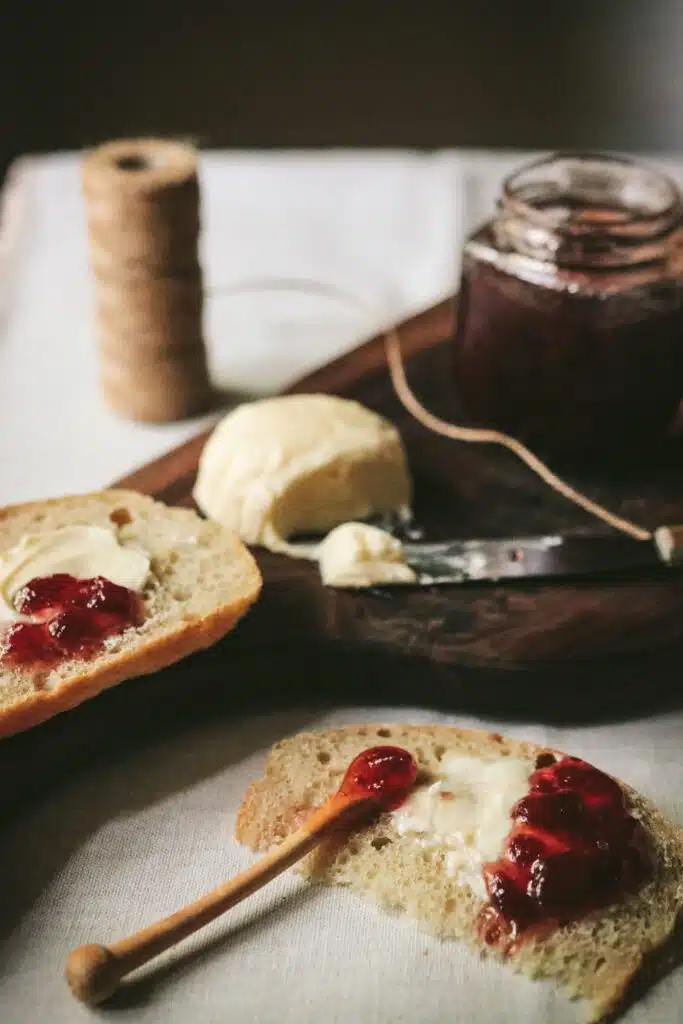
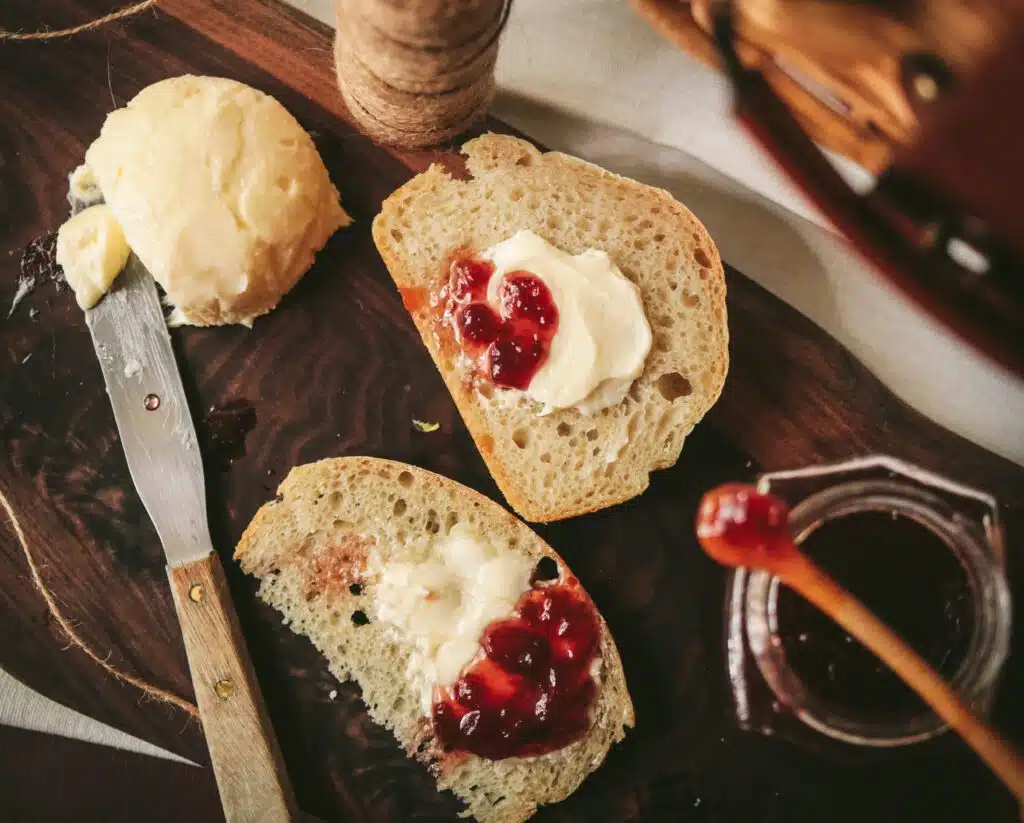
You do not have to salt your butter. Salted butter will last longer and have more flavor, but unsalted butter is more versatile for cooking and baking. Ultimately it comes down to personal preference! I love to salt mine because I like to spread homemade butter on sourdough toast, corn on the cob, or steamed veggies. If I plan to bake with my butter, I will leave it unsalted.
How much salt to add to your butter
Depending on how much butter you’ve made and how salty you like it, the ratio of salt to butter will vary. I like to add a pinch of salt at a time, mix with my butter, and taste until I like the flavor. Keep in mind: most store-bought unsalted butters are salted ¼ tsp to ½ cup of butter.
Storing Raw Cultured Butter
- Homemade butter can be stored at room temperature for a few days
- In the fridge, be sure to wrap or seal your butter in an airtight method. It can be stored this way for 1-2 weeks. I like to wrap butter in parchment paper or store it in a glass jar.
- You can also place sealed butter in the freezer for up to a year.
Keep in mind that store-bought butter lasts much longer in the fridge than homemade butter. This is because it is made with preservatives and added water.

How to make Raw Cultured Butter
Order of operations
- Skim the cream from the milk and set aside
- Culture your cream using one of the three culturing methods:
- adding buttermilk
- adding milk kefir
- setting it out on the counter for a day
- Mix your cultured cream until it separates into two consistencies: buttermilk and butterfat
- Reserve the buttermilk for baking and cooking!
- Wash your butter in cold water until the water runs clear
- Salt your butter if desired
- Store for future use
And there you have it! You understand butter theory and are ready to start mixing your own butter. Making butter is such a fun and rewarding process that anyone can enjoy with a little knowledge and patience. Happy churning!
Leave a Reply