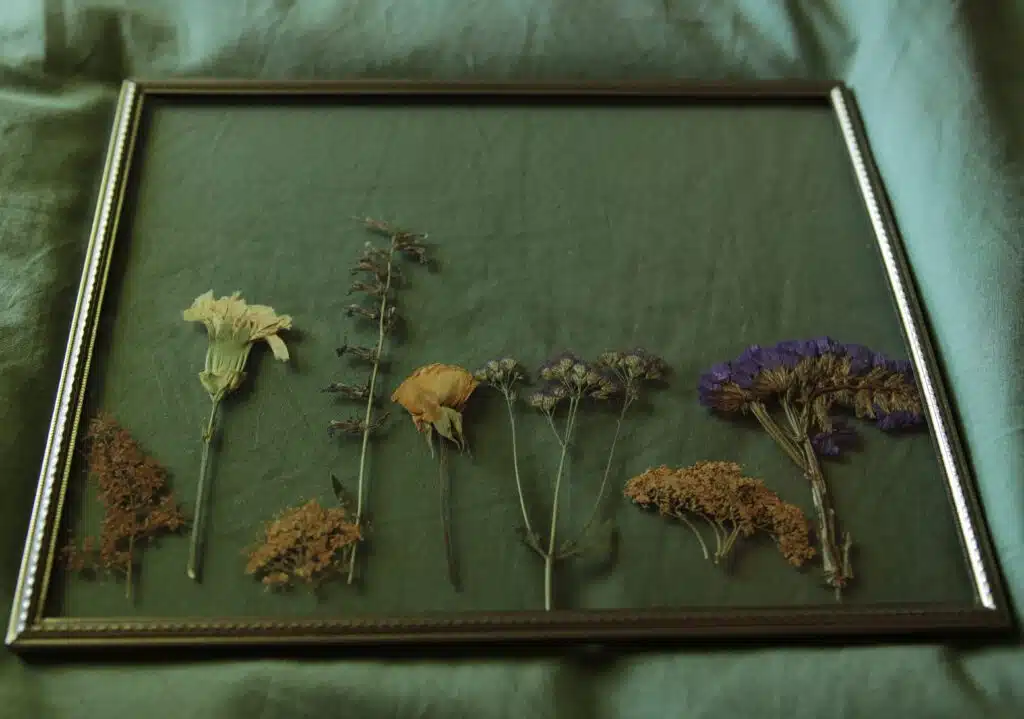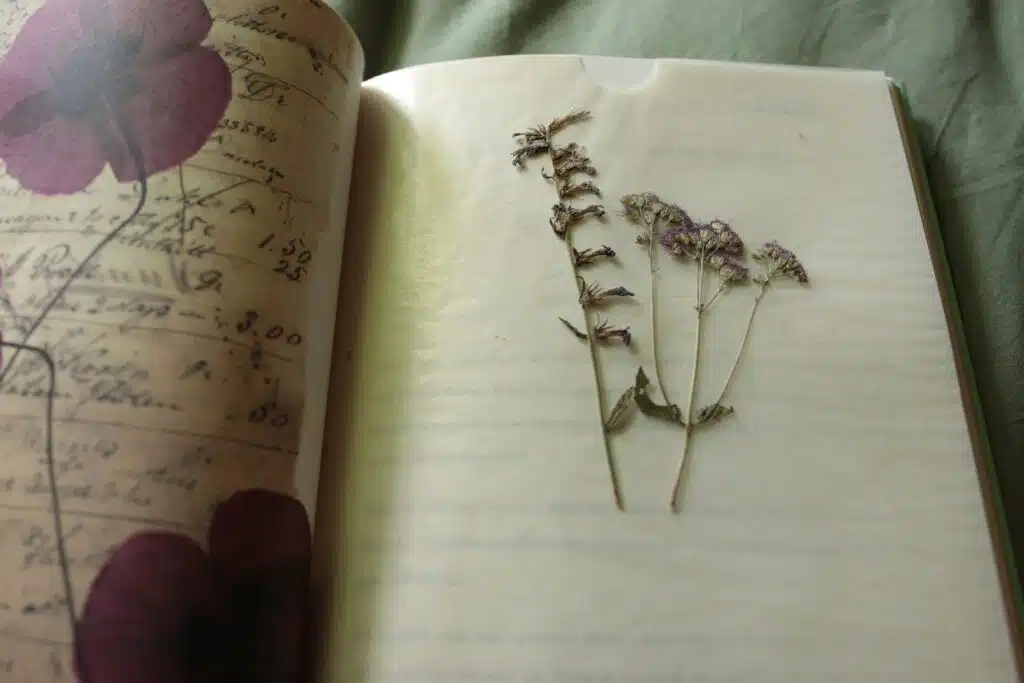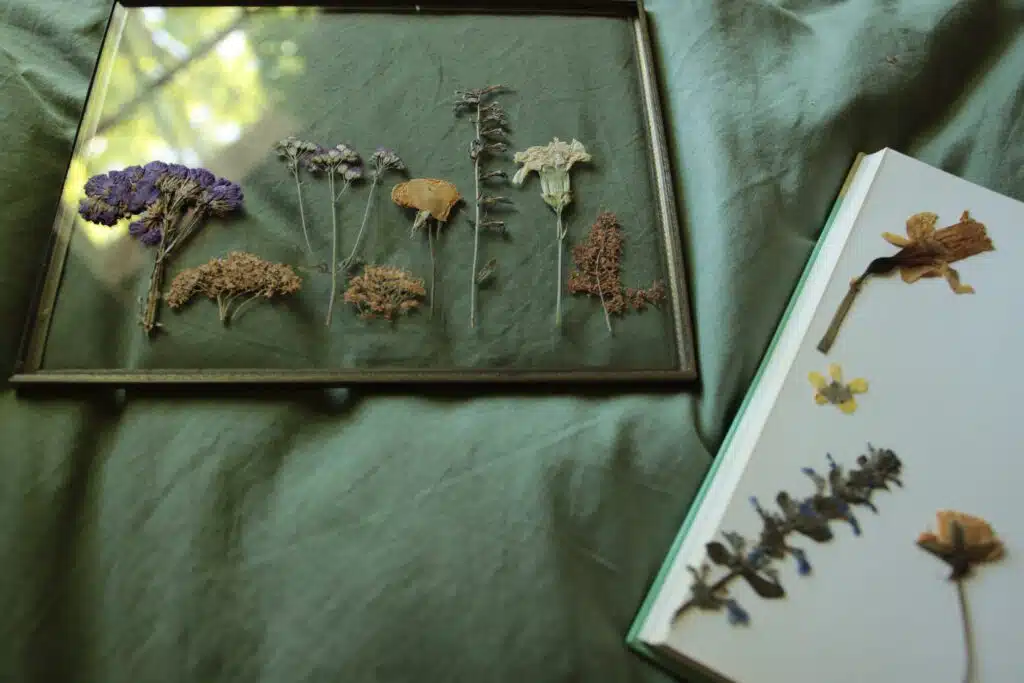
I have always been a keeper of flowers. Tucked away between the pages of my favorite books, or hanging to dry along my window sill, I am continually wanting to squeeze more from the season of bright blooms. This month, I rediscovered my collection of pressed flowers and realized that they were not going to do anything for me hidden in the pages of a book. As a result, I have created art with my collection and breathed new life into a forgotten pastime.
Tips for preserving flowers:
- Pick fresh and vibrant flowers to press at the peak of their color and beauty
- Choose a variety of shapes, colors, and sizes to press
- I like to keep a long stem on my pressed flowers because it gives me more options when arranging (you can always trim later if you find the stem to be too long)
- Use a heavy book with thick pages
- Use tweezers to gently arrange your flower on the page
- Remember that how you arrange the flowers on the open book is how they will look after they have been pressed, so plan accordingly
- Focus on opening the petals of the flower so that you can see the entire bloom when pressed
- Gently close the pages of your book, paying special attention to keep your flower in position
- Now you need to be patient and wait about a week or two for your flowers to dry
- I like to place my book under a heavy basket or other books to help speed up the process!
- If you frequently add flowers to your book to press, you can always have a rotation of pressed and dried flowers
I wanted to make something simple to display my collection and adorne my house for the rest of the summer, so I made my way to the thrift store.
You will need:
- A variety of pressed flowers
- A thrifted or repurposed frame with two pieces of glass (or one piece of glass and a frame back, depending on what you want the background to be)
- A hot glue gun
- Tweezers
- Cotton swabs
To make:
- Wipe your glass pieces clean and start to lay out your flowers on the glass you want to be seen
- Using your tweezers, arrange your flowers so that the blooms are face down to the glass (you are looking at them from behind), so you will be working backwards
- Once you have created a design you like and filled the glass with flowers, quickly dab a small bit of hot glue to the back of each of the flowers with a cotton swab
- Line up the other piece of glass with the first and press it against the hot glued flowers to stick
- Hold for a moment to allow the glue to dry
- Reassemble your frame by inserting the glass
- Find a spot to display your creation! I chose a light filled spot to feature my flowers as I used a glass frame without a back


I need to do this with the boys this spring and summer! Lovely!
http://www.chezmireillefashiontravelmom.com