Getting an excellent oven spring is one of the most elusive parts of baking sourdough. Sometimes it feels like you’re doing everything right and still end up with an underdeveloped loaf. It’s so frustrating! In my view, there are 3 major elements to master when baking sourdough: starter, technique, and timing. Learning, practicing, and mastering these three elements is the key to achieving the beautiful oven spring we all desire.
Learning which factors affect your loaf is also an important skill to develop. Recently I baked a few loaves that turned out to be total duds, they were completely flat and underdeveloped. After thinking back through my process, I realized that my starter was not active enough to bake and I should have fed it at least once more before starting.
Other times, I rush shaping my dough and the result is noticeably less fluffy. If you want to improve your oven spring, take note of what is working and where you can improve your starter, technique, and timing. When my loaves turn out less than perfect, I reflect on which of these factors could have gone wrong. When my loaves are perfect, I take notes so results can be repeated.
This post may contain affiliate links, which means I make a small commission at no extra cost to you. You can view my Privacy Policy Here.
Tips for better oven spring
Healthy and active starter
Learning how to keep your starter active and healthy is the best way to achieve a great oven spring. Check out this blog to learn more about how to know when your starter is ready and more tips for success!
Develop gluten
Fermentation takes time, so we need to develop gluten slowly through a proper autolyze, stretch, and folds (or coil folds). These techniques work hard so that you don’t have to. When things are going well, your dough will easily become elastic and smooth after a few rounds of folding.
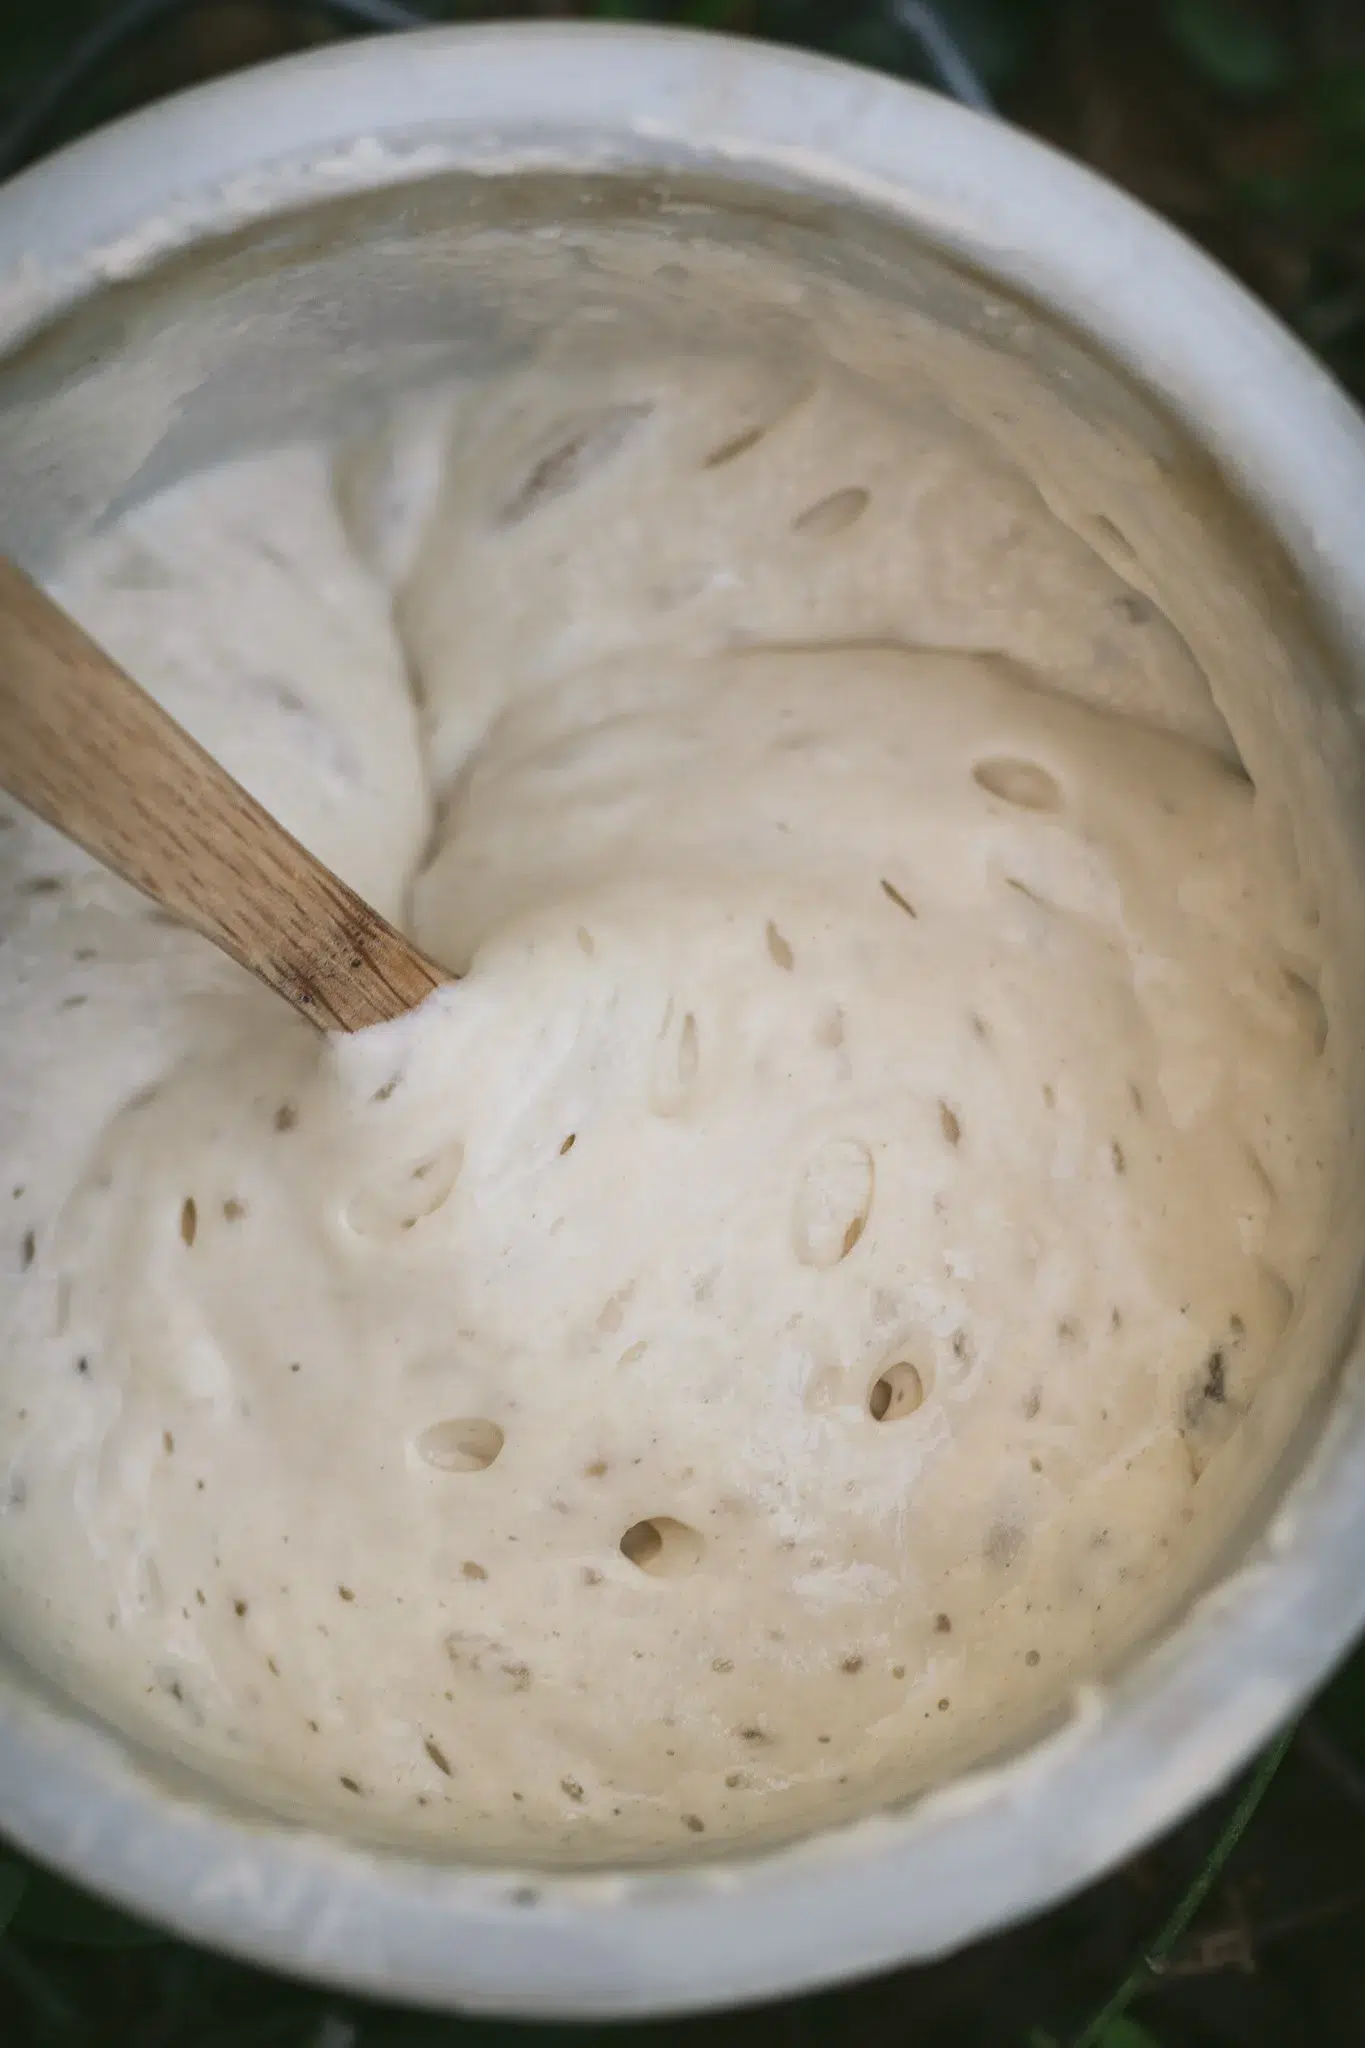
Allow it to rise
A common mistake I see is skipping or shortening the bulk rise. You always want to see your dough double in size before shaping it. Depending on the temperature and gluten development, this might take a while. But this step is critical to getting those air pockets and developing flavor.
Don’t deflate the dough
DO NOT PUNCH THE DOUGH DOWN. I know it looks awesome in videos on Instagram, but we do not want to degas our sourdough. Handle your dough with care and never smash it!
Finger test
To test if your dough is ready to shape, you can use the finger test. Press your finger into the dough to make a small print. If the dough bounces back quickly, it’s not ready. If it slowly bounces back, but still leaves a small indentation, it is time to shape!
Shape and preshape really well
Preshaping your dough gets it ready to shape and allows it to rest before you manipulate the boule. Learning how to properly shape your dough and create lots of tension is also important. I would highly recommend you watch this video to learn how.
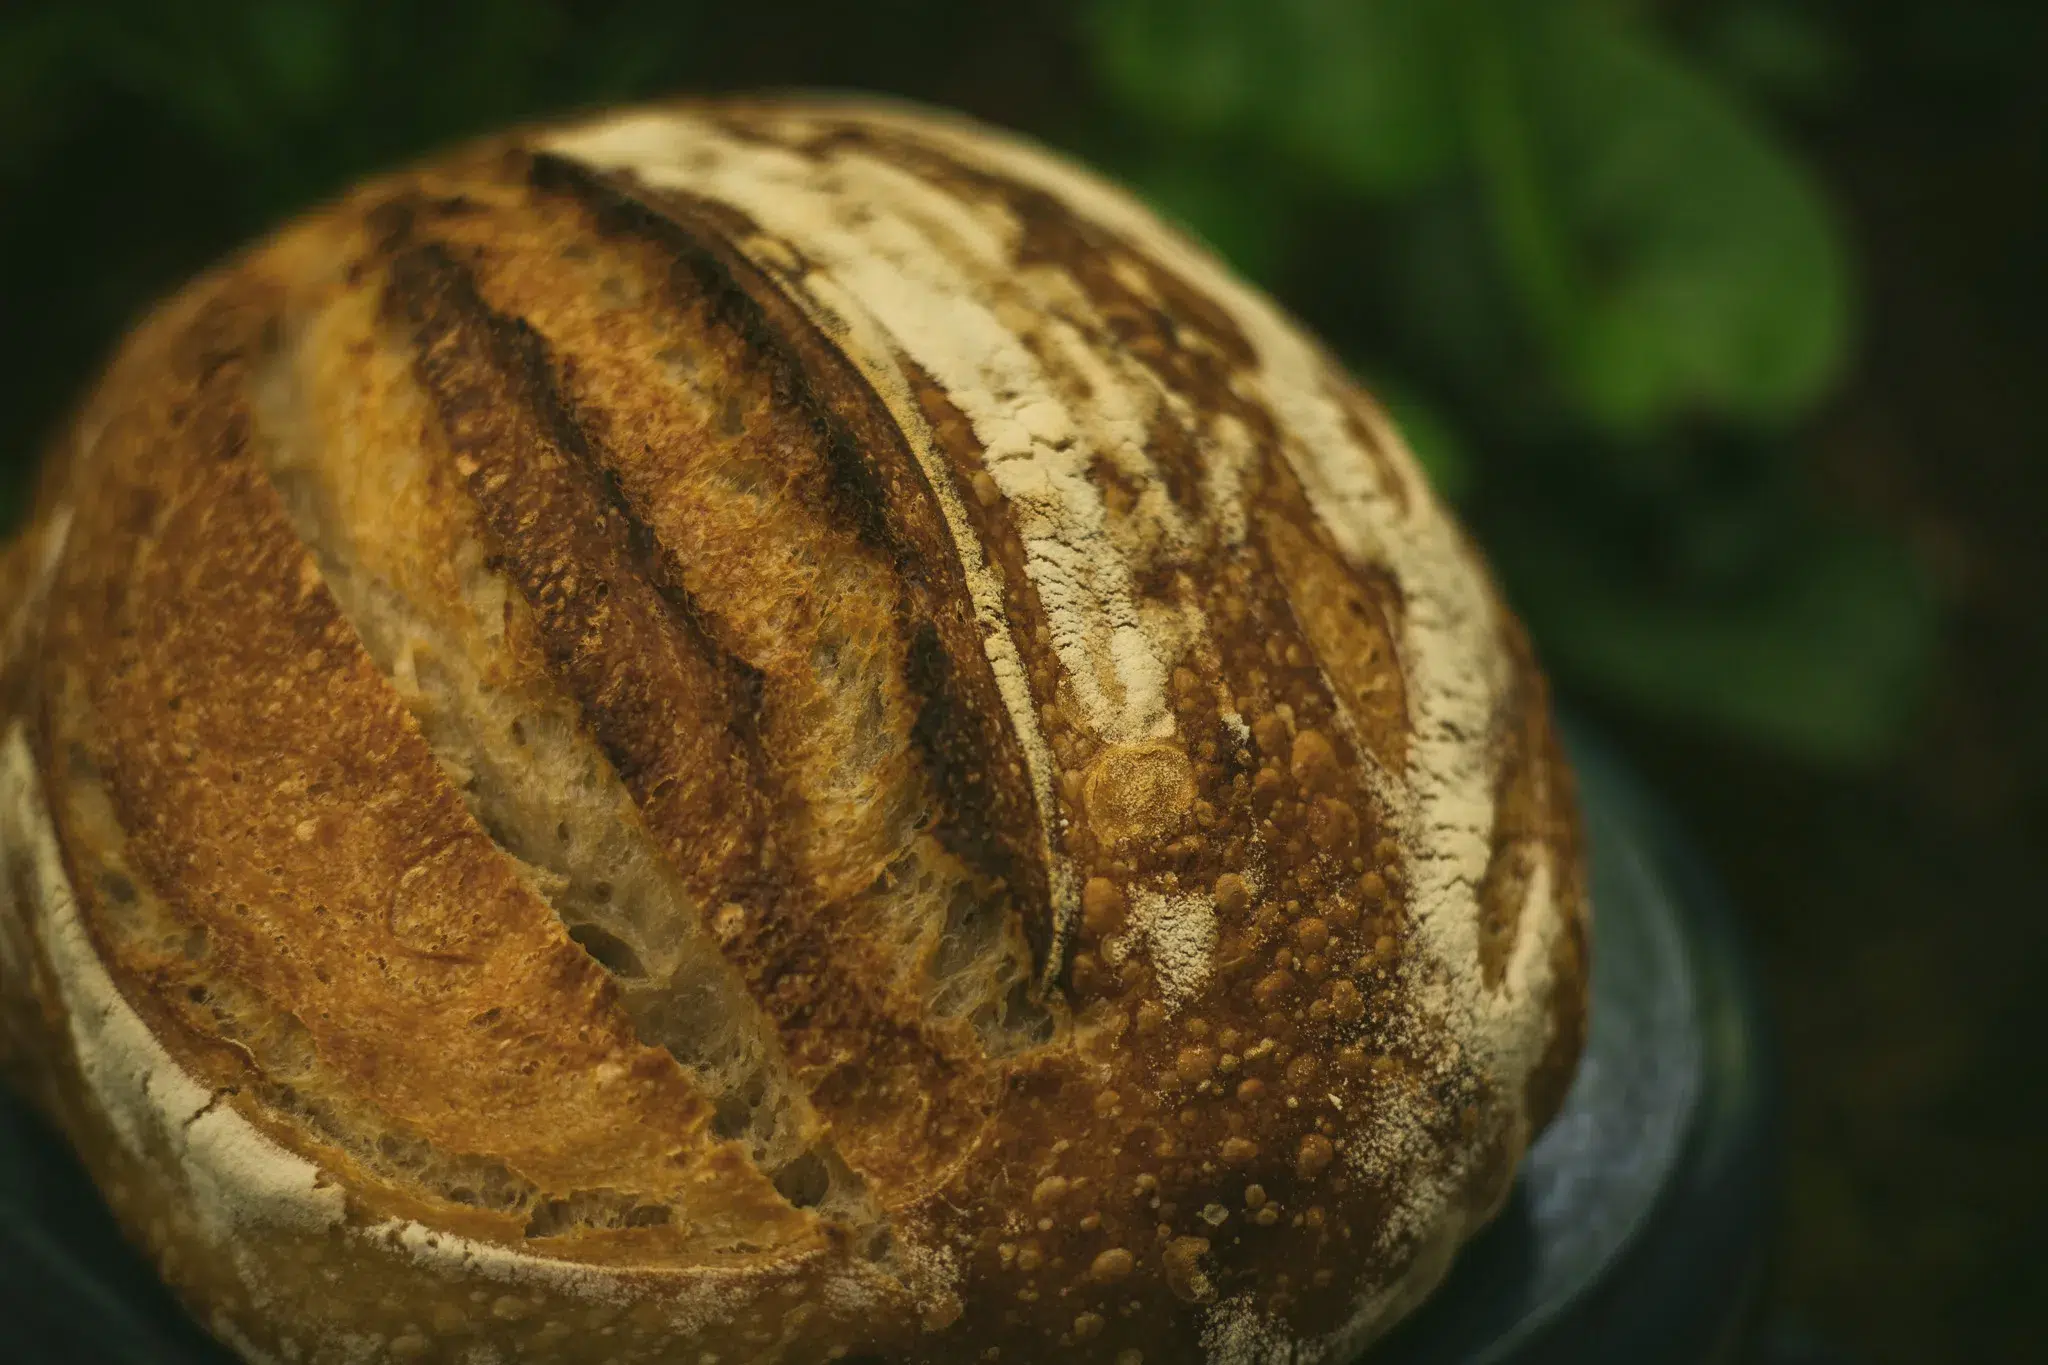
Score properly
Yes, there is a “proper” way to score dough for optimal oven spring. Keep in mind that you need to act fast so that the dough does not de-gas. For best scoring results, make small cuts in the dough first, then make one deep, long slice at a 45-degree angle.
Create steam in the oven
One of my favorite hacks to add more oven spring at the last minute is to add a few small ice cubes to the dutch oven you are baking in. The steam keeps a crust from forming on the dough, allowing it to rise for longer in the oven.
Rescore after 10 minutes
I have recently discovered that after the first ten minutes of baking if you rescore (just through the deepest, longest cut) it will allow more steam to escape and result in a better oven spring (plus your bread will not explode!).

Tools for better oven spring
- There are many bread lames out there, but I prefer this one because it is small and easy to handle for precision.
- Using baking paper to transfer and bake your bread reduces the likelihood of deflating the dough.
- These are reusable silicone bread mats that serve the same purpose as baking paper
Leave a Reply