
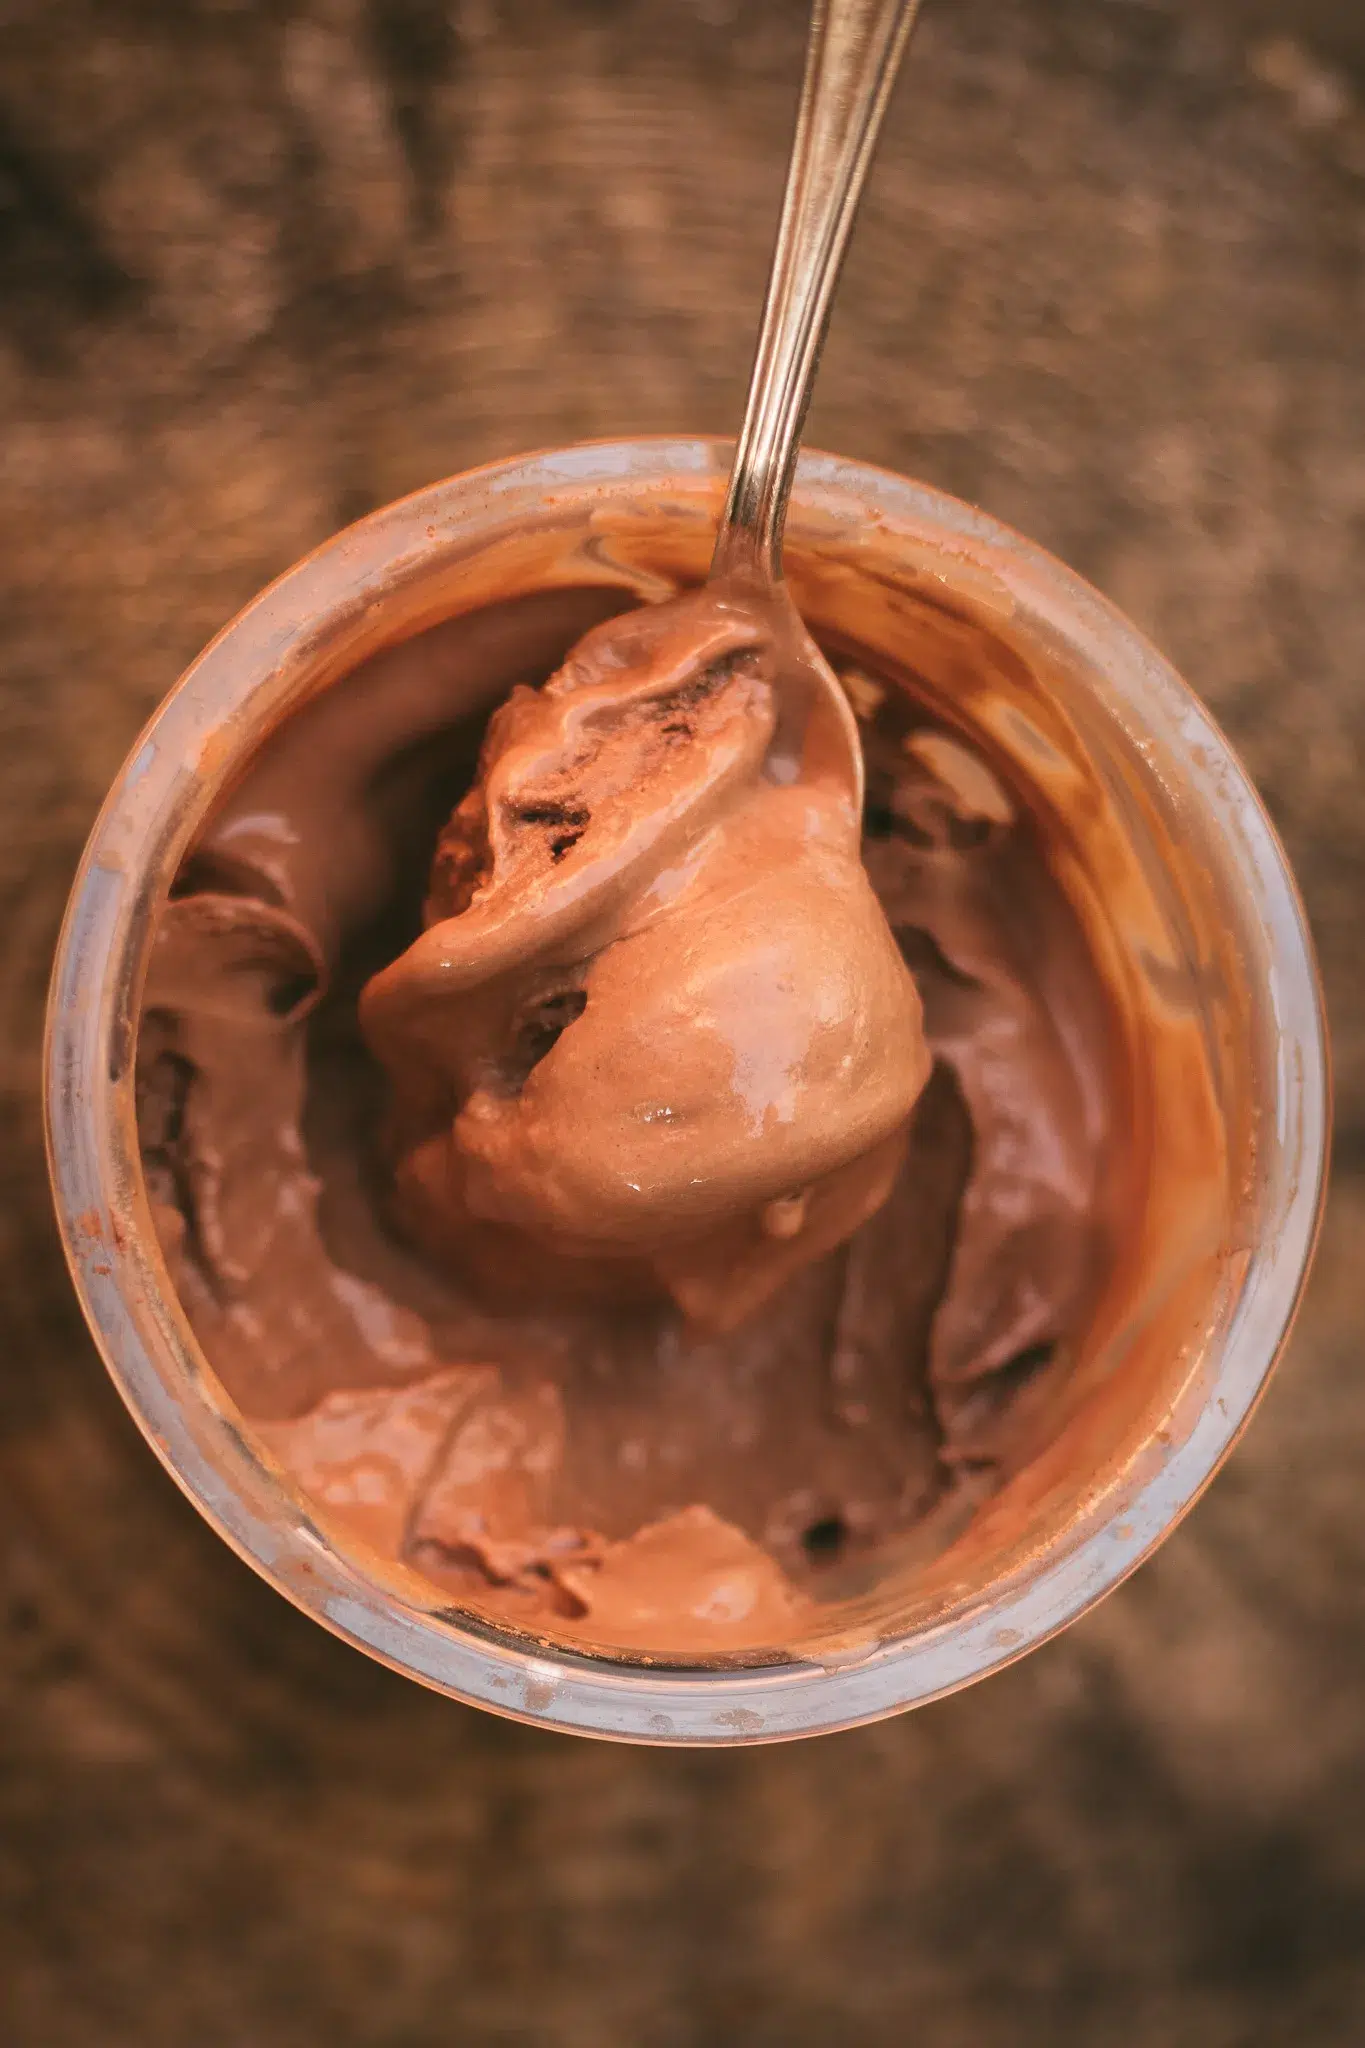
Now that I’ve had the Ninja Creami for a while, I’ve really enjoyed experimenting with lots of delicious flavors and ingredients. Once I perfected my vanilla ice cream recipe, I knew a Ninja Creami chocolate ice cream recipe would be next because chocolate! This recipe will delight you; it’s full of creamy chocolatey flavor and isn’t too sweet or syrupy like many other chocolate ice cream recipes.
One of the things I love most about this recipe is how making a simple chocolate ganache can create an incredibly rich and velvety ice cream. This technique is combined with the addition of raw cacao powder, with its roasted, nutty notes that bring balance to the sweet chocolate flavor. If you can’t find raw cacao powder, use unsweetened cocoa powder instead.
Many popular Ninja Creami chocolate ice cream recipes have highly processed protein powders, shakes, or Jello pudding mix. I try to avoid these processed foods, so I developed a recipe using only whole foods ingredients. This simple chocolate ice cream recipe can be the base for all kinds of creative creations. I love adding sourdough cookie dough chunks, chocolate chips, fresh fruit, or homemade caramel sauce to spice things up. This recipe is also great for making ice cream sandwiches or freezing into ice cream bars!
This post may contain affiliate links, which means I make a small commission at no extra cost to you. You can view my Privacy Policy Here.
Jump to RecipeHow does the Ninja Creami work?
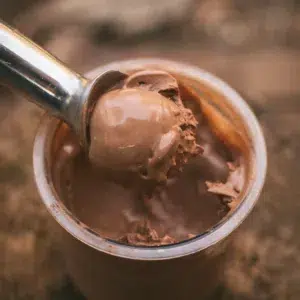
The Ninja Creami works by rapidly spinning metal blades into a completely frozen base breaking down the ice crystals with its fast blade, making a creamy and rich mixture. Once the ice cream is made, the machine has a setting that allows you to add any additional toppings you like.
Steps for making Ice cream with the Ninja Creami
~if this is your first time using the Ninja Creami, be sure to also read the basic running instructions of the machine~
One: mix your ice cream base
Two: freeze it in one of the provided containers
Three: thaw the container for about 7-10 minutes at room temp before using the machine
Four: Remove the lid of the freezer container and add the blender lid
Five: Plug in and turn on the machine
Six: Secure the container in the machine and press the appropriate button (we will be using the “ice cream” button)
Seven: Remove the container from the machine once finished
Eight: Add a little bit of cream, but the container back in the machine, and “respin”
Essential elements for this recipe
Fat, protein, sweetener, flavor, and mix-ins are the five essential elements for creating your own ice cream. The fat and protein make the mixture creamy and rich and the sweetener, flavor, and mix-ins are for making it taste like ice cream.
Why is there raw egg yolk in this recipe?
Egg yolks improve the stability of ice cream making the mixture emulsified, smooth, and creamy, with a satisfying mouth feel resulting in a light, fluffy, and whippable mixture. I like to keep the eggs raw because they whip well and cut down on the overall process time of making the ice cream base mixture. Because we are not using a traditional churn, egg yolks really improve the texture Ninja Creami chocolate ice cream. I feel comfortable eating raw eggs from local farmers that I trust and would not suggest you eat conventionally raised eggs from the store. Please do your due diligence to source eggs and make decisions based on what you’re comfortable with.
How does this recipe work?
This is a simple, chocolate recipe. It’s a great base to start with before adding your favorite mix-ins like cookies, fruit, nuts, chocolate or caramel sauce. Below, I will outline how to make this Ninja Creami chocolate ice cream recipe and how to mix in anything you want!
Mix In ideas:
- Chocolate chips
- Peanut butter cups
- Sourdough cookie dough
- Collagen marshmallows
- Graham crackers
- Homemade hot fudge sauce
- Homemade caramel sauce
- Brownies
- Your favorite cookies
- Fresh fruit
- Honeycomb candy
- Roasted, salted, peanuts
Ingredients you will need:
- Organic, whole milk, ideally low temp pasteurized or raw
- Organic, heavy cream
- Egg yolk, separated from the white (see notes above about using raw eggs)
- Raw cane sugar or maple syrup (to taste)
- Raw cocoa powder
- Semi-sweet chocolate chips
- A good mineral salt
- Optional mix-ins
Supplies you will need for Ninja Creami chocolate ice cream
Ninja Creami– This is the one I have, but you can also get the Deluxe model
Small electric whisk– One of my most used tools, this one is water proof!
Ice cream scoop-We love this one
SUBSTITUTION OPTIONS:
If you don’t have heavy whipping cream, or want to make things a little bit lighter, substitute for whole milk and whisk in 1 tablespoon of collagen powder.
Ninja Creami Chocolate Ice Cream Recipe
Ingredients
- 1 egg yolk separated from the white
- 2-3 tablespoons of raw cane sugar or maple syrup to taste
- 3/4 cup whole milk
- ½ cup heavy cream
- ½ cup semi-sweet or dark chocolate chips
- 1/8 cup raw cacao powder
- A pinch of salt
- Optional mix ins
Instructions
- Add the egg yolk and sugar to a small mason jar and use your small electric whisk to whip (see notes above about egg yolks)
- Whip until your mixture is light, fluffy, and lighter in color
- Sift the cacao powder into the egg mixture and stir to combine
- Meanwhile, heat the heavy cream on the stove until steaming, but does not produce bubbles
- Pour the warm cream over the chocolate chips in a heat safe bowl
- Wait a few minutes, then stir this mixture together until smooth
- Add everything to the pint container, including salt and gently stir until well incorporated
- Freeze for at least 12 hours
- Remove from the freezer and let sit on the counter for 7-10 minutes
- Follow the Ninja Creami instructions to blend the mixture using the “ice cream” setting
- Once the cycle is finished, remove the container and add a splash of cream in the center
- Run the Creami one more time on the “respin” setting
- Now the ice cream is ready to eat, or add mix ins (see my suggestions above)
- For mix-ins, make a small well in the center of the ice cream container, add mix ins
- Run the ice cream on the mix in setting
- Enjoy right away or freeze for later!
Leave a Reply