Making waxed leaves is the perfect autumn craft because it preserves the very thing we all love about this time of year: gorgeous colors and natural beauty. The beeswax preserves the color of the leaves so well that you can use them year after year for natural home decor. I love to string mine up into garland or sprinkle them along my table runner. Here in North Georgia, the leaves don’t start to really change colors until mid-October, but I can pull my waxed leaves out in September to make my home feel cozy and autumnal as soon as the season starts!
This post may contain affiliate links, which means I make a small commission at no extra cost to you. You can view my Privacy Policy Here.
Recycling Beeswax
To keep this craft super cheap, basically free, I recycle beeswax to make waxed leaves. I save all the ends of my beeswax taper and pillar candles throughout the year until I have a nice little collection to melt down.
Choosing the best specimens for waxed leaves
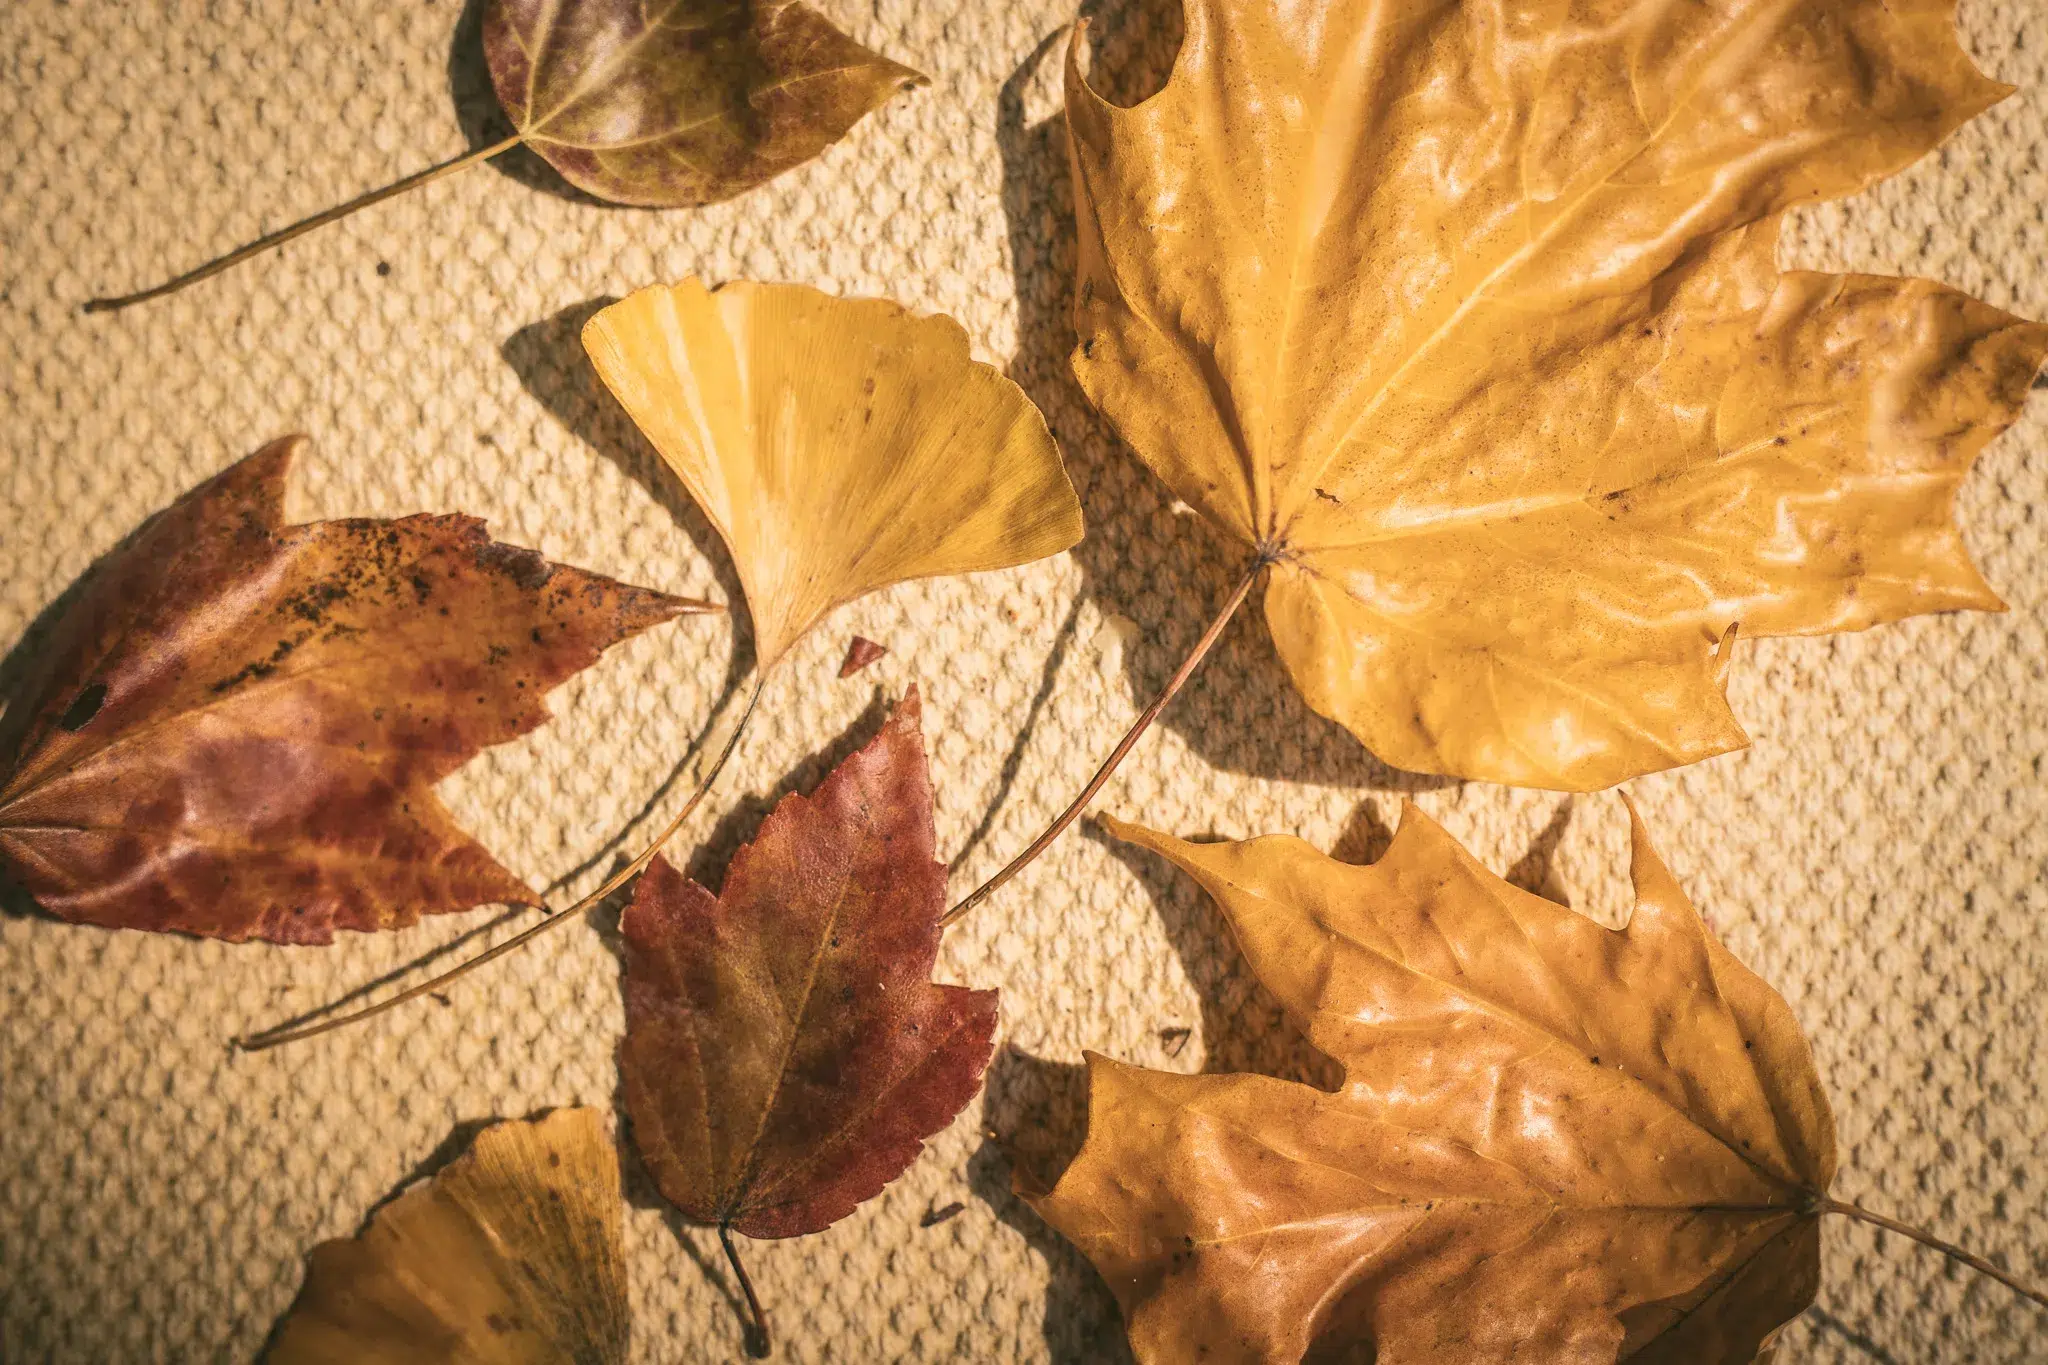
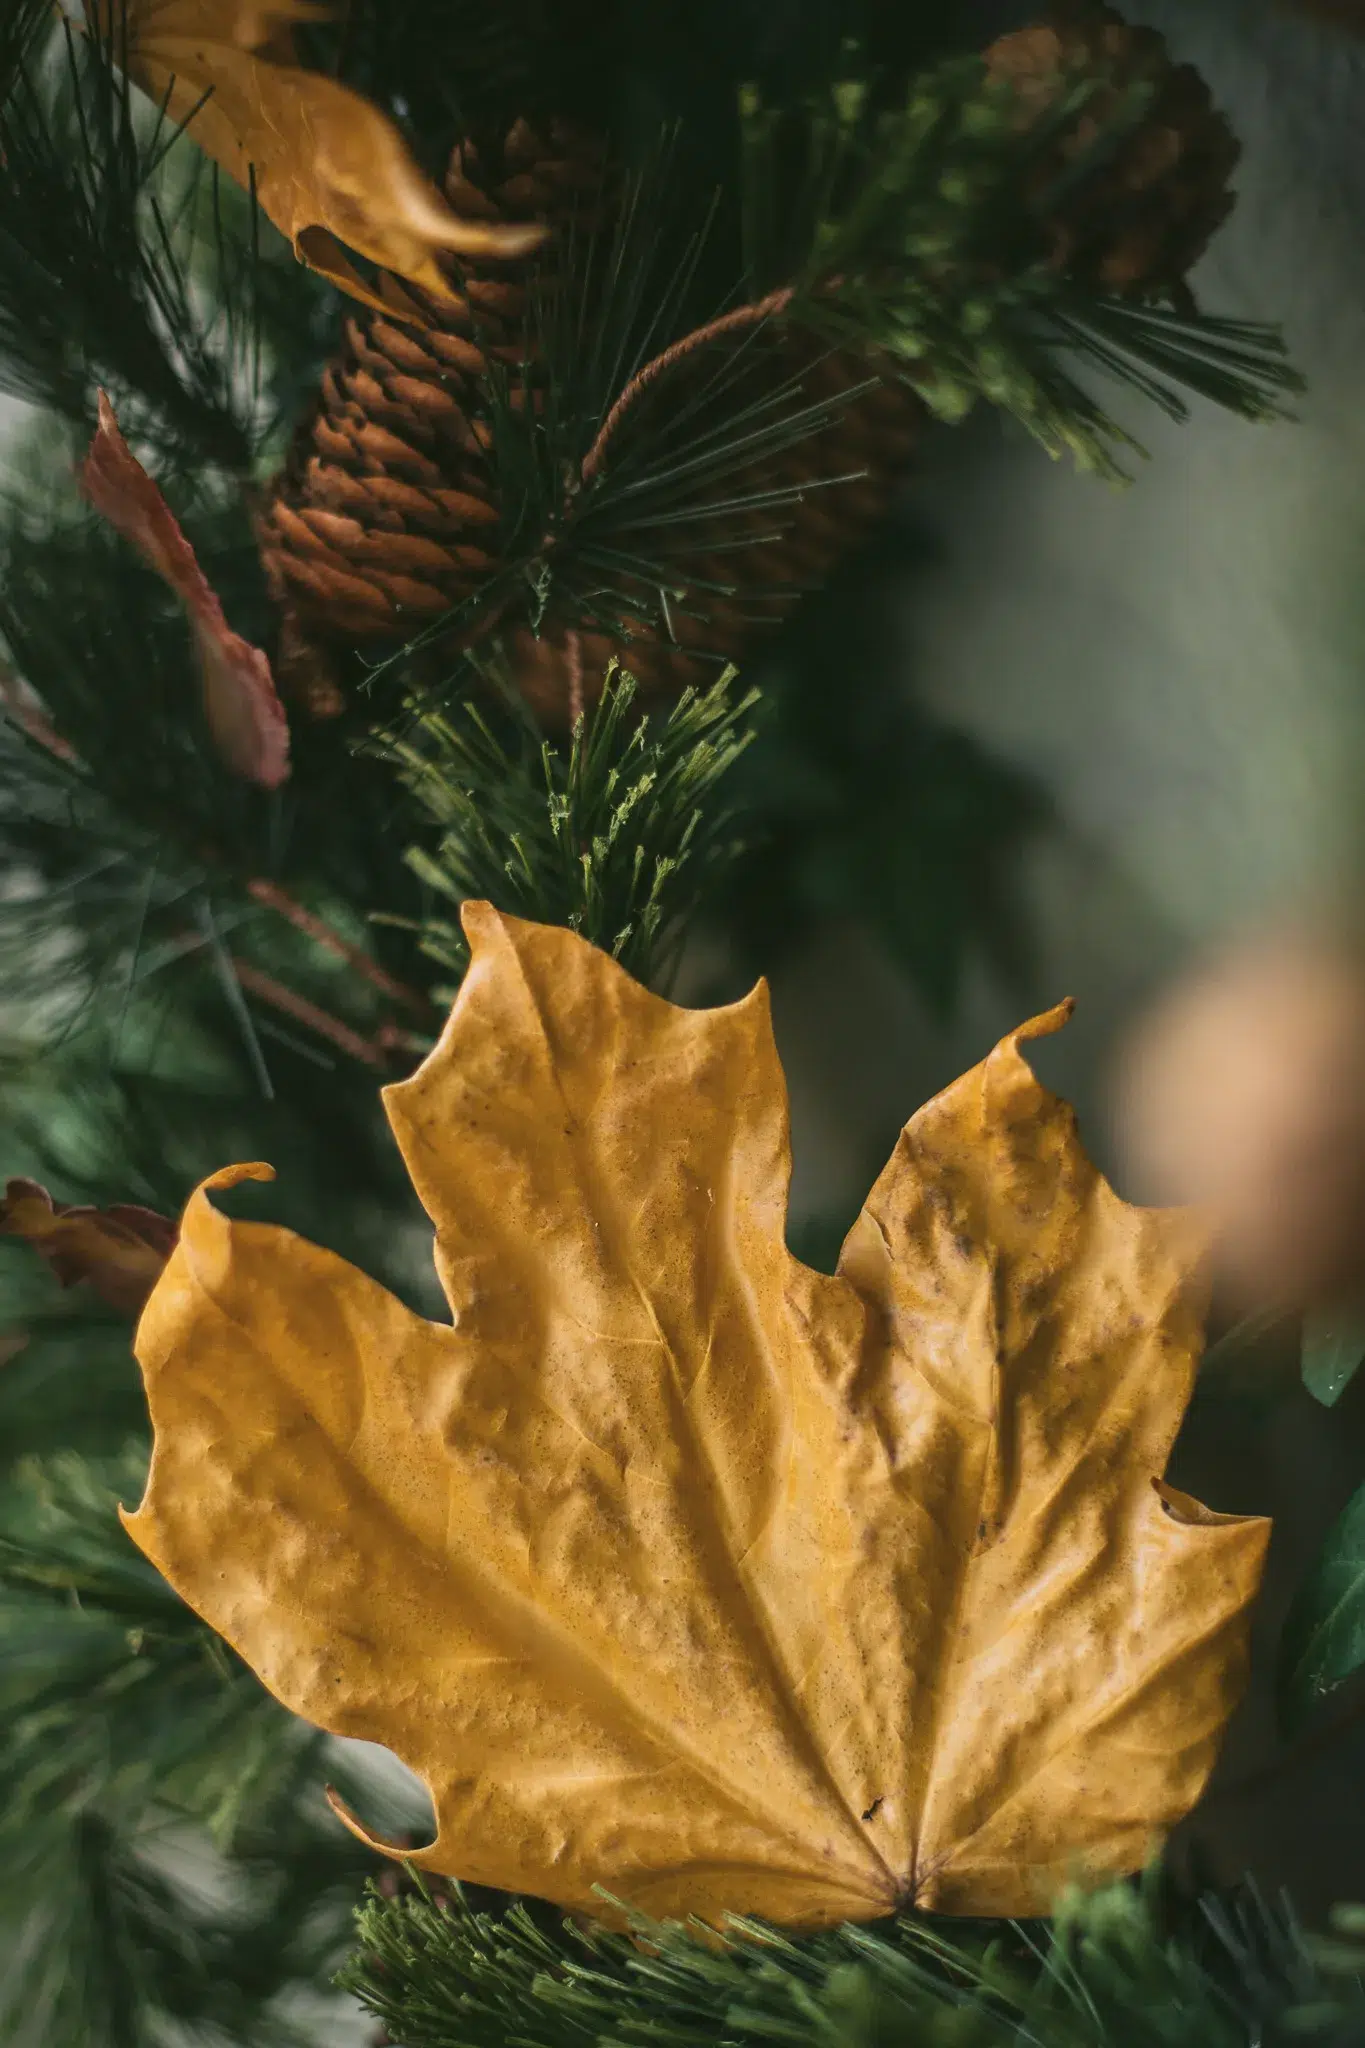
There are a few things to keep in mind when searching for leaves to wax:
- Always choose clean, smooth leaves. Avoid the ones with little warts, holes, or growths. You also want to avoid leaves that have any crispy edges.
- Choose vibrant colors. The wax will preserve the color but the slight tint of the wax will dull the vibrancy some, so we want to start with lots of color.
- Only wax freshly picked leaves. For best results pick the leaves on the day of waxing so they’re as fresh as possible.
- Keep the stems long so you have something to hold onto while dipping the leaves. This looks better and will prevent you from getting burned.
- Use dry leaves. Any kind of moisture on the leaves will splatter wax which we do not want.
Supplies you will need
- Wax warmer or single stove burner with a small pot for the wax
- Beeswax – these are the best if you can’t recycle (see notes below)
- Colorful fall leaves
- Silicone baking mat
Waxed leaves instructions
- Set up your waxing area: I like to be at an outside table near an outlet. A porch is perfect for this. I lay out my silicone mat, leaves, and start melting my wax on low to get started.
- Next I sort my leaves, making sure all of them are dry and have long enough stems to dip (see notes on leaves above).
- When the wax is completely melted, I gently dip each leaf in, holding the very end of the stem. I allow the wax to drip off the end of the leaf before placing it underside down on the silicone mat.
- I will repeat this process until all my leaves are waxed!
How to store waxed leaves
You can store them in a cool dark place for many years. I like to keep mine in a paper bag stored in a box of autumn decor. This box lives in my basement utility closet until I bring it out every September.
How to decorate with waxed leaves
Waxed leaves make amazing decor on their own or added to other natural elements around the house. I’ve included a few photos showing how I decorate with waxed leaves.
- Garland
- Using string or twine to hang the leaves. This looks amazing on a fireplace mantle or window
- String down the windows
- Hang a string of waxed leaves from the top of your window so the leaves dangle and catch the light
- Sprinkle around the table
- I love to add a few to my table runner, this is especially charming for a thanksgiving table
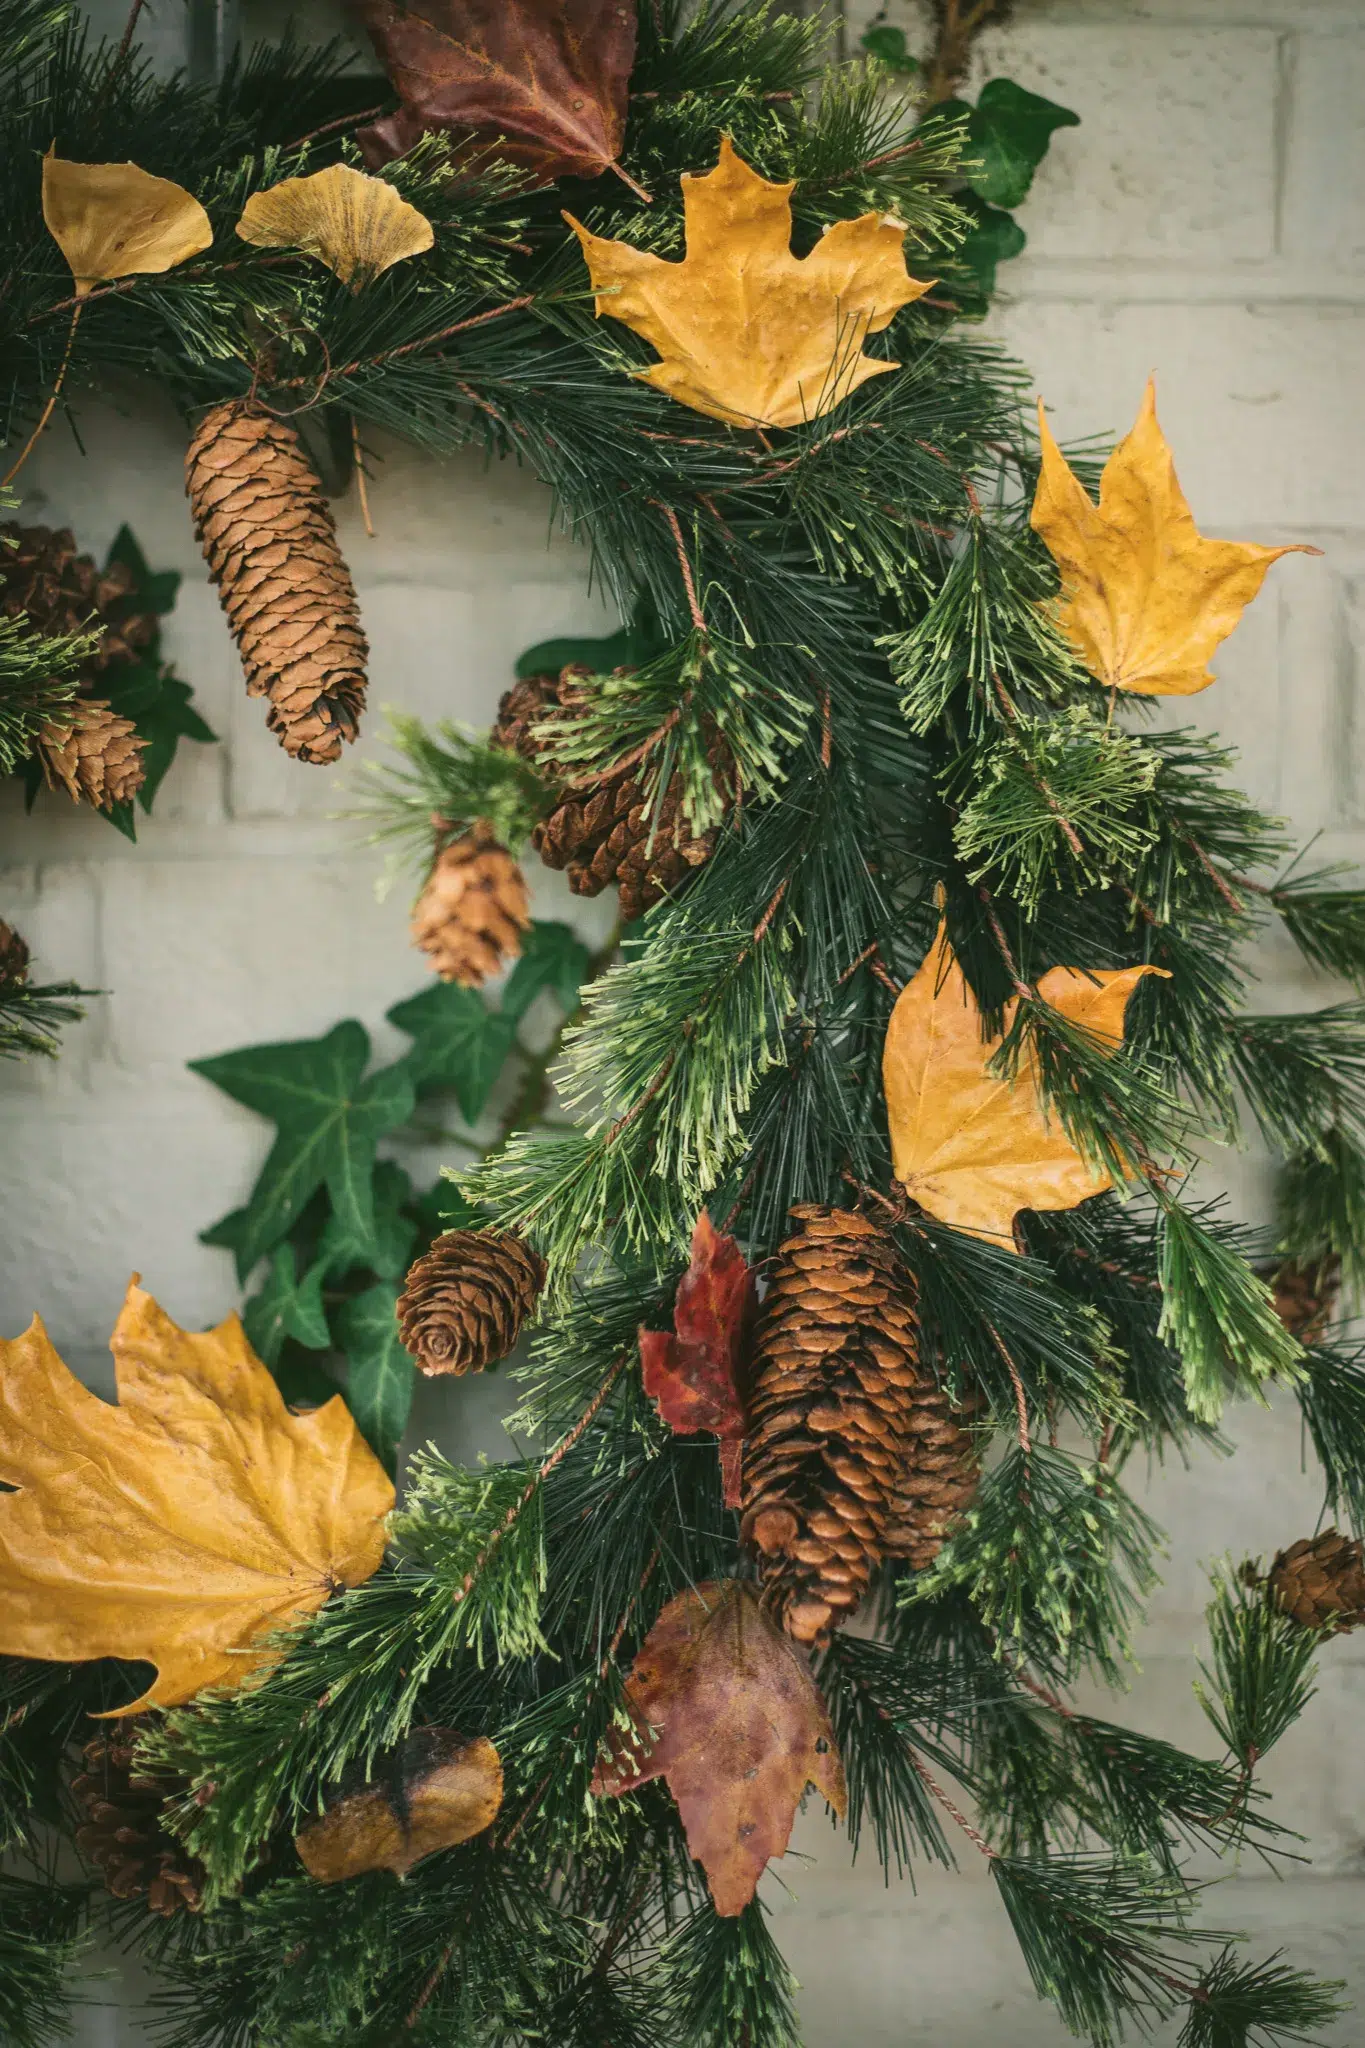
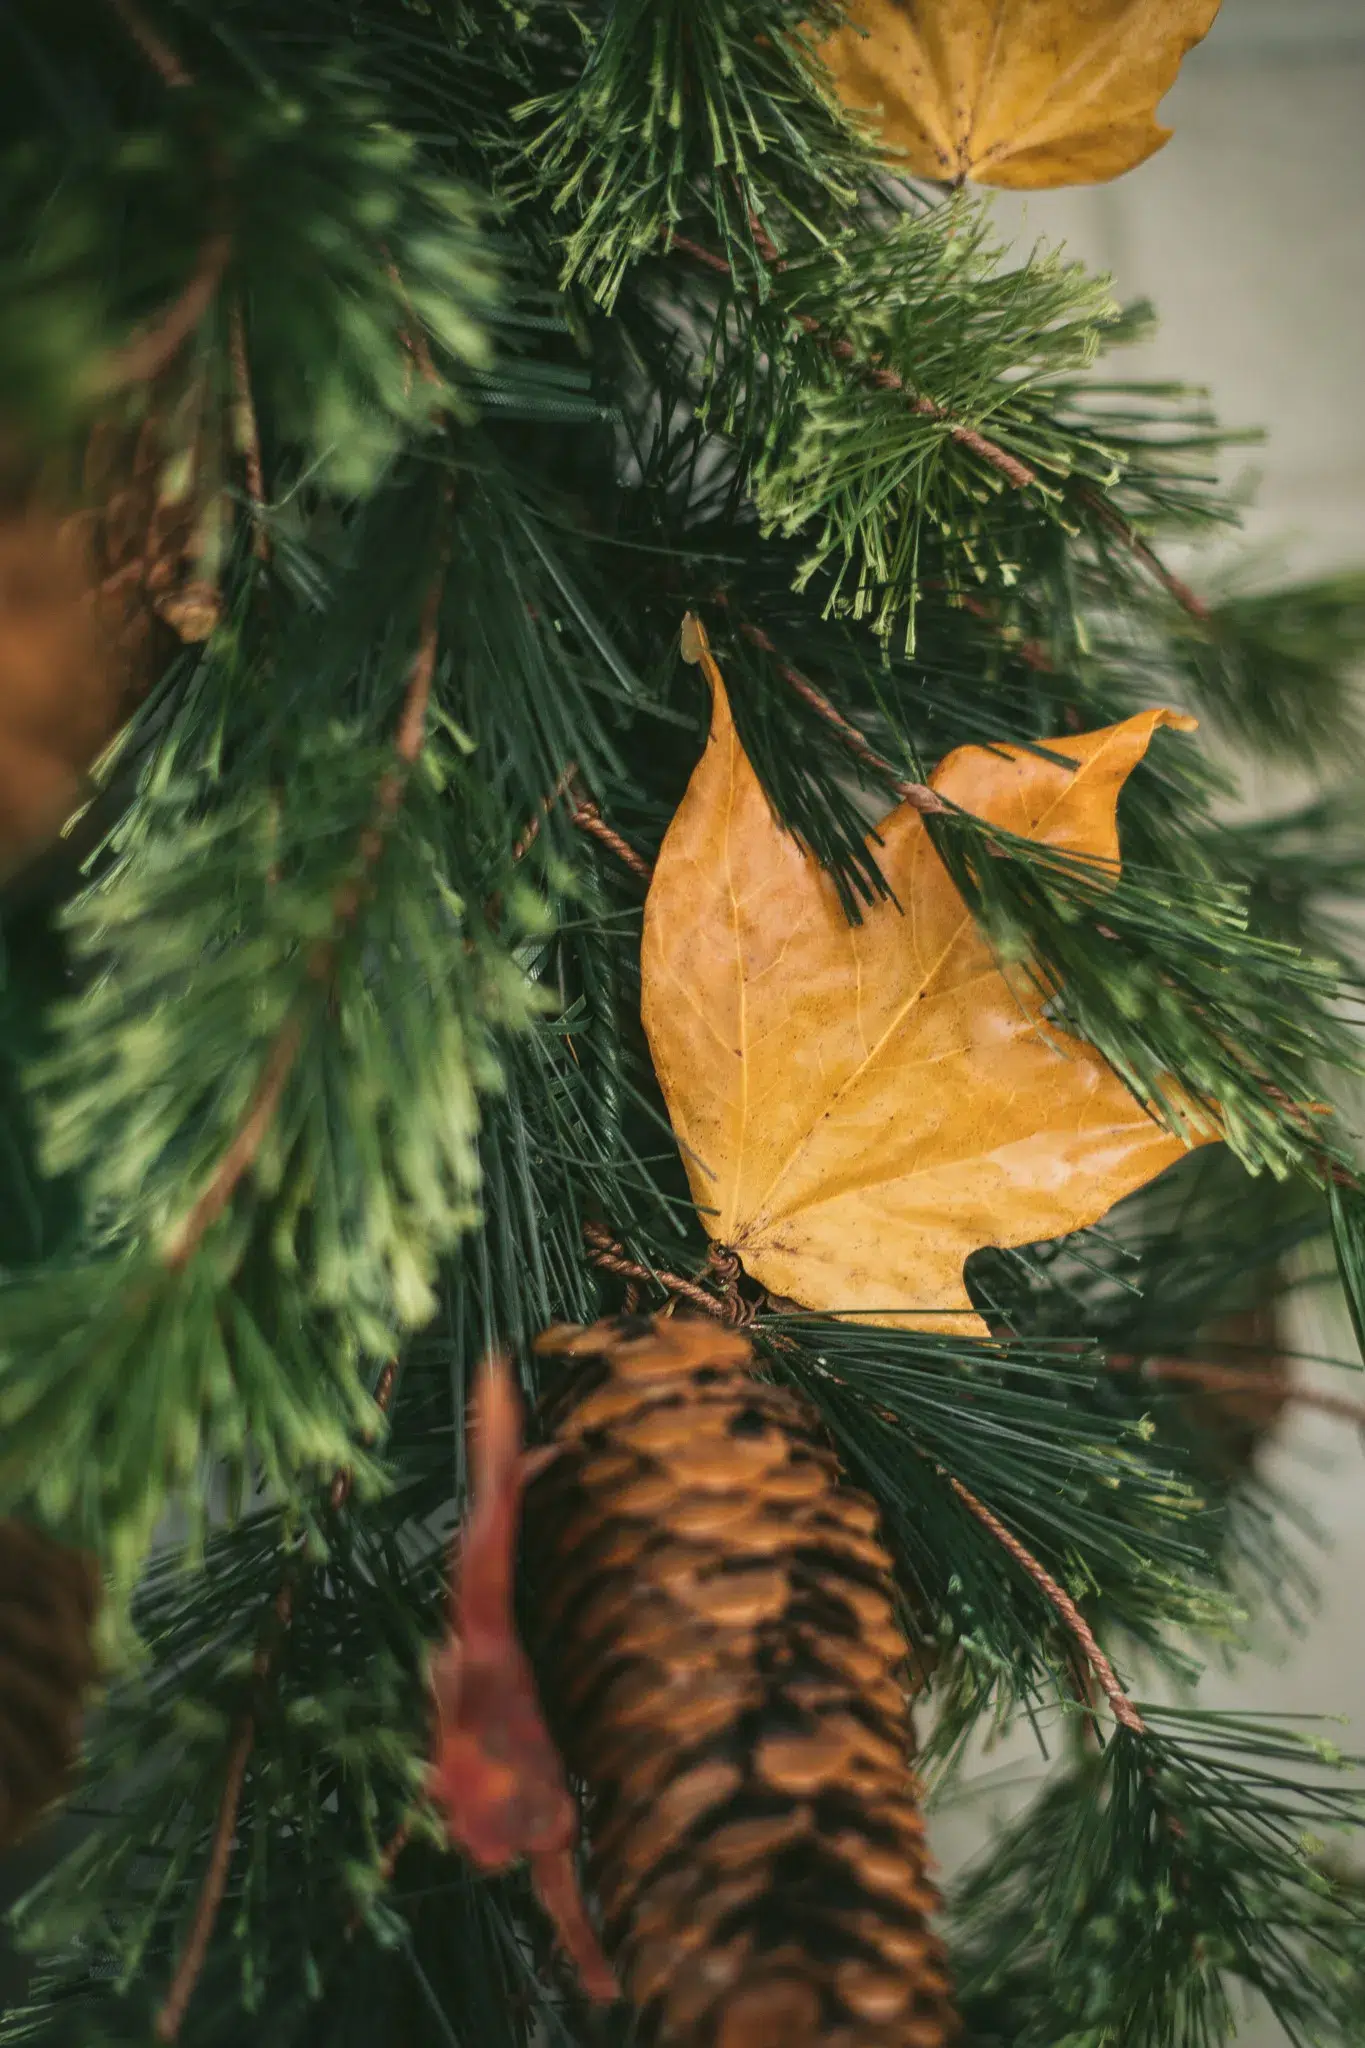
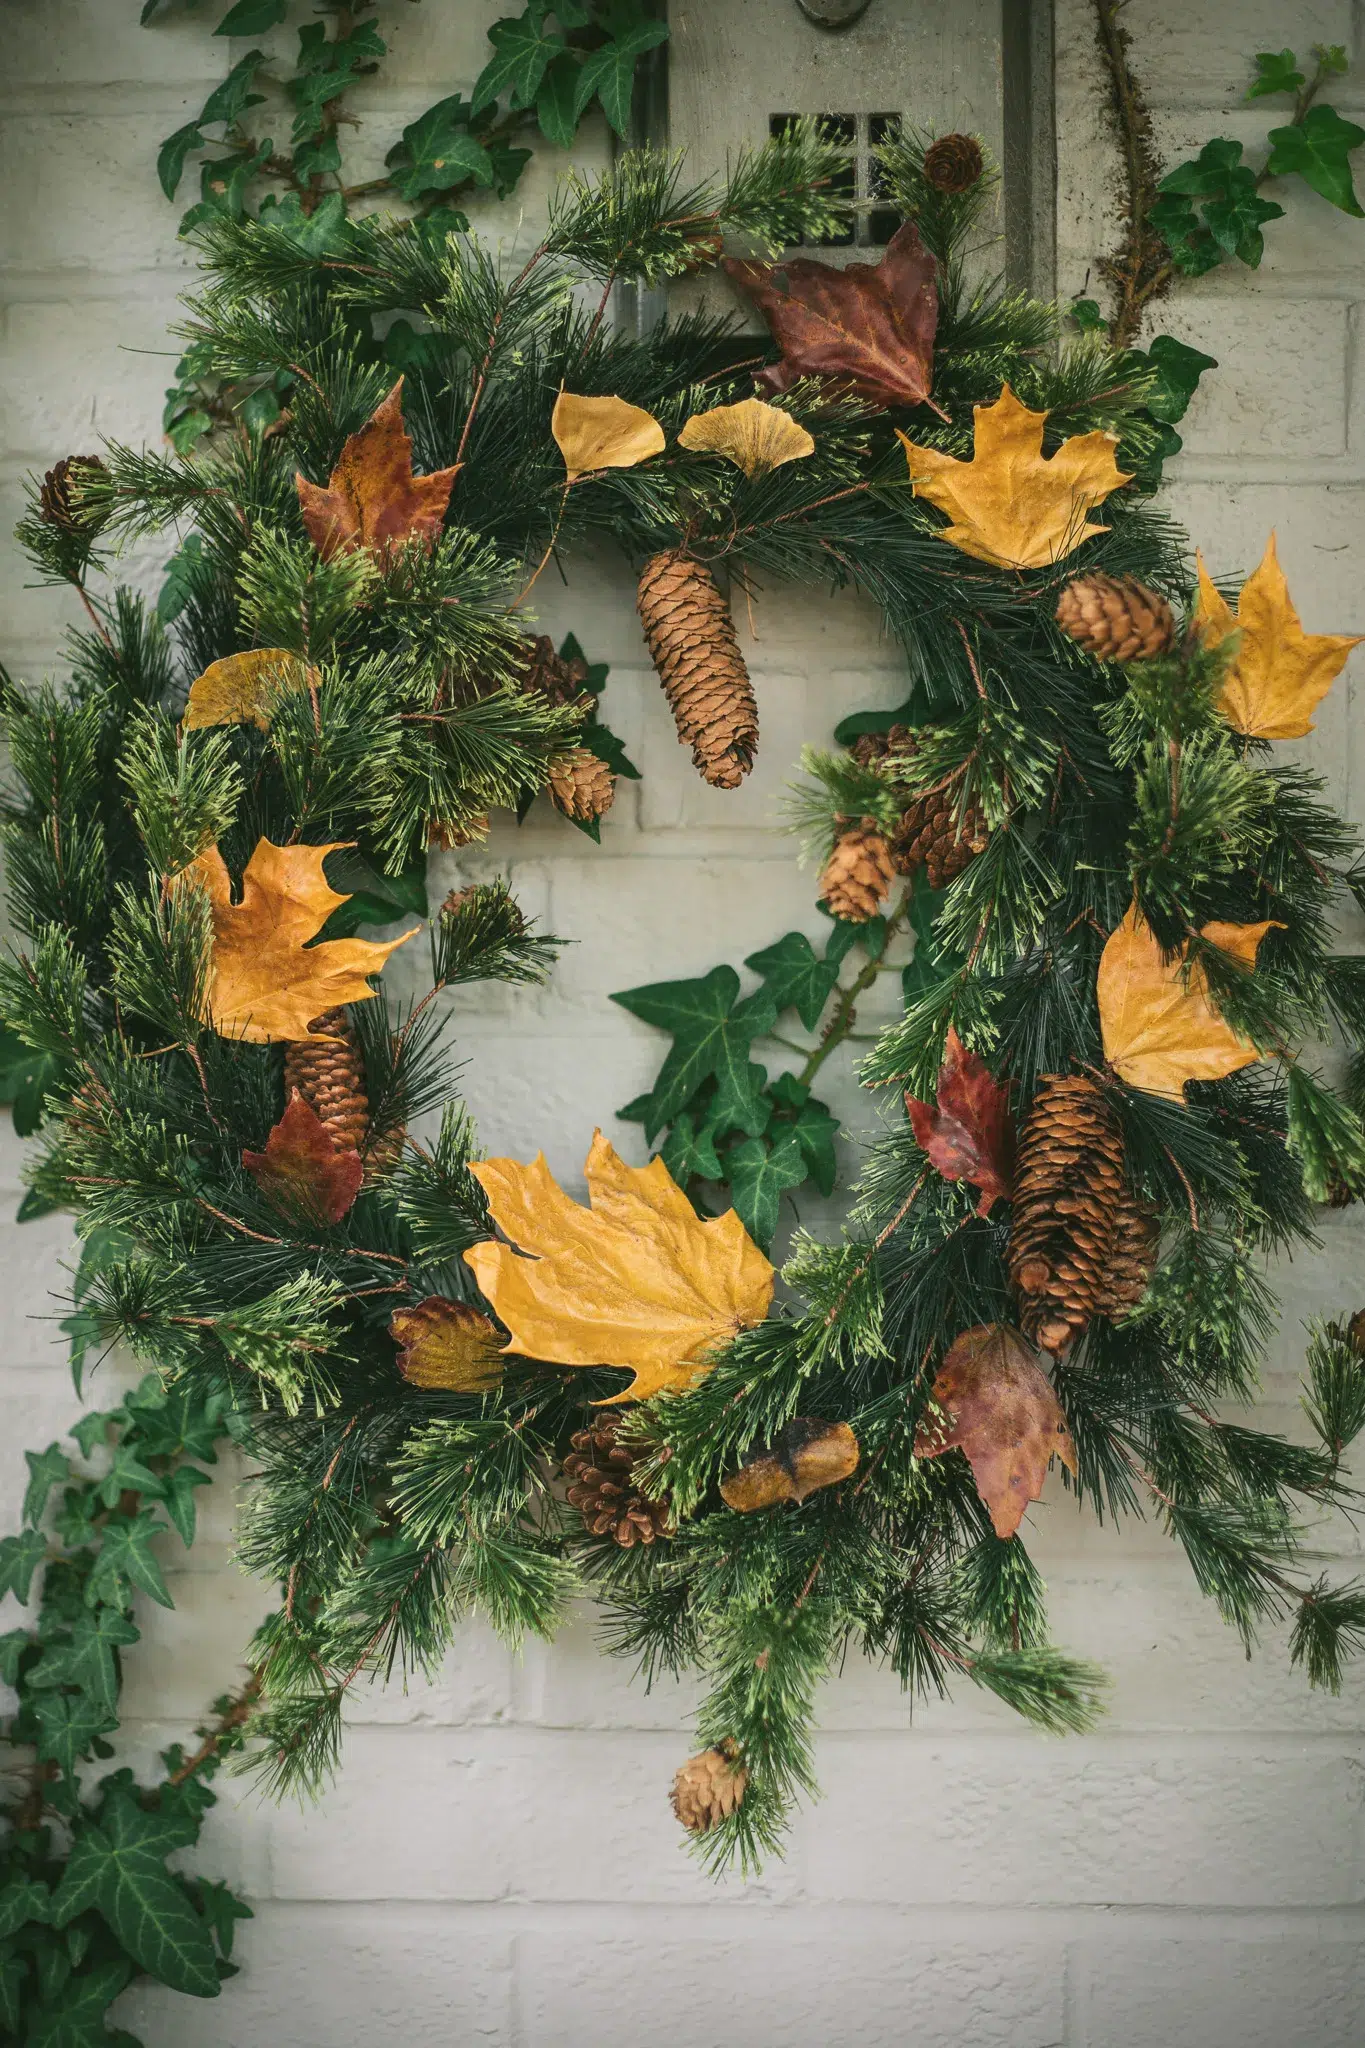
- Incorporate into an autumnal wreath
- Using hot glue or string you can easily add these leaves to a simple wreath to instantly bring the fall vibes
Supplies to decorate with waxed leaves
- twine
- Small clothespins
- hot glue
SAFETY NOTES
This craft involves hot wax and can be very dangerous! Please keep this in mind, especially when working with young children. I have done this craft with children as young as 5, but it was carefully managed and they were never near a pot of hot wax. I poured a little bit of wax into paper bowls and they dipped the leaves that way. Please use caution when working with hot wax!
Leave a Reply