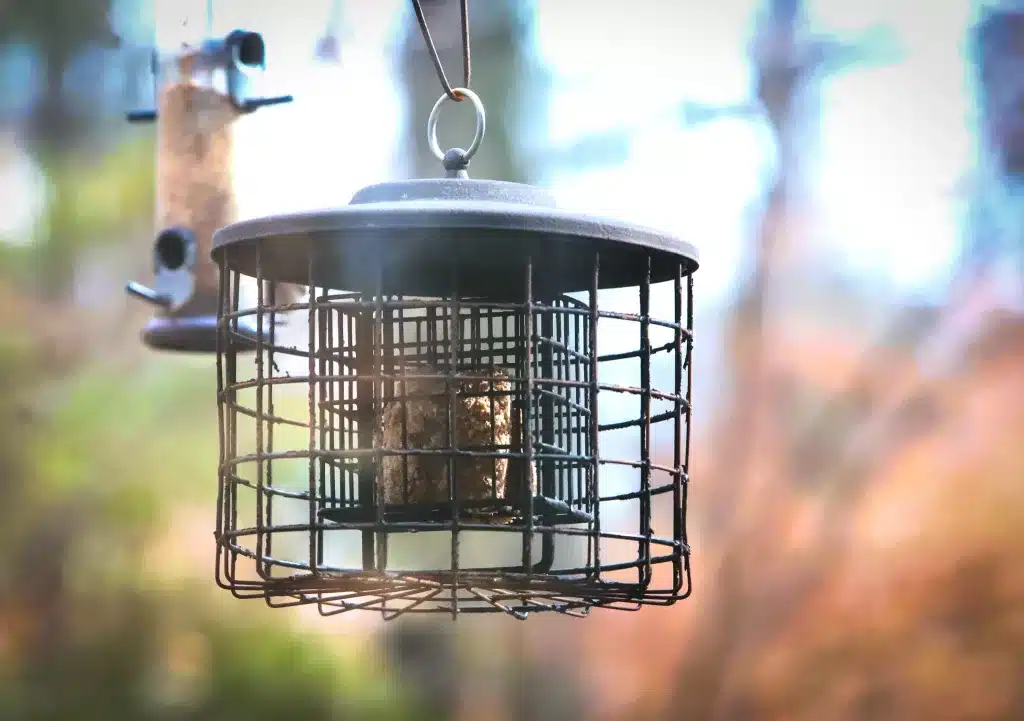
We started making suet cakes from scratch about 15 years ago. It began as a fun activity to do with my youngest child. I would wrap an apron around him, stand him up on a stool at the stove with a wooden spoon, and start him on a pot of bubbling bacon tallow. As I added peanut butter, flour, cornmeal, and seeds, he would stir. He loved this and I loved having a helper. We always had old bags of flour and cornmeal sitting around that needed using up.
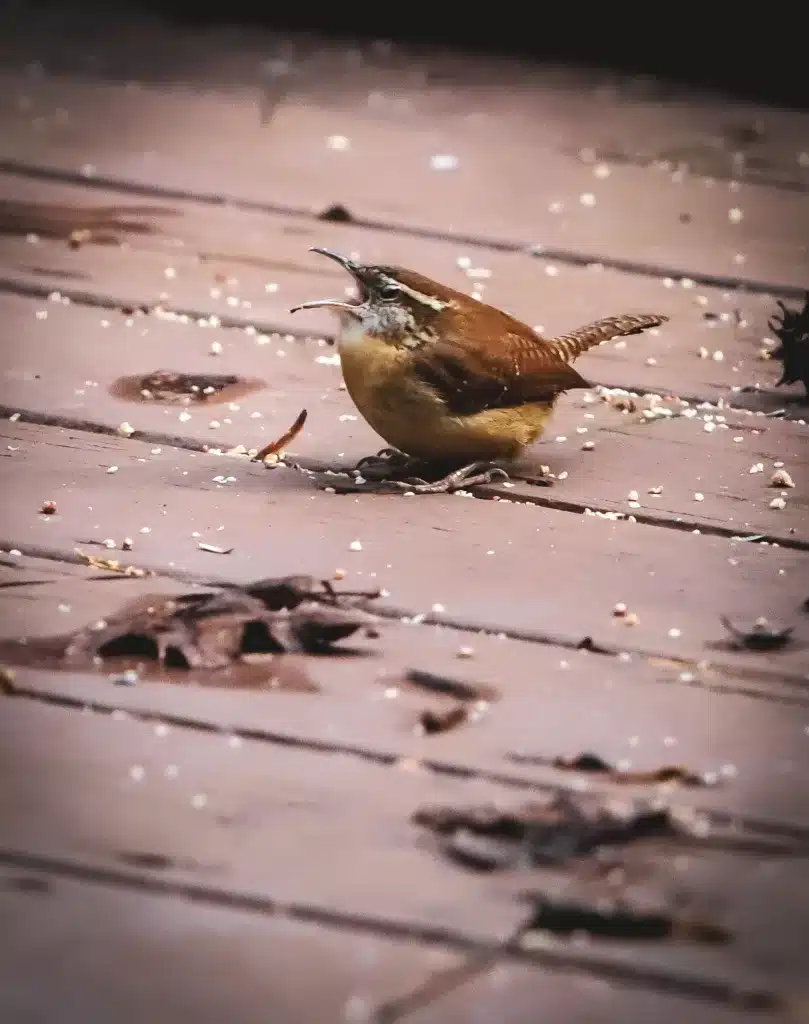
Suet cakes are the perfect solution for all those grain dregs sitting at the back of your pantry or freezer. I’ve even been known to use compromised grains from the annual miller moth invasions we suffer. The larvae and flies, as gross as they are, enhanced the nutritional value of the cakes, providing protein and phosphorus! Once the cakes were made, we wrapped them in foil and placed them in the freezer to set. The next day, we unwrapped the cakes and set them outside in the suet feeder, and within a few hours, myriad winged creatures were lingering and eating before our very eyes. Black-capped chickadees, titmice, and tree climbers of all types and sizes flocked to the suet cage to peck and eat our homemade treats, bringing color to those dreary late winter days.
Today, with the youngest in high school, I am the solo maker of suet cakes. It’s a winter and early spring essential. I could buy the cakes, but that is boring and expensive. Plus, what would I do with all those grain dregs that we continually have? Three-year-old buckwheat, white flour, corn flour, corn meal, whole wheat, oatmeal, you name it. I use any grain I can find that needs to move its way out. I also use raisins or other fruits that have crystallized with age. Below is the recipe I use to make suet cakes. If you have a young one in the house, you will want to include him or her in the process.
This post may contain affiliate links, which means I make a small commission at no extra cost to you. You can view my Privacy Policy Here.
Recipe Variations
You can vary this recipe by adding dried fruits and nuts, different combinations of flours and grains, and various birdseed varieties to the mixture. As long as you have the base set at one cup of lard and one cup of peanut butter, you can modify all the remaining four cups of grain ingredients.
Supplies You will need for homemade suet cakes
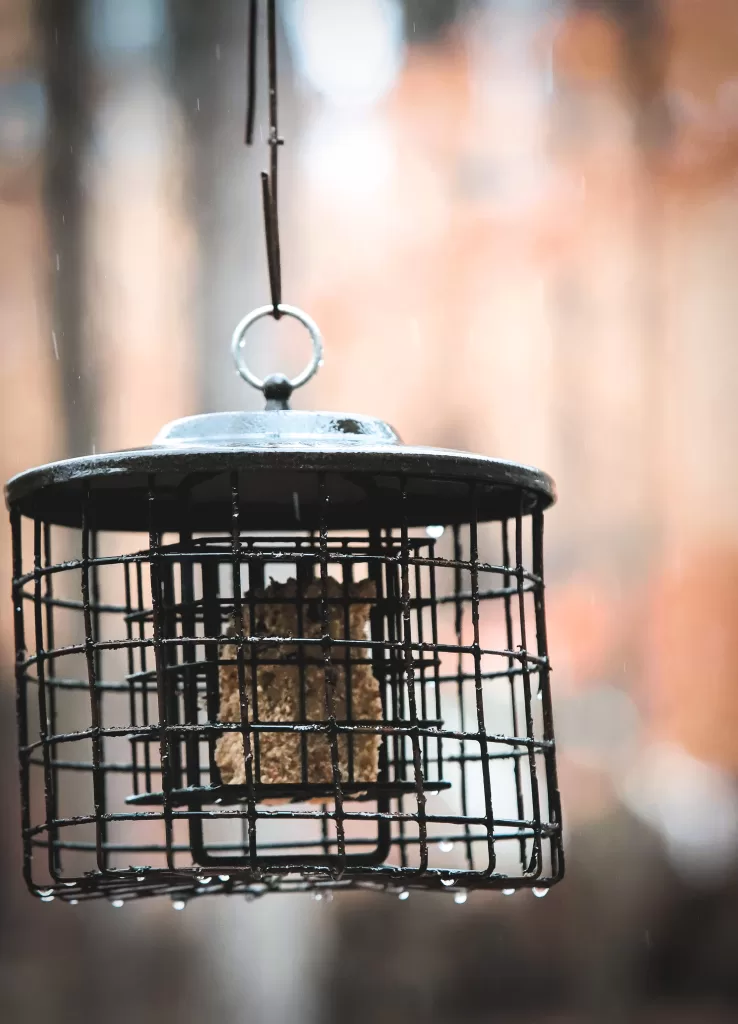
Squirrel-Proof Double Suet Feeder
Here is a link to the squirrel-proof double suet feeder we use. We figured out pretty quickly that we needed squirrel protection. So, we purchased this one with the cover on top and the double access grids to keep the squirrels out.
Regular Suet Cage
If you don’t have a squirrel problem, you can use an inexpensive cage. So, with a $2 cage and homemade suet cakes, you can bring colorful birds to your backyard for mere pennies. The best part is the time spent making the suet cakes with your family and watching the birds from your window or porch.
Large Heavy Bottomed Pot
You will need to use a heavy-bottomed pot for this recipe. The cake batter is heated and stirred but gets stiff, so a heavy pot helps with this. Prepare a 9-inch square baker by spraying it with oil, or rubbing it with beef tallow covering the bottom and sides.
Homemade Suet Cakes
Ingredients
- 1 cup of lard or tallow
- 1 cup of peanut butter crunchy or smooth, whatever you have around, although we use the cheaper brands for this
- 2 cups cornmeal
- 1 cup of oats
- 1 cup additional grains buckwheat, wheat flour, corn flour, corn flakes, oat flour, etc
- ½ – ¾ cup of bird seed
Instructions
- Prepare a 9-inch square baker by spraying it with oil, or rubbing it with beef tallow covering the bottom and sides.
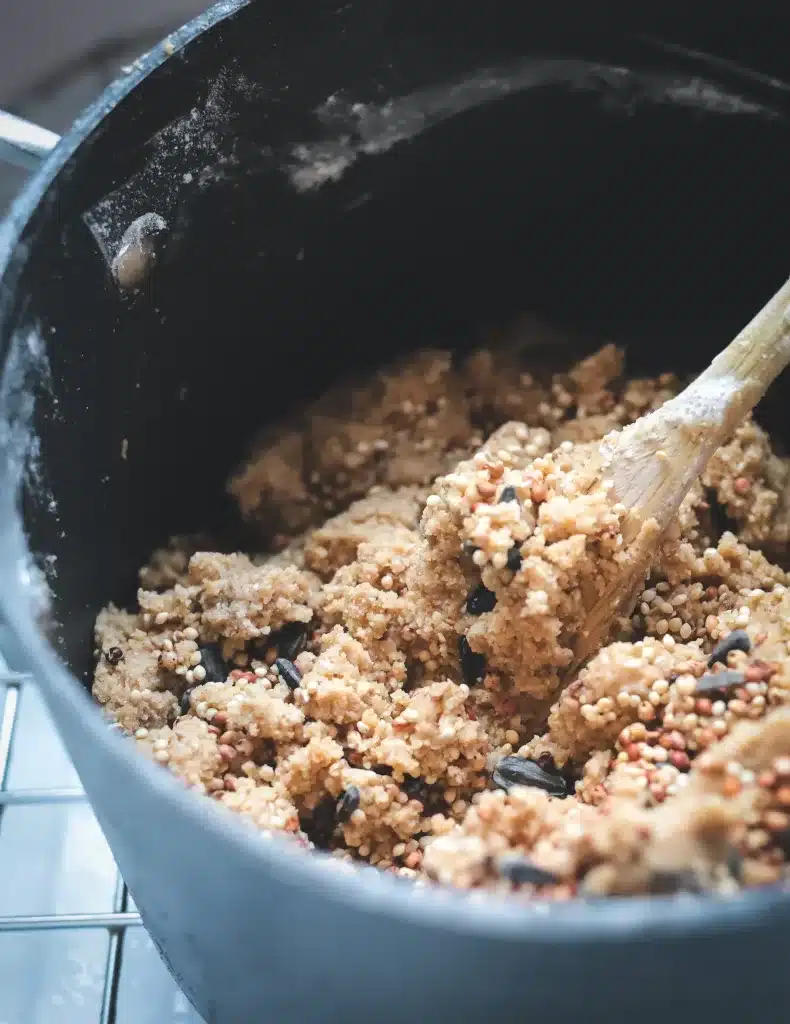
- With the burner on low medium, place one cup each of peanut butter and lard into the pot. Stir until mixed well and soft.
- Add your cornmeal. If you don’t have exactly 2 cups of corn meal, substitute flour for the balance.
- Next add your cup of oats and your cup of additional grains. Continue stirring.
- The mixture will be stiff, but well mixed. Now add the seeds at the end. The seeds attract the birds and give them a target to peck. The mixture should be thick and fairly stiff.
- After the mixture is completely blended, scoop it into the prepared dish and spread evenly across the entire pan. Cover and place the dish in the fridge or freezer for several hours to set firmly.
- Once the cakes are set, cut them into fourths, wrapping each one in paper, plastic or foil. Keep the ones you aren’t using in the freezer. We have a double suet cage, so I like to start by placing two of the cakes in the feeder right away.

Contributing Author, Angie Nasrallah
Angie is a writer, hybrid educator, and mother of five who loves to spend her time in nature. Her passion for beauty and the outdoors is what inspires her contributions to Through the Wildwood, her daughter’s blog. From her writing, you will be inspired to get outside, slow down, notice beauty, and create something with your hands.
Leave a Reply