Sourdough is sensitive to temperature, which makes winter a tricky time for new and experienced bakers alike. A reader recently asked me to share a few of my favorite tips and tricks to winterize sourdough starter. This question brought back many fond memories of my first winter keeping a starter. It was challenging to get it to rise, and I resorted to a few strange techniques, even once accidentally baking it in the oven! These challenges eventually inspired me to start this blog; to share what I was learning about sourdough with the world.
Table of Contents
This post may contain affiliate links, which means I make a small commission at no extra cost to you. You can view my Privacy Policy Here.
Pay attention to temperature
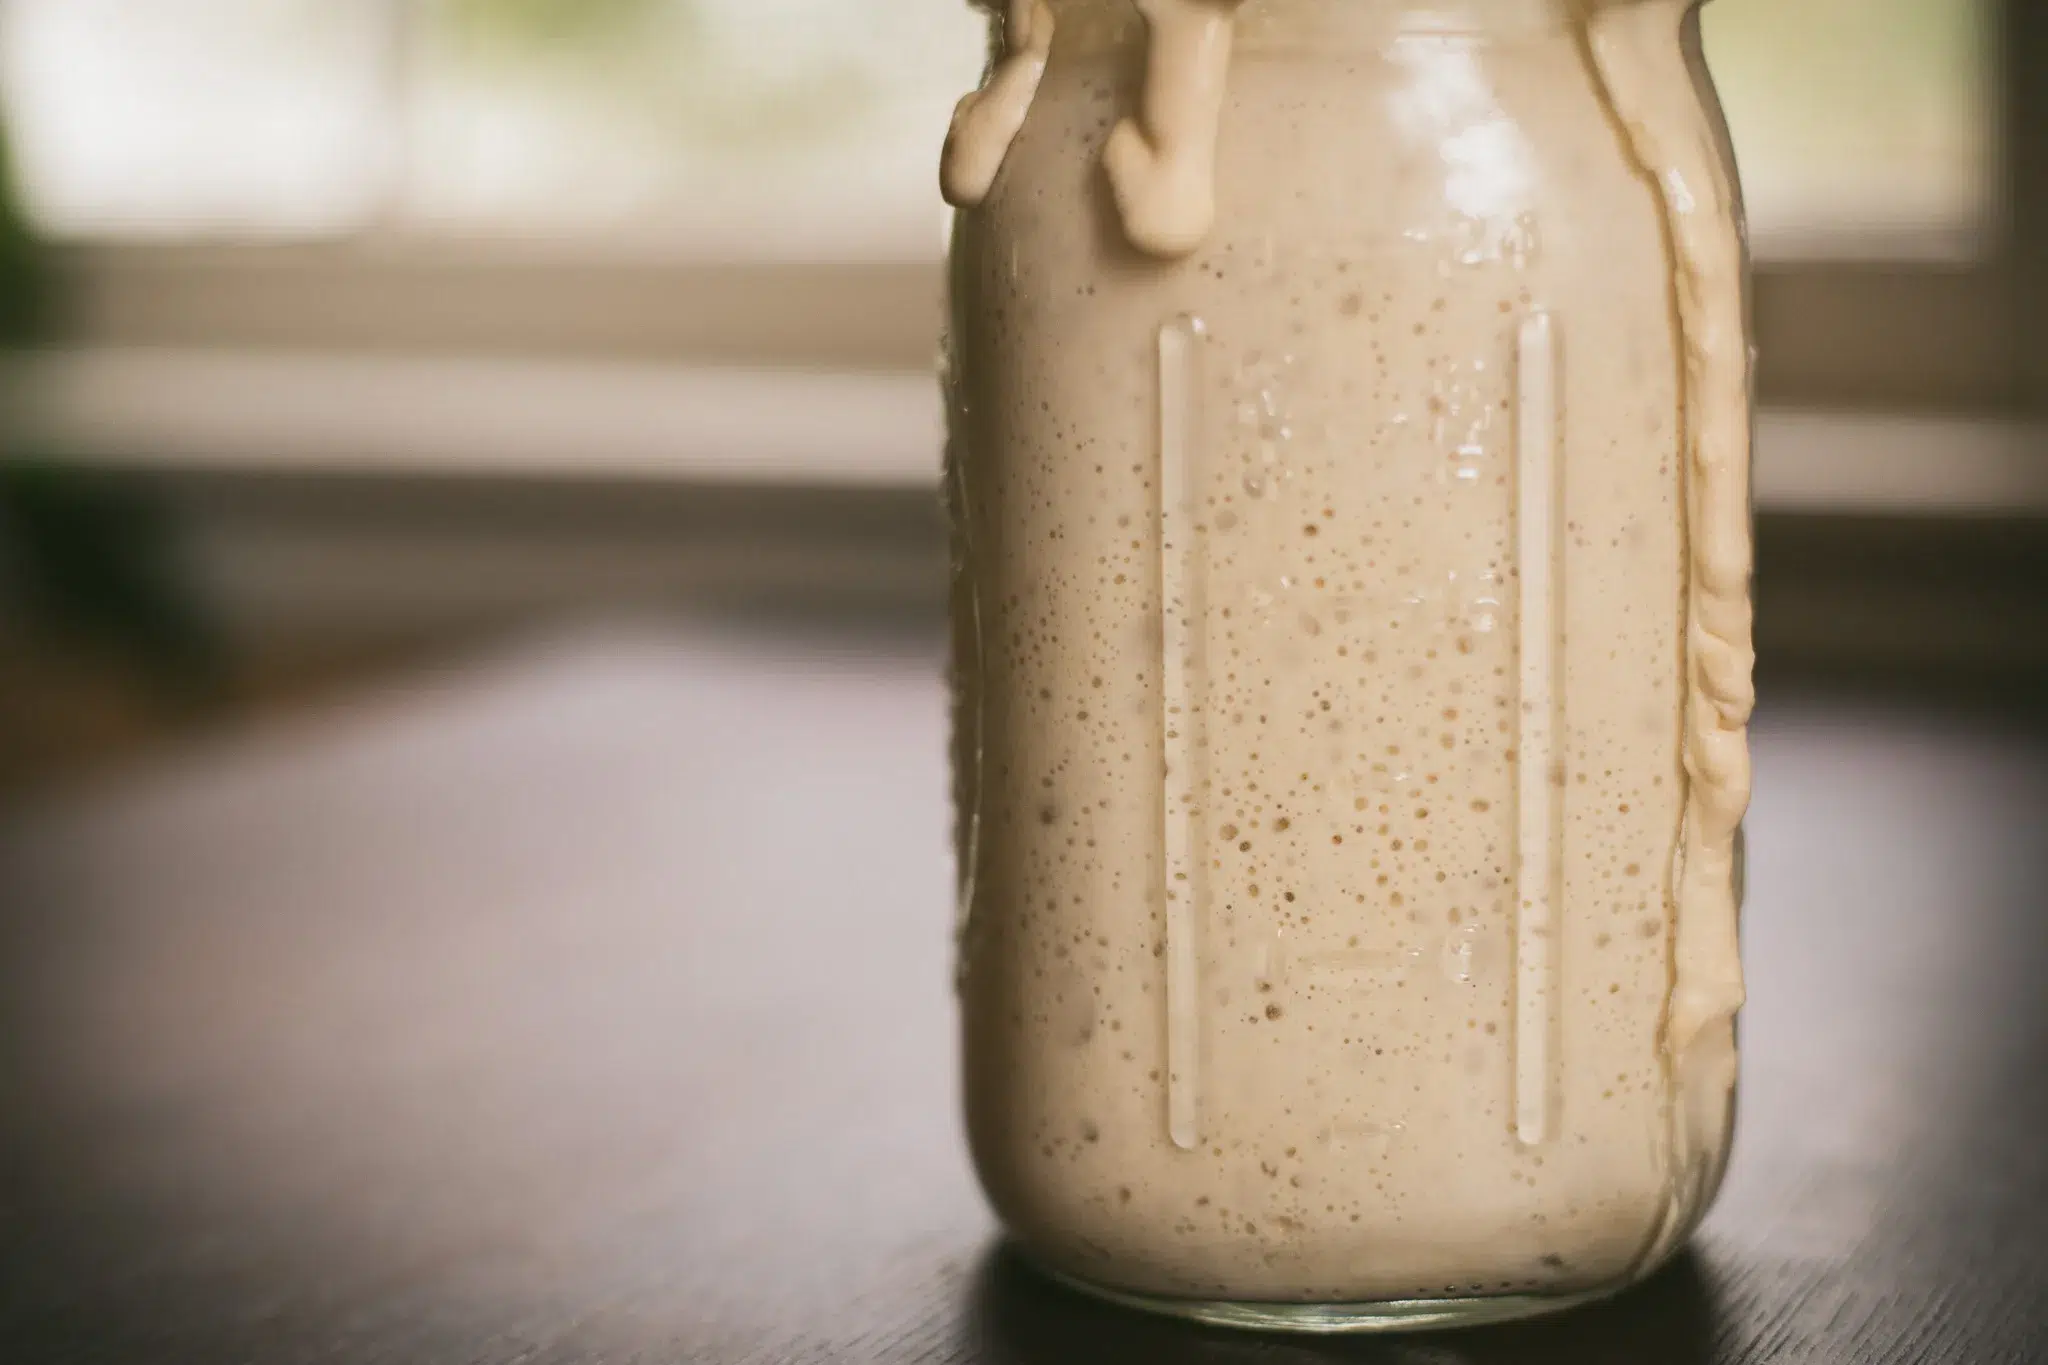
Keeping your starter between 70 and 80 degrees F is best for lots of healthy activity. In the winter I have been known to place the starter near a warm air vent, on top of a hot oven, near a wood burning stove (careful not to get too close!), or in an oven with only the light on. I also recently discovered that keeping my sourdough in a ceramic crock helps to retain heat much better than a jar.
Allow more time
With cooler temps, fermentation will take longer, both for your starter and your dough. In the summertime, my dough only takes a few hours to proof, but in the winter, it may take 5-6 hours for it to double in size. To winterize sourdough starter, be sure to account for this, going by whether or not your dough has doubled, not the time listed in a recipe.
Be mindful with freshly ground flour
With colder temperatures, your dough will take longer to rise. Recipes calling for freshly ground flour often take a little longer to rise than store-bought white flour. Freshly ground flour will also require higher ratios of water, bear this in mind as you plan your winter baking.
Water temperature
Using warm water will help keep your starter (or dough) warm and jump start the fermentation process. You don’t want to kill the beneficial microbes in the starter, so always test the water temperature on your wrist to make sure its warm not hot!
Tools and supplies to winterize sourdough starter
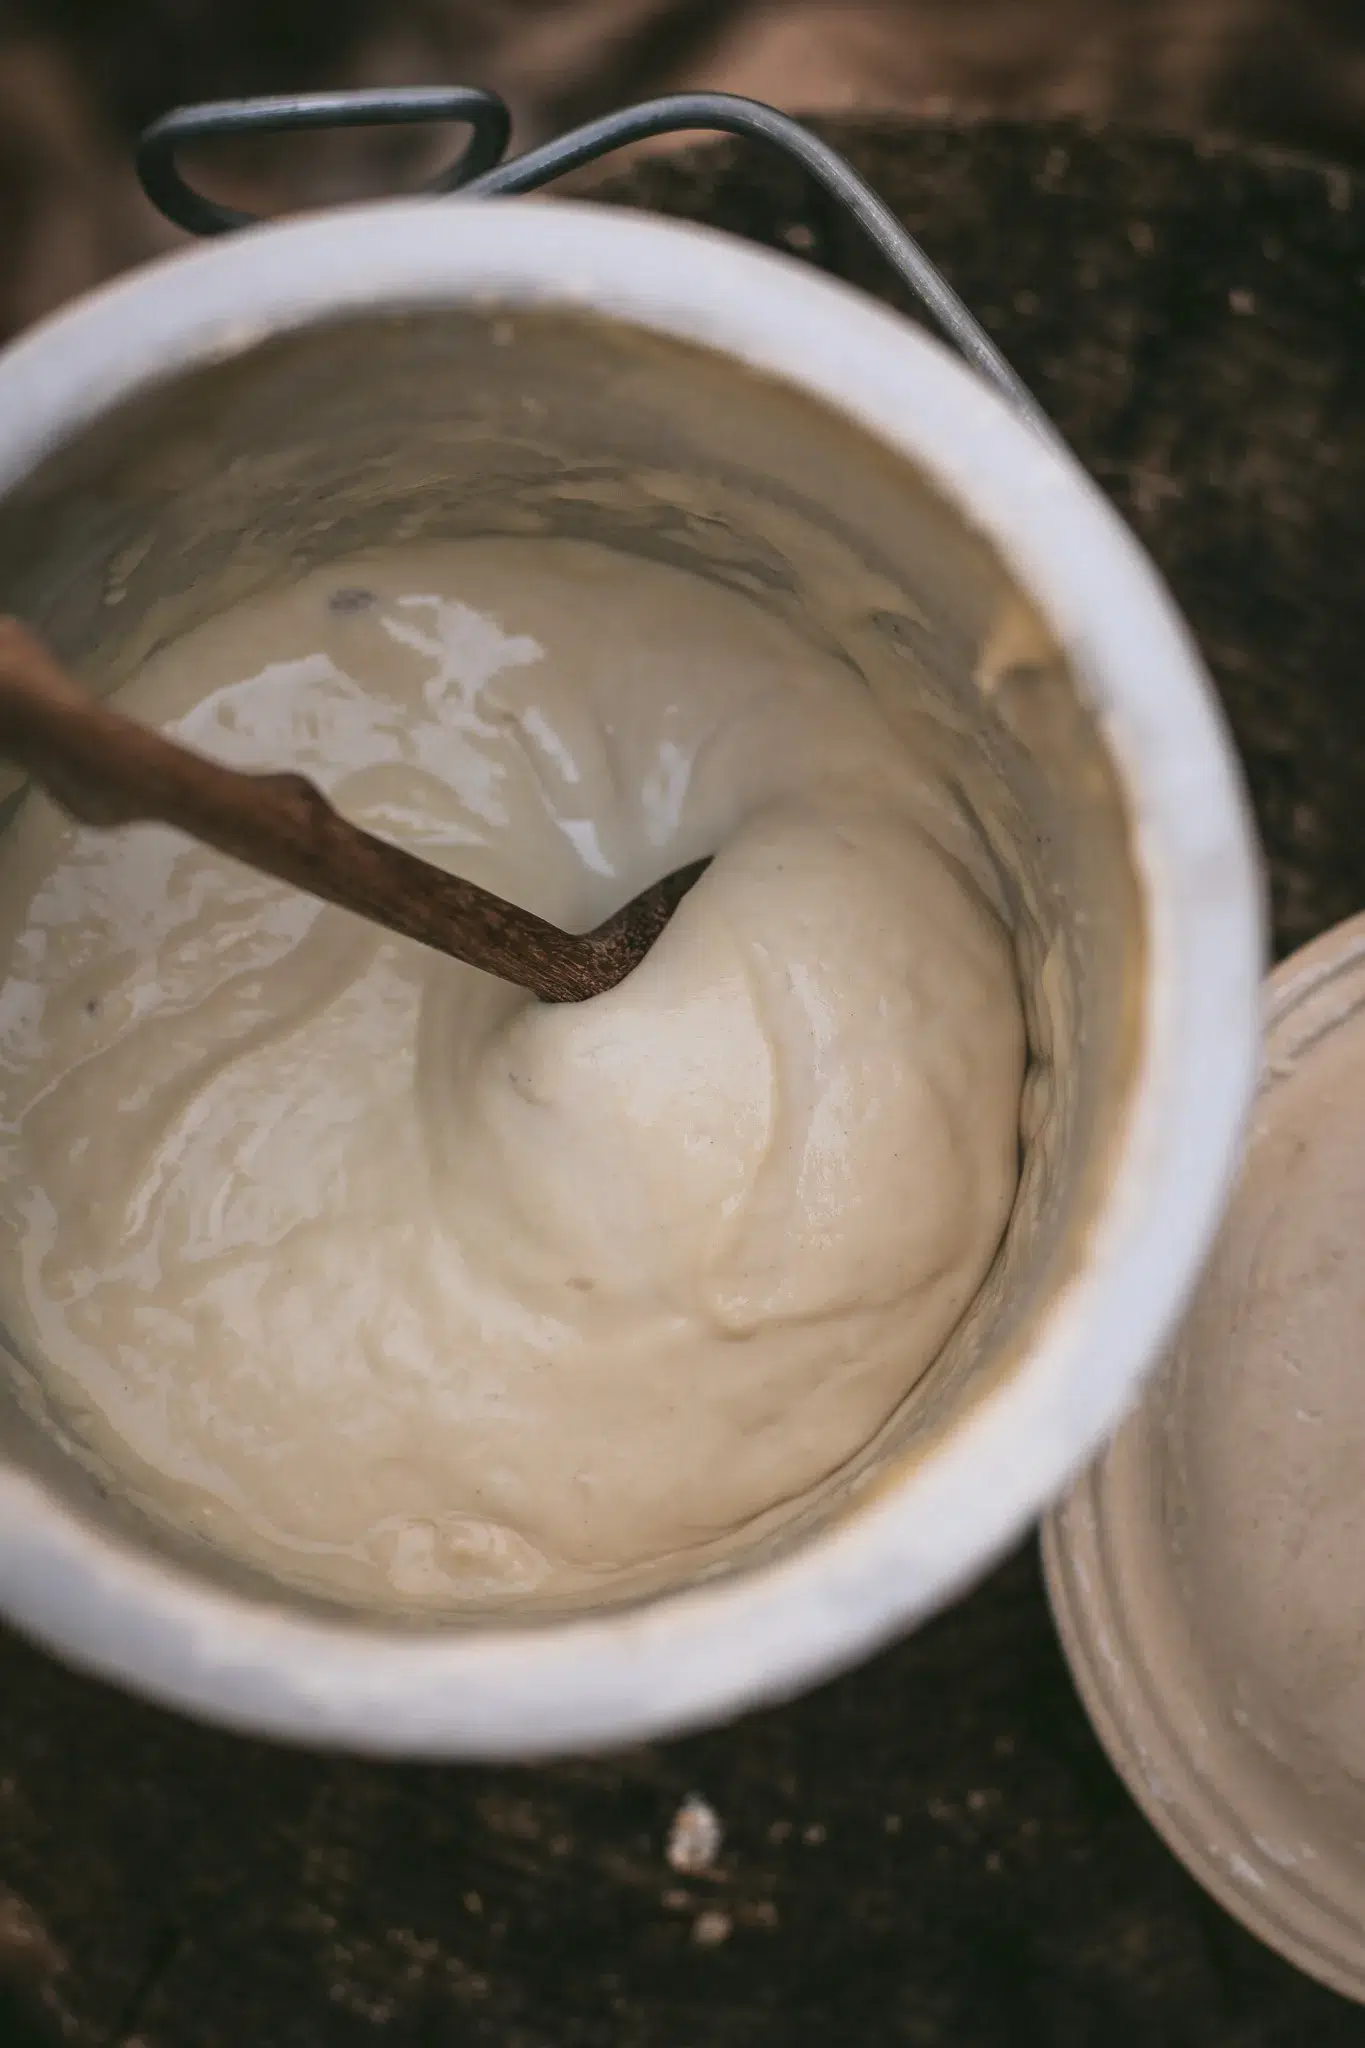
Ceramic crock
Storing your starter in a ceramic crock is a great way to keep its temperature regulated. Ceramic retains heat really well, making it an excellent option if you want to use a warming mat or even a sunny window to warm up your sourdough. starter.
Warming mat
This is my first winter using this tool, and it’s truly a game-changer. I no longer have to wait days for my starter to activate in a chilly kitchen or worry about how to warm it up without baking or burning it. This mat is so simple: I plug it in, place my starter in the middle, and it works every time to help my starter (or dough) warm up and ferment really well. This is likely my favorite tool to winterize sourdough starter!
Filtered water
Winter is a tricky time for sourdough starter, so now is an especially good time to make sure your starter is in excellent health. The chlorine, pesticides, fluoride, and heavy metals in most tap water are damaging to the delicate fermentation process of your starter. It’s time to consider getting a filter that will make your water safe for your sourdough and yourself!
Organic all-purpose flour
If you’re not already using a high-quality flour, what are you doing? Please don’t feed your starter with flour that is bleached or enriched! Organic flour is even better, but I know not everyone can get their hands on it and that’s okay. As always, buy the best ingredients and supplies you can afford.
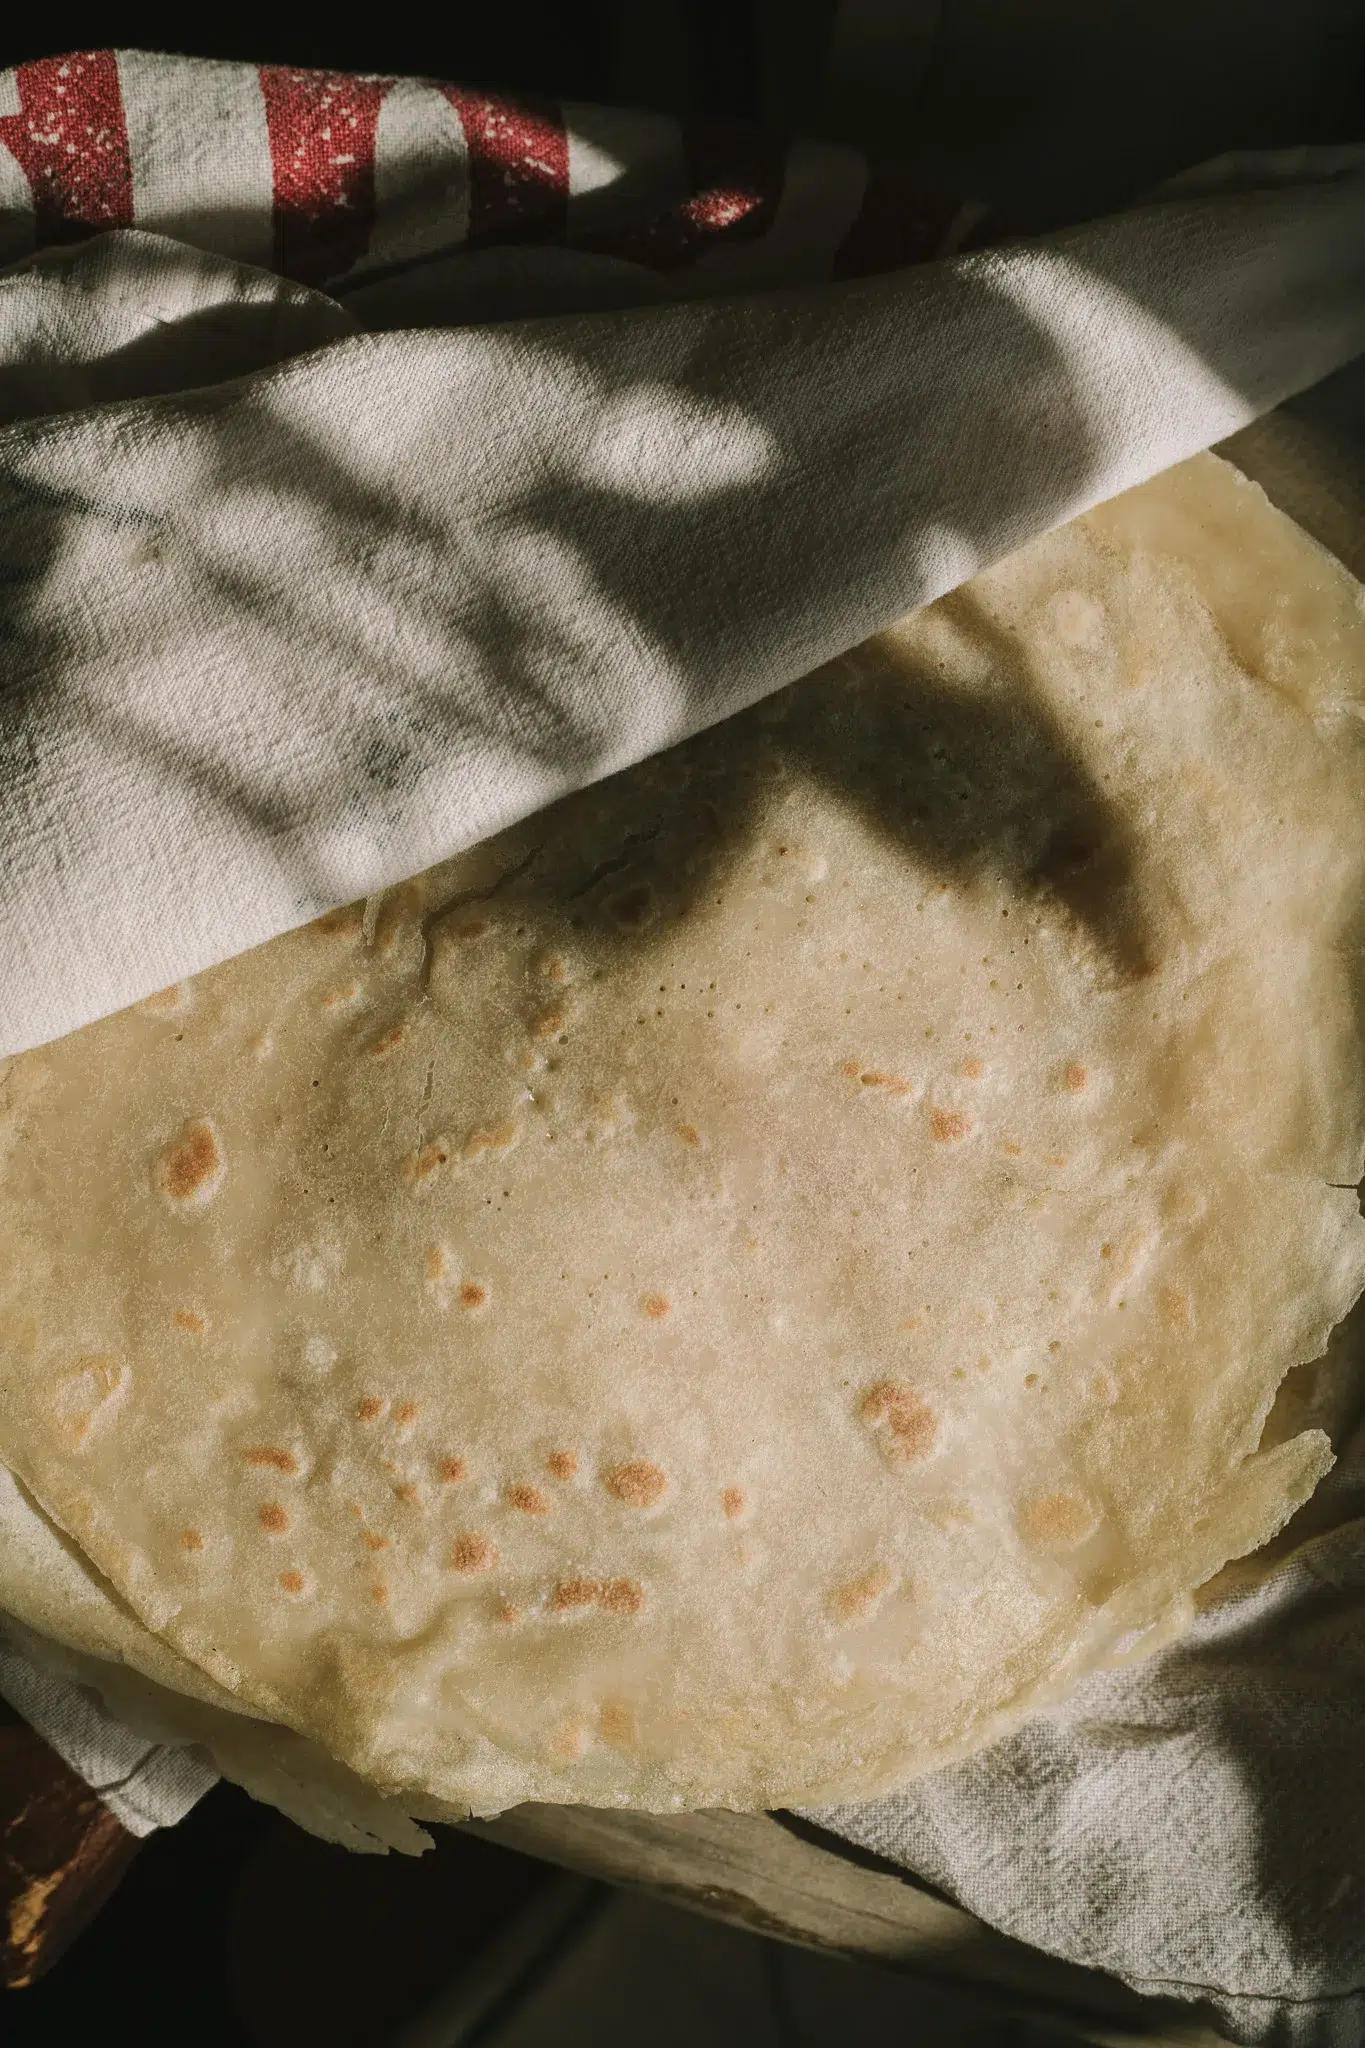
Once you winterize sourdough starter, check out these recipes:


Leave a Reply