What is a temperature blanket?
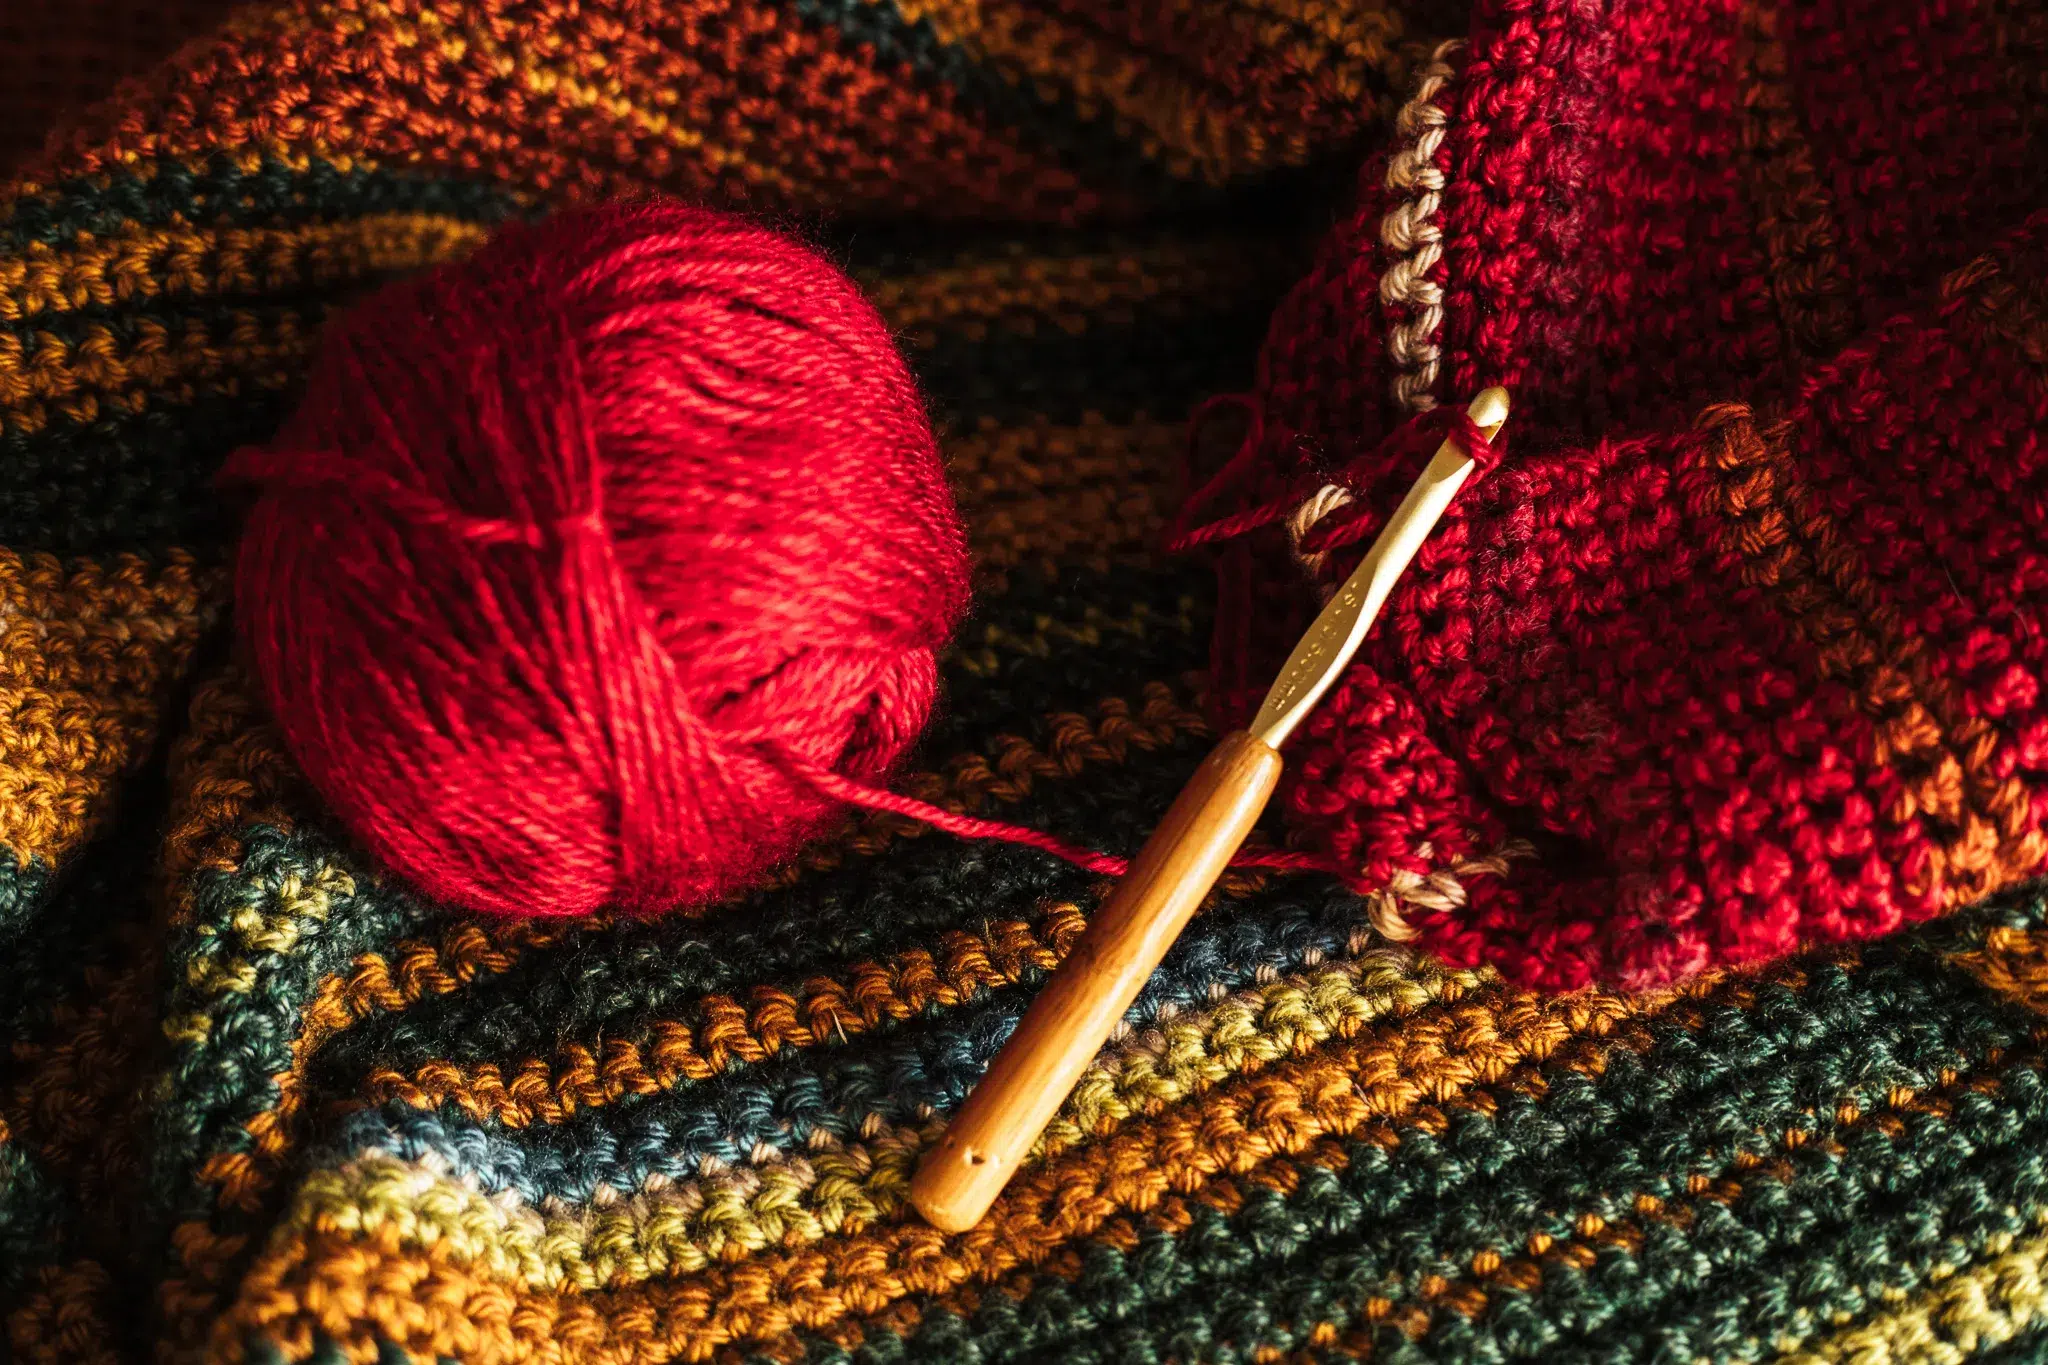
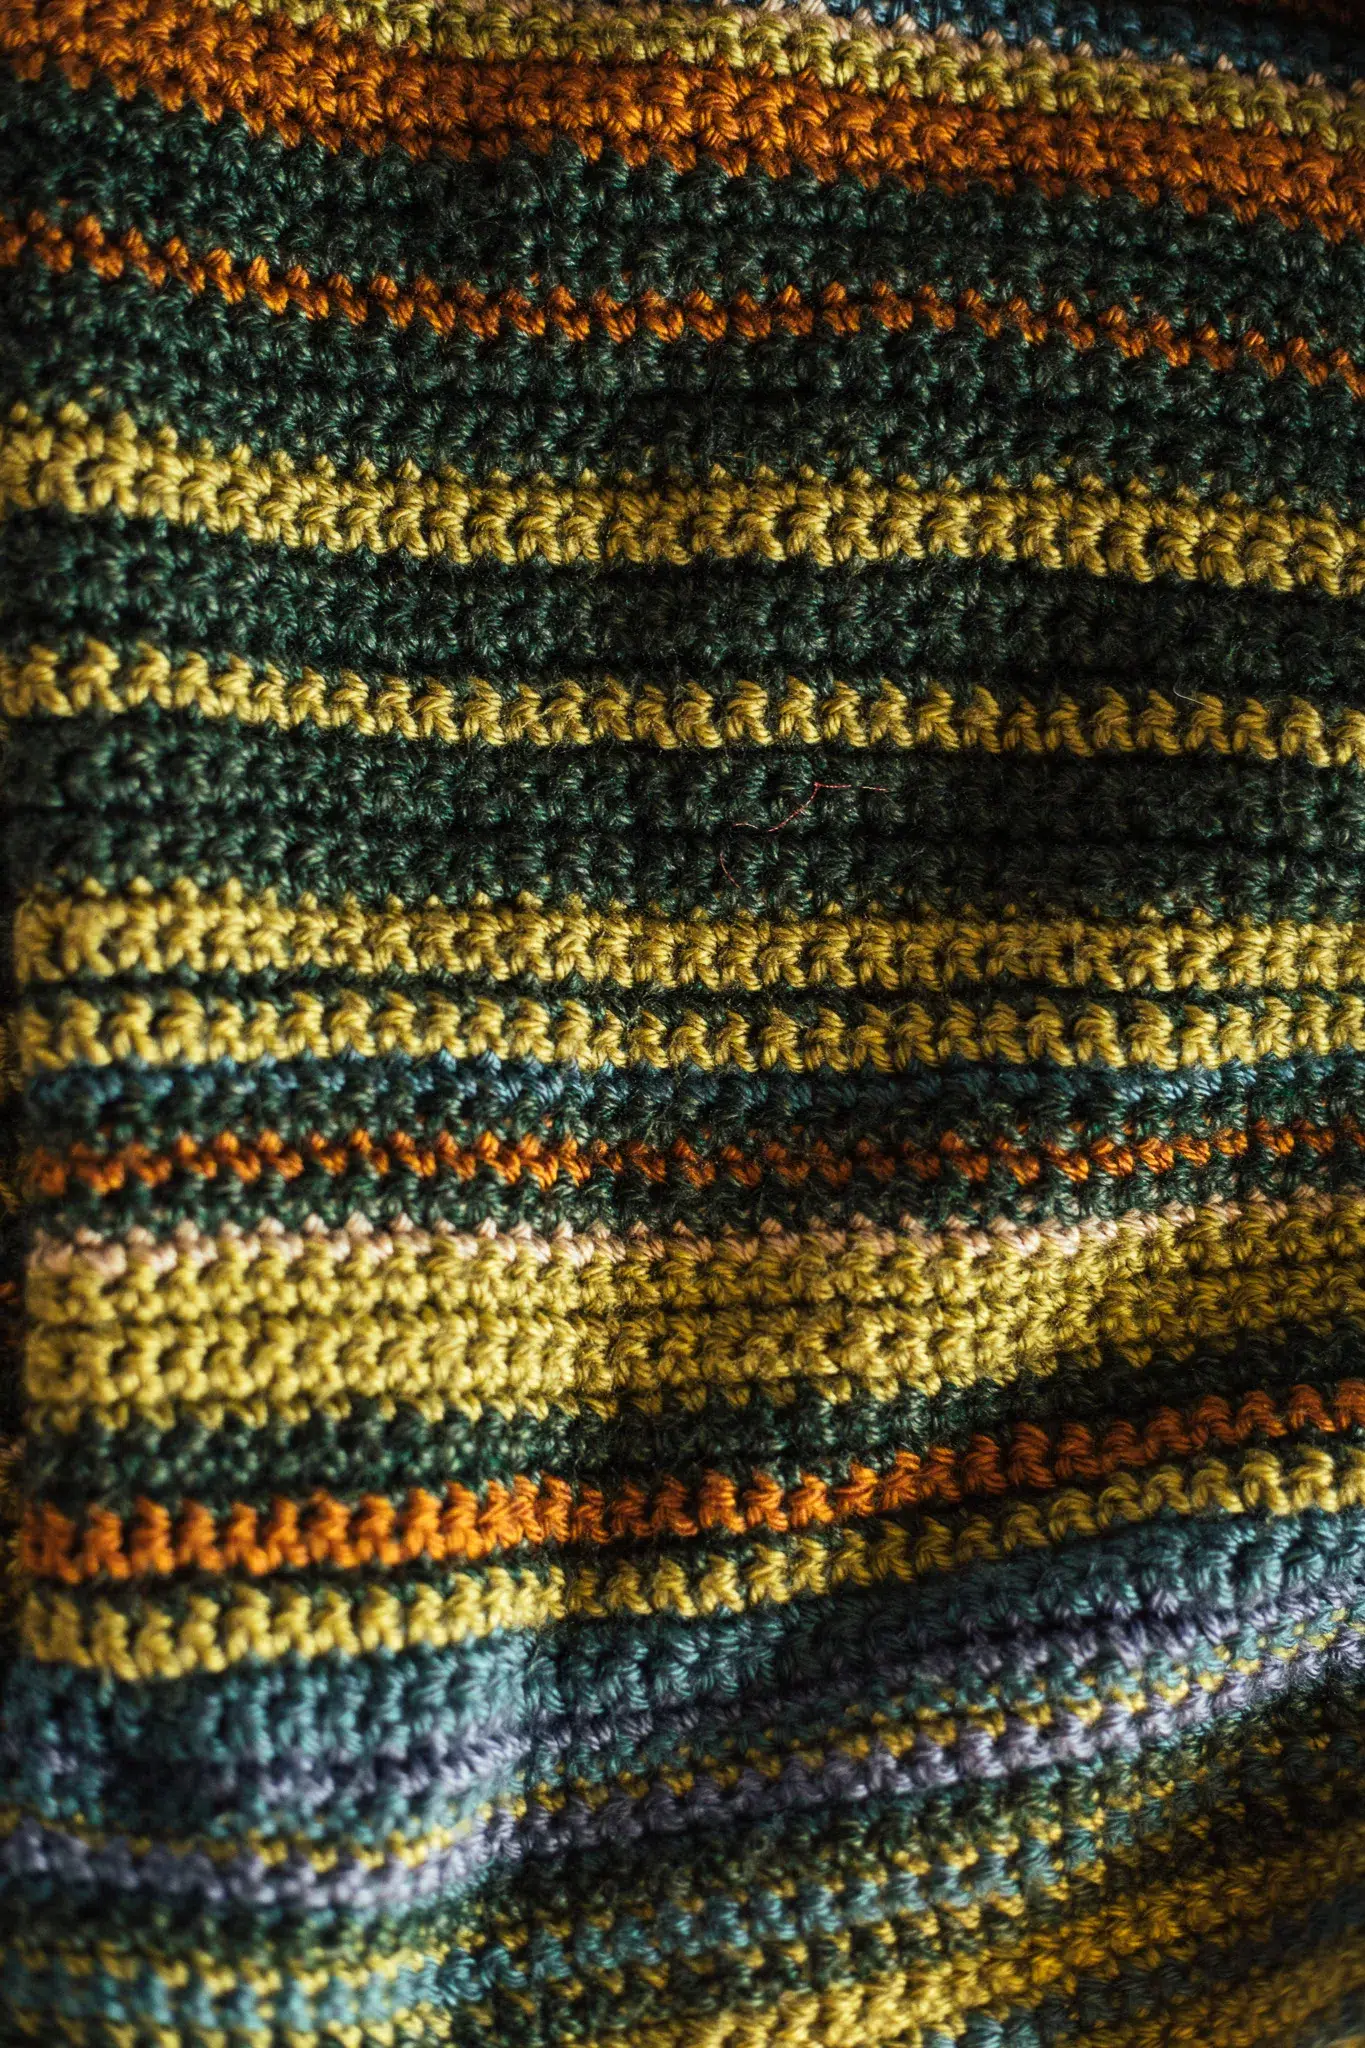
A temperature blanket is created to record the temperatures of every day of a particular year. It’s typically a crochet project, but can be knitted as well. Each row of stitches reflects the temperature on the corresponding day of the year. An additional row is also placed to divide the months, this row is usually a distinctive color, like white or cream.
What I love about this project
As an avid gardener and nature lover, I really enjoyed visualizing the seasons change through the temperature blanket. It gave me something to look forward to during the dark days of winter, and a challenge to keep up with in the busyness of summer. This was also my first major crochet project so it was a great way to learn spacing, stitches, and more. I love that I have this visual of our entire year to enjoy forever. The blanket will live in our guest room to welcome friends and family.
Challenges of this project
This is a pretty big endeavor. Yes, you will only be crocheting one kind of stitch, but the stitches will be plentiful. It’s a great thing to plug away at while watching TV, listening to an audiobook, or visiting with friends. I was even known to work on my temperature blanket during calls, meetings, book clubs, and road trips. Yarn for this project can be expensive and sometimes hard to find. This project will also require you to plan ahead and be organized so you don’t get lost. Don’t worry, I have tips for addressing these challenges below!
This post may contain affiliate links, which means I make a small commission at no extra cost to you. You can view my Privacy Policy Here.
How do you choose the colors?
For my blanket, I choose colors to correspond with each ten-degree temperature range. I also wanted the blanket to reflect the highs for each day, so that is the number I based the colors on. This means I would use one color for any day with a high in the 90s, a different color for days where the high was in the 70s, and so on. Here in North Georgia, we can have vast temperature ranges where days start in the 20s and get up to the 50s or 60s, so deciding to go with the high temperature felt like the best way to reflect the actual temps of each day.
NOTE: I used Fahrenheit for this project, as I am based in the US.
Which yarn to use for a temperature blanket
Don’t make the mistake I made by using super bulky yarn. Trust me, it will make your blanket way too big and bulky. 365 rows is more than you think, and with the month divider rows it’s a very large project indeed. Instead, I used the Heartland family of yarn from Lion Brand, which are medium-weight skeins. I loved the vivid color options this family of yarn offered so it was an obvious choice. I went into my local Joann’s and laid out all the colors I wanted to use to make sure everything was in a single color palette and flowed well together.
Other Supplies you will need to make your temperature blanket
Temperatures and yarn colors

Below are the ten-degree temperature ranges and their corresponding yarn colors. I wanted my temperature blanket to be vivid, yet full of warm earth tones which is why I chose the colors you see below. We didn’t have any days with highs below the 30s, so I didn’t need to include that range, but your blanket will probably look different.
30s-Carlsbad caverns
40s-Glacier Bay
50s-Haleakala
60s-Kings Canyon
70s-Bryce Canyon
80s-Yosemite
90s-Redwood
100+-Badlands
Month divider-Wolf Trap
Temperature blanket Tips for success
- Use the Old Farmers Almanac
- I used this excellent resource for historical temperatures for the entire year. This was great when checking the temperature at the end of each day, or if I got behind I could look up past days.
- Keep up with it every day
- To avoid getting behind on this big project, try to complete a row each day or a couple every few days. I did this in the beginning and it was all smooth sailing until the summer when I started traveling and got a bit behind. I had to crochet in big blocks in order to get caught up!
- Buy yarn on sale
- Making a blanket can get expensive, so I bought 2 skeins of every color when I saw them on sale at my local Joann’s. Their sales also apply to online purchases, and have much better prices for yarn than somewhere like Amazon! After this, I noticed which yarn was going faster (we have many more days in the 50s than the 30s here, for example) and bought more when they went back on sale.
- Plan your temperature blanket ahead of time.
- Grab a notepad and write down which colors you will use for which temperature ranges, how much they cost, where to find them, and how you will organize your spreadsheet. Then it is time to execute!
- Use a spreadsheet
- Making a spreadsheet to keep track of each day’s temperature is essential to the success of this project. If you don’t do this, you might forget which day you are crocheting, use the wrong color, or forget to add a month divider row. I also recorded when I finished a row with the word “yes” to keep track of my progress. I will include a template below for you to see how I planned my temperature blanket.

Temperature Blanket Crochet Pattern
Instructions
- Using your first color (for Jan 1), chain 150-200 stitches, depending on how wide you want your blanket to be. I ended up starting with 150, looking at it, and then increasing to 200.
- Turn your work and single crochet with the color for Jan 2 into the chain.
- Repeat this process for the entire year, taking breaks to add the month divider color (also a single crochet row).
- Don't forget to weave in the ends as you go, otherwise it will be such a mess to deal with later!
Leave a Reply