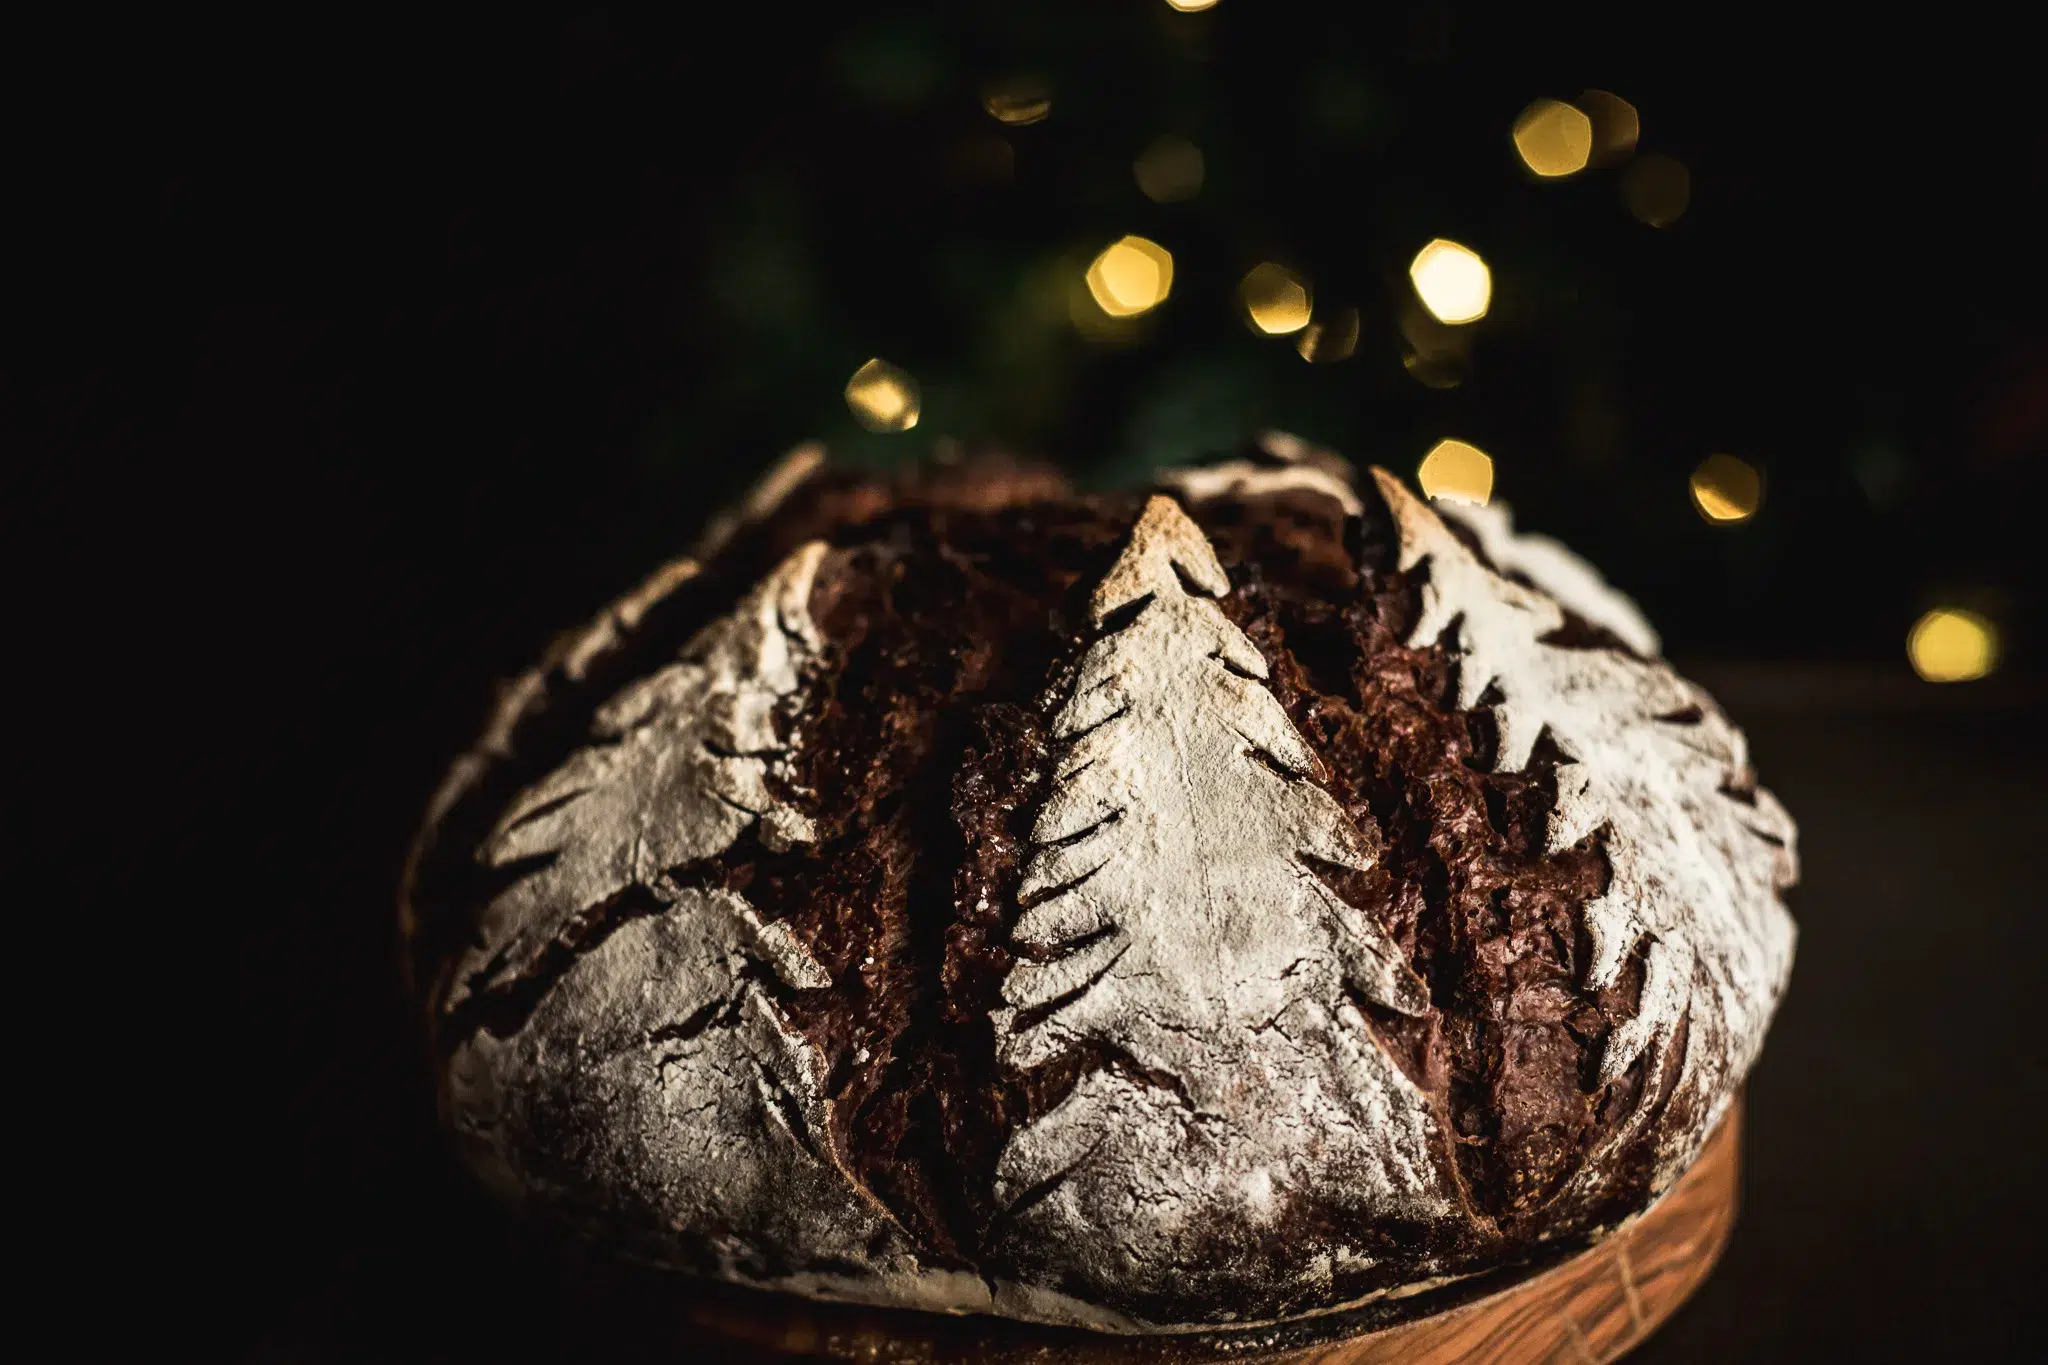
Finally, a chocolate sourdough recipe that isn’t full of sugar and chocolate chips! Don’t get me wrong, I love a sweet bread, but I wanted this loaf to be more versatile. The cocoa powder gives it a rich nutty flavor that can go sweet or savory, making it the perfect chocolate sourdough recipe. Cover in peanut butter or dip into runny eggs, this simple recipe can even be turned into chocolate french toast!
Jump to RecipeThis post may contain affiliate links, which means I make a small commission at no extra cost to you. You can view my Privacy Policy Here.
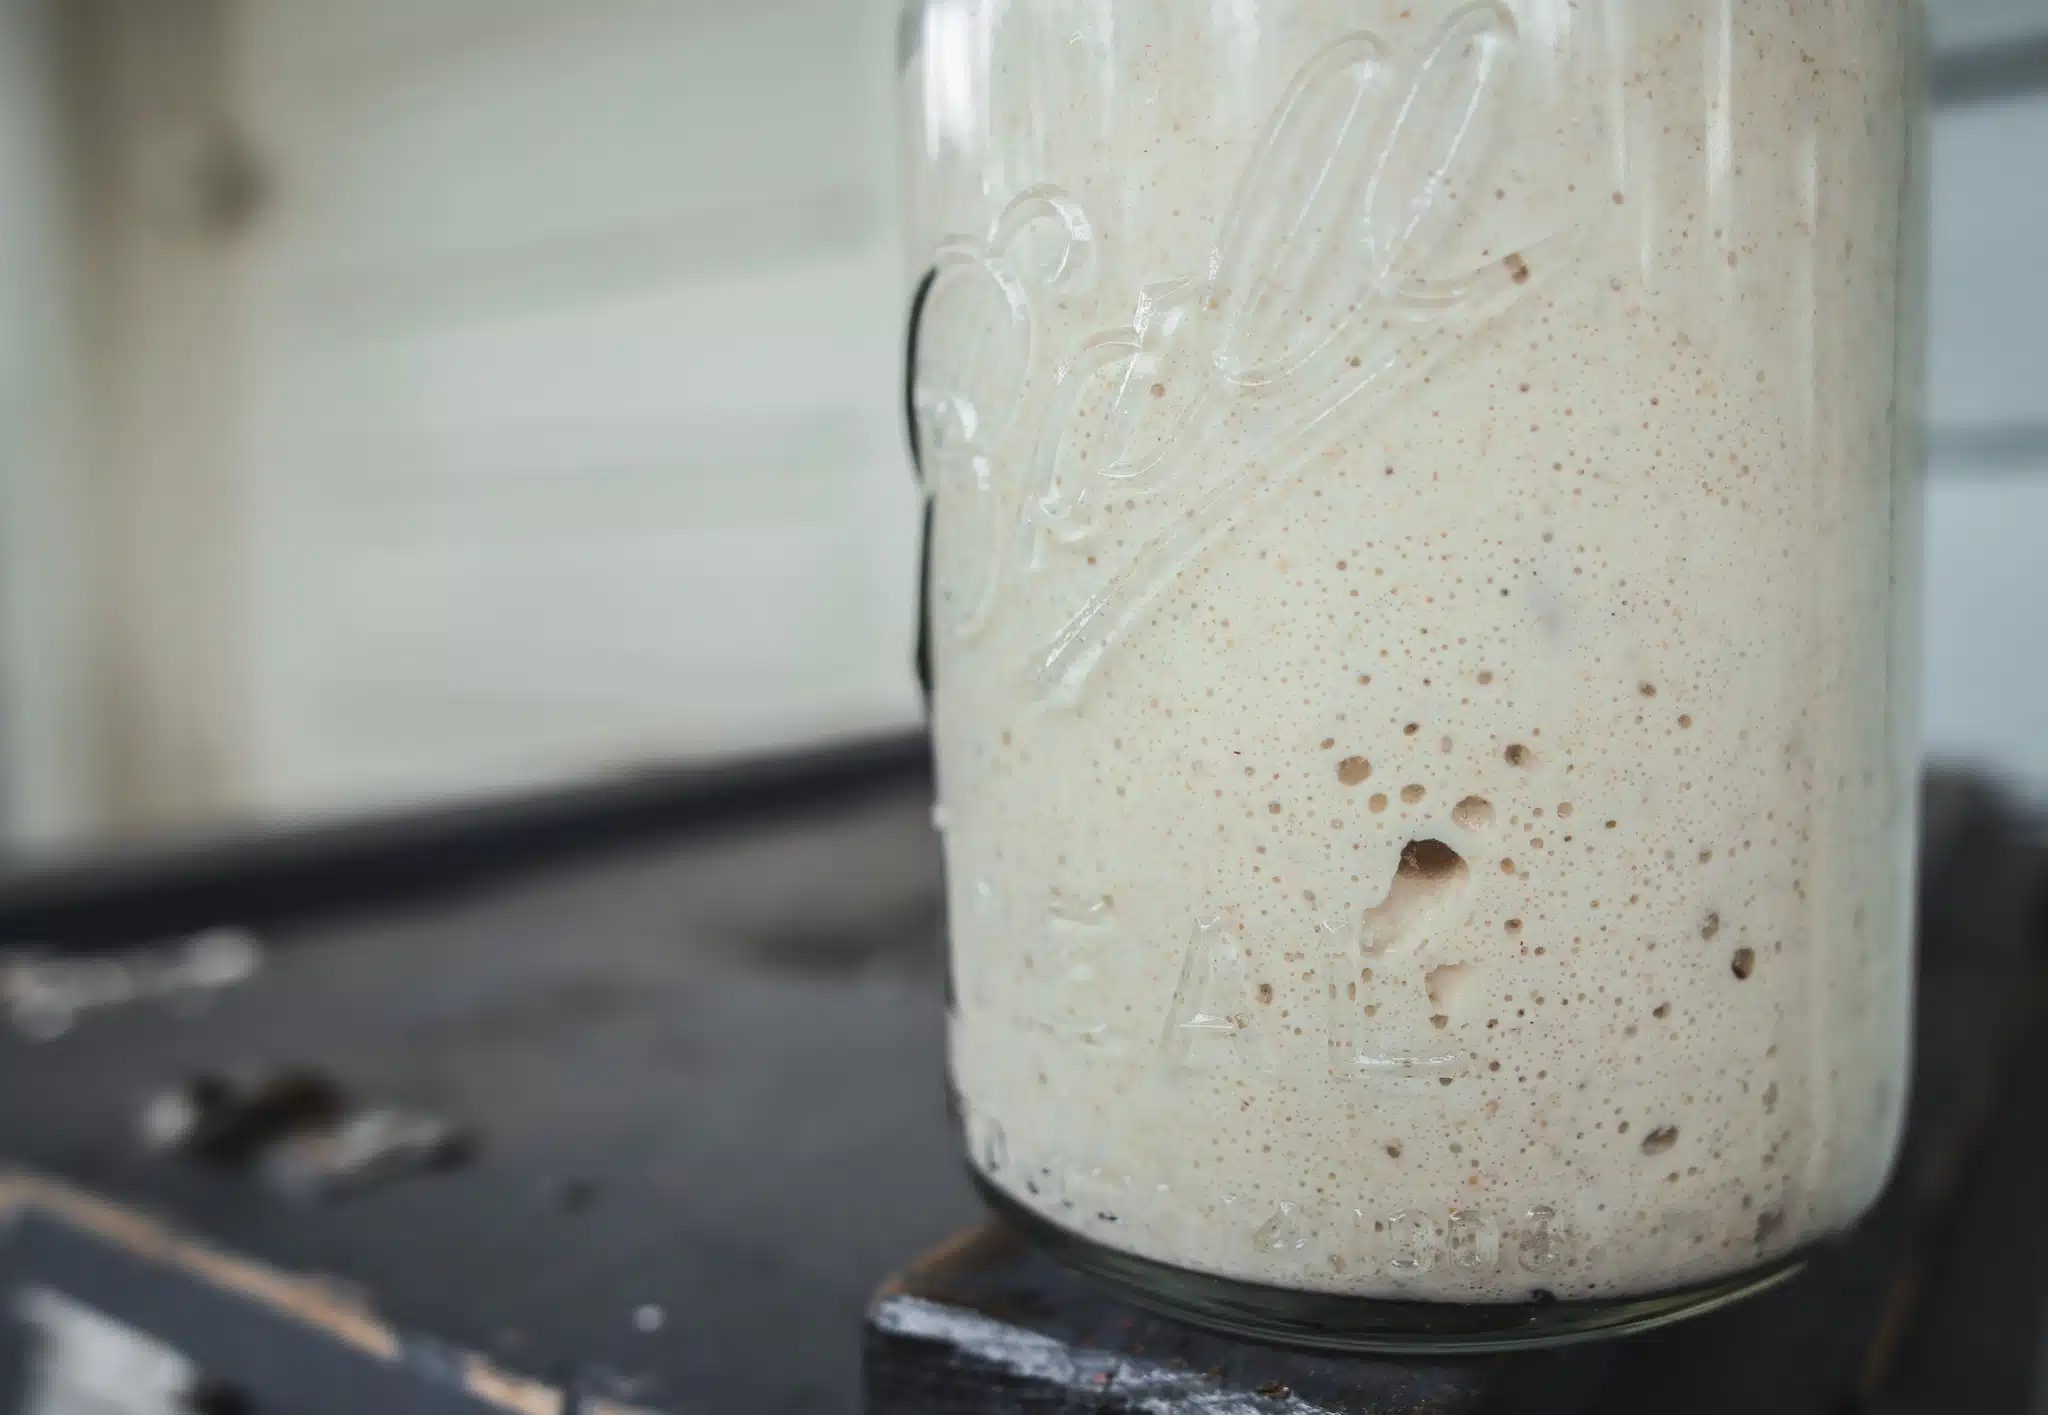
A note on sourdough starter: be sure you have an active, bubbly starter before you bake! You can read more about how to achieve this below
Why add chocolate to sourdough?
Chocolate, when it is sourced well and not paired with lots of sugar, has a myriad of health benefits. Fermenting it into bread is a great way to get some different vitamins and minerals into your diet. Additionally, adding chocolate to sourdough is such a fun way to try a different flavor. Chocolate Sourdough is kind of like Pumpkin Sourdough in that it can be served savory or sweet, depending on your preference.
How to serve chocolate sourdough:
- Toast with cinnamon honey butter, maple syrup, and nut butter.
- French toast
- Savory toast or breakfast sandwich
- Grilled cheese (trust me on this one, it’s delicious!)
- Slathered in butter and served with a soup or stew
To make this recipe you will need:
- Organic, unbleached bread flour
- An active sourdough starter
- Filtered water
- Natural Mineral salt
Bread Baker with Lid
~I love using my Le Cruset or my clay Baker from Breadtopia. Be sure to use an oven-safe, heavy bottom pot with a lid.
Bread Banneton
~for bulk fermenting your dough
A Kitchen Scale
I like to work with an inexpensive one from Amazon.
Bread Lame
~to score your dough. This is the one I use and love!
A fermentation crock or bowl with lid
For rising and fermenting your dough
Silicone Bread Mat
For shaping

Chocolate Sourdough Recipe
Ingredients
- 300 g water
- 150 g starter
- 450 g flour
- 50 g unsweetened cocoa powder
- 50 g maple syrup
- 10 g salt
Instructions
The Day Before
- Measure and sift flour and cocoa powder into a large bowl
- Measure and add starter, water, and maple syrup into a separate bowl and mix
- When the starter has mostly dissolved into the water, pour flour mixture into the bowl
- Stir until the mixture forms a very rough dough
- Cover and rest for 30 minutes (this is the autolyse)
- Add your salt to the dough and use your hands or dough hook attachment to incorporate all the ingredients by kneading
- Once the salt is distributed, cover your dough with a lid, moist towel or clean shower cap
- For the next hour, stretch and fold your dough every 15 minutes
- For two hours after that, stretch and fold your dough every 30 minutes
- After the stretch and folds are done, cover and allow to bulk ferment for 4 hours or until doubled in size
- Turn out the dough onto a clean work surface and pre-shape into a large ball. Rest for 15-20 minutes
- Tightly share the loaf and transfer into a floured banneton or colander lined with a floured tea towel
- Cover and place in the fridge for 8-10 hours
Bake Day
- Preheat your oven and baker with lid to 500 degrees F
- When you are ready to bake, gently turn your dough out, seam side down, onto baking paper
- Score your dough as you like and using the baking paper, lift the dough into the preheated baker and cover with the lid. Place inside the oven
- Bake covered loaf in the oven for 25 minutes
- Remove lids after 25 minutes and allow to bake for another 10 minutes or until the loaf reaches the color you like. I like to strive for a dark caramel but try not to burn the ears!
- Pull out your loaf once it reaches your desired color and allow it to cool for at least 1-2 hours before slicing
Leave a Reply