
Instant pot Greek yogurt is one of the first things I perfected after my mom gave me the versatile appliance for Christmas. I eat my weight in yogurt every week and buying it organic, grass-fed, whole milk, and non-GMO was getting pretty expensive! As always, I figured I could make it better and cheaper myself. Enter the instant pot.
The instant pot makes this entire process so much easier. There are already buttons and settings designed for yogurt making, so all you have to do is learn the method, set some timers, and wait (the hardest part!). If you want a thick, creamy, protein-packed, and probiotic-rich result, instant pot Greek yogurt is the way to go.
Jump to RecipeThis post may contain affiliate links, which means I make a small commission at no extra cost to you. You can view my Privacy Policy Here.
How to make instant pot Greek yogurt
Step one: Heating the yogurt
Heating the milk is what results in a thick, creamy, flavorful yogurt. Additionally, this process denatures lactoglobulin, one of the main whey proteins, thickening the yogurt and increasing the amount of protein.
Step two: Cooling the milk
Cooling the milk to around 110 degrees F allows us to add the culture (yogurt starter) without high heat killing off the good bacteria.
Step three: Keeping the mixture warm
The mixture is kept warm in the instant pot for 9-12 hours to ferment. During this time, the milk thickens, becomes tangy, and turns into yogurt.
Step four: Straining the yogurt
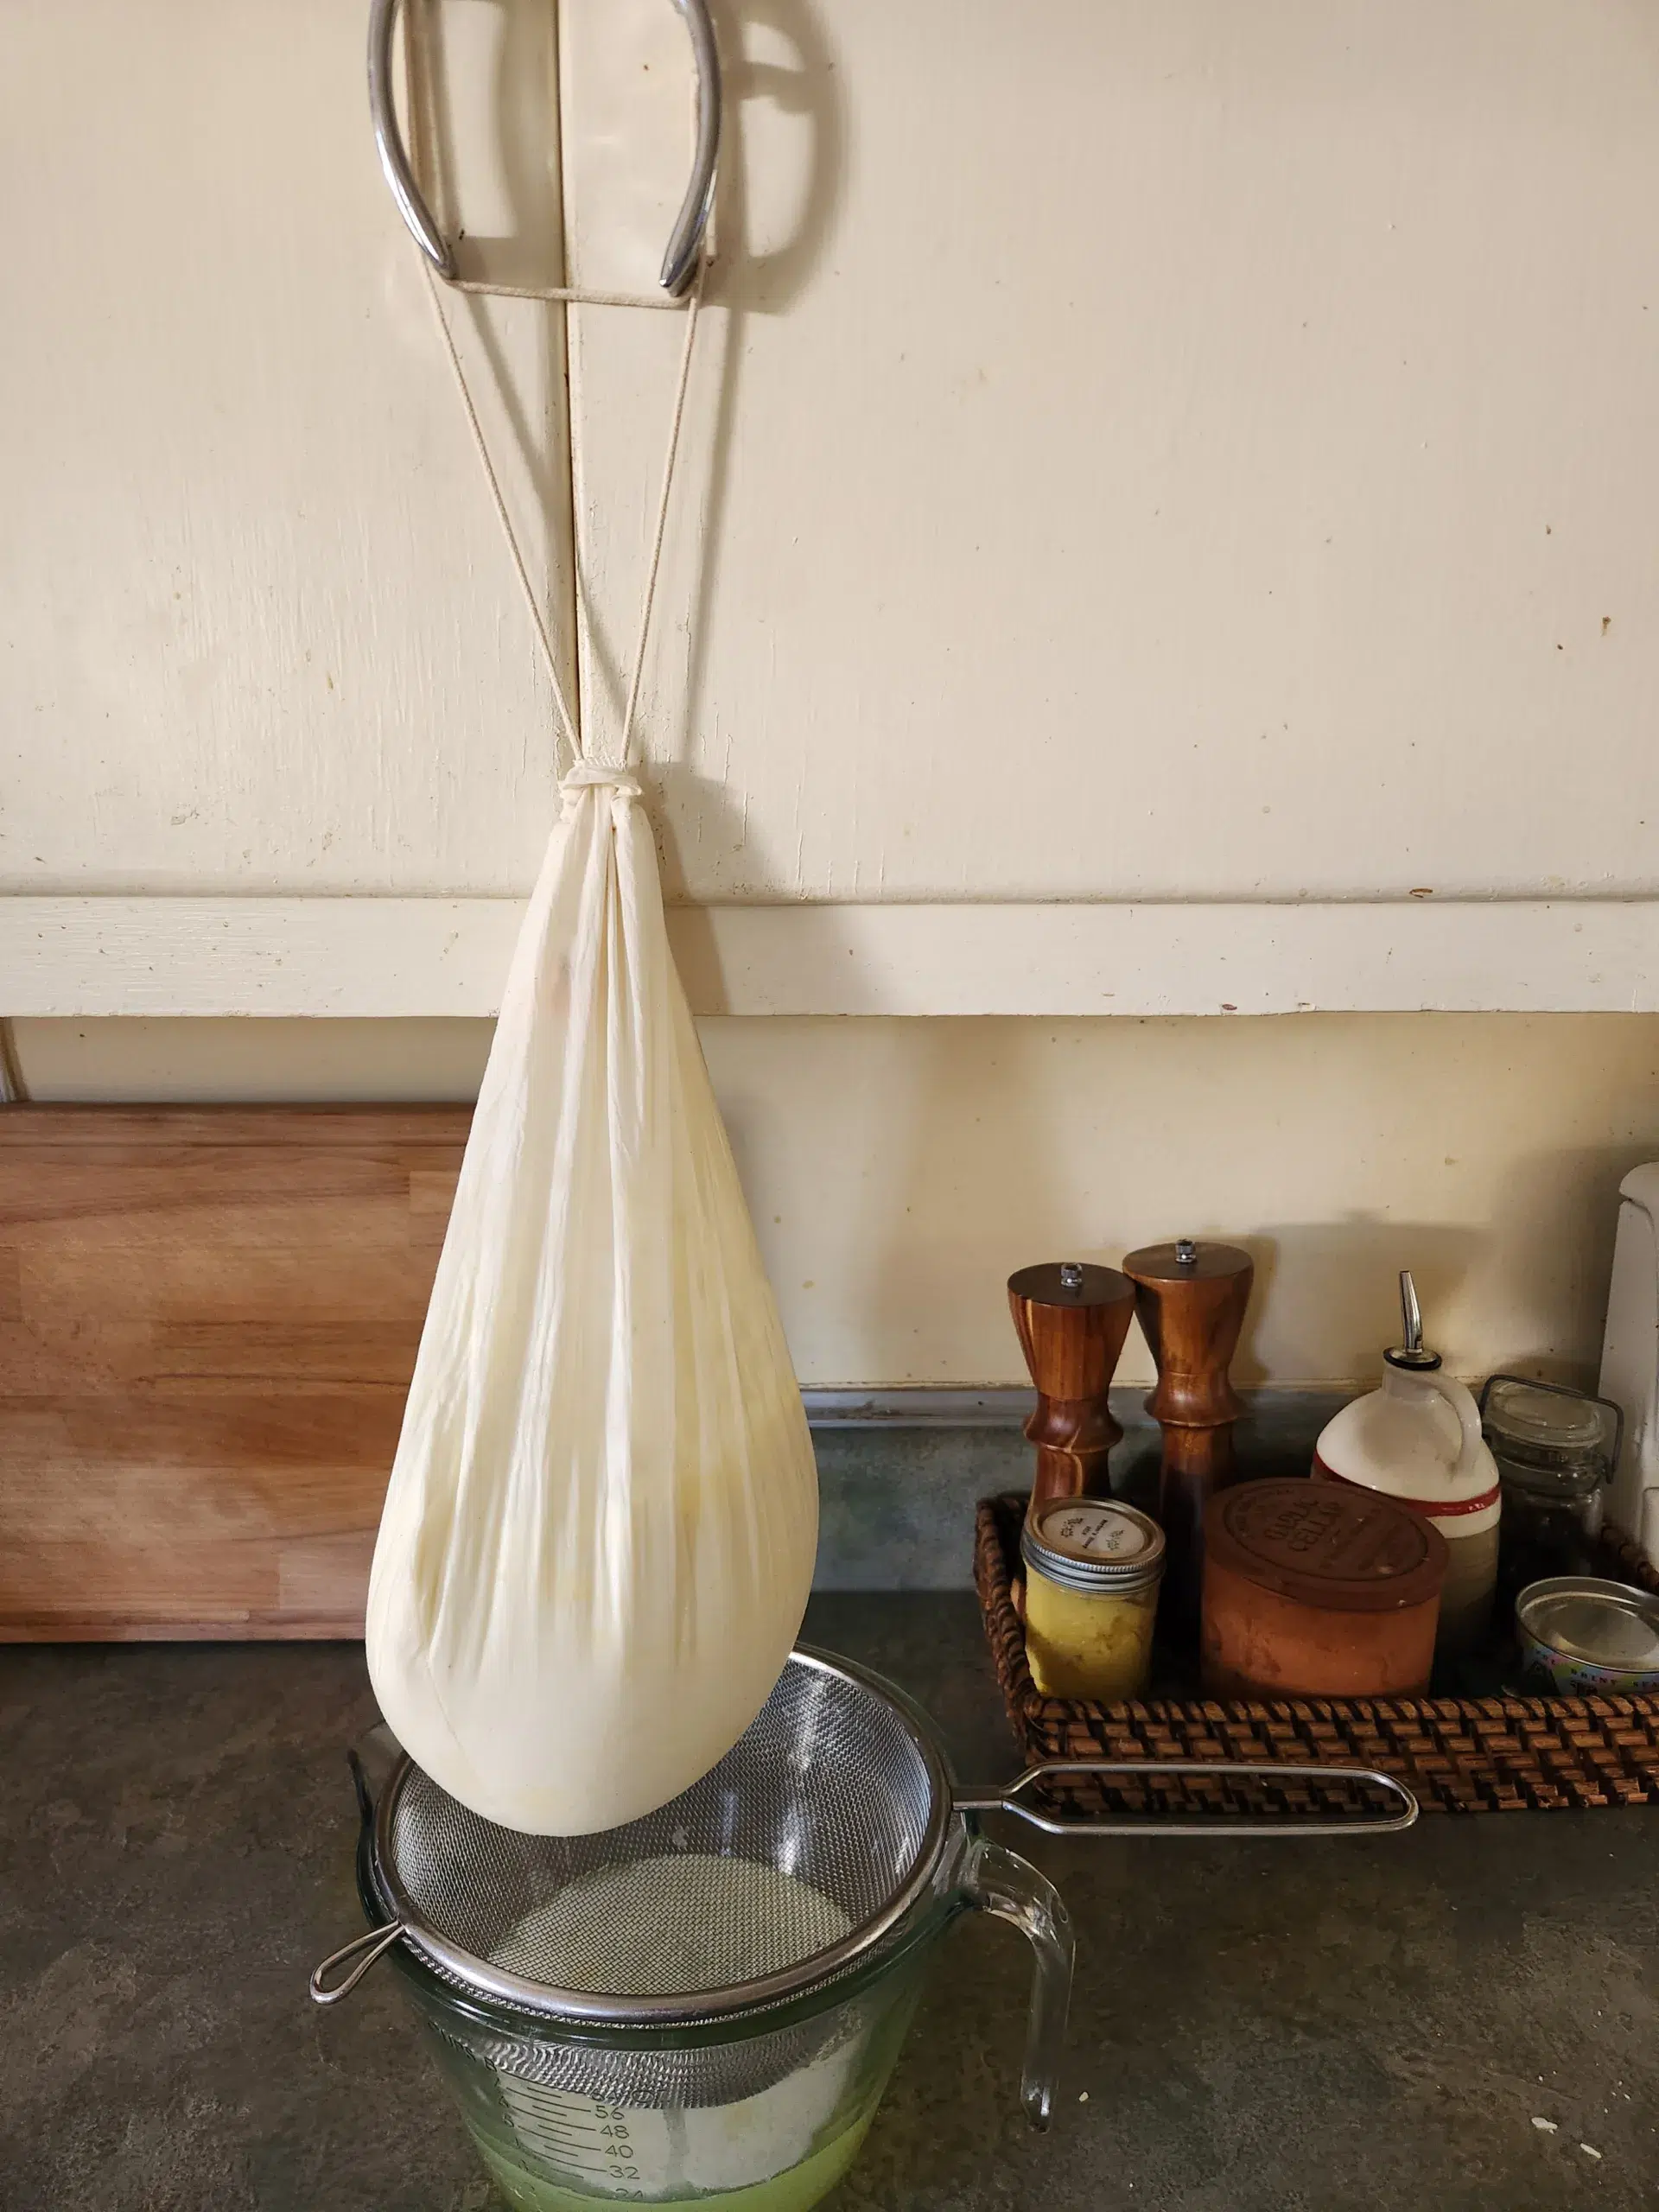
Your yogurt will now be thick and pourable but must be strained to achieve Greek yogurt texture. Using nut milk bags is the best way I’ve found to achieve the perfect texture from instant pot Greek yogurt. I add the yogurt to the bag and hang the bag over a bowl with a fine mesh sieve placed on top of it (pictured). I strain anywhere from 12-24 hours until the yogurt is thick enough.
A few notes on straining instant pot Greek yogurt
Remember that straining yogurt using this method will yield about a quarter volume of the milk you originally started with. So if you begin with a gallon of milk, your final amount of yogurt will be around 1 quart. This yogurt will be very dense and high in protein. I like my yogurt to be so thick that it can completely hold its shape (basically labneh without the salt). You will need to experiment with how thick and how long you prefer to strain.
Tips for the perfect Greek yogurt consistency, flavor, and texture
Use a high-quality yogurt starter
There are so many options at the store, that it can be very overwhelming. I look for a single serving of plain whole milk Greek yogurt, ideally organic and non-GMO, made from nonhomogenized milk. You might not be able to find something with all these qualifications, so just buy the highest quality available to you.
Use a high-quality, whole milk
Organic, non-GMO, pastured, whole milk will make the best possible instant pot Greek yogurt. If you can’t find this exact milk near you, buy the best quality you can find!
Use nut milk bags for straining
Nut milk bags have very fine holes for allowing liquid to pass through which will slowly drain the whey from your yogurt resulting in a very thick texture. I also love that you can use the strings to tie up the bags, or hang them from your cabinet handles
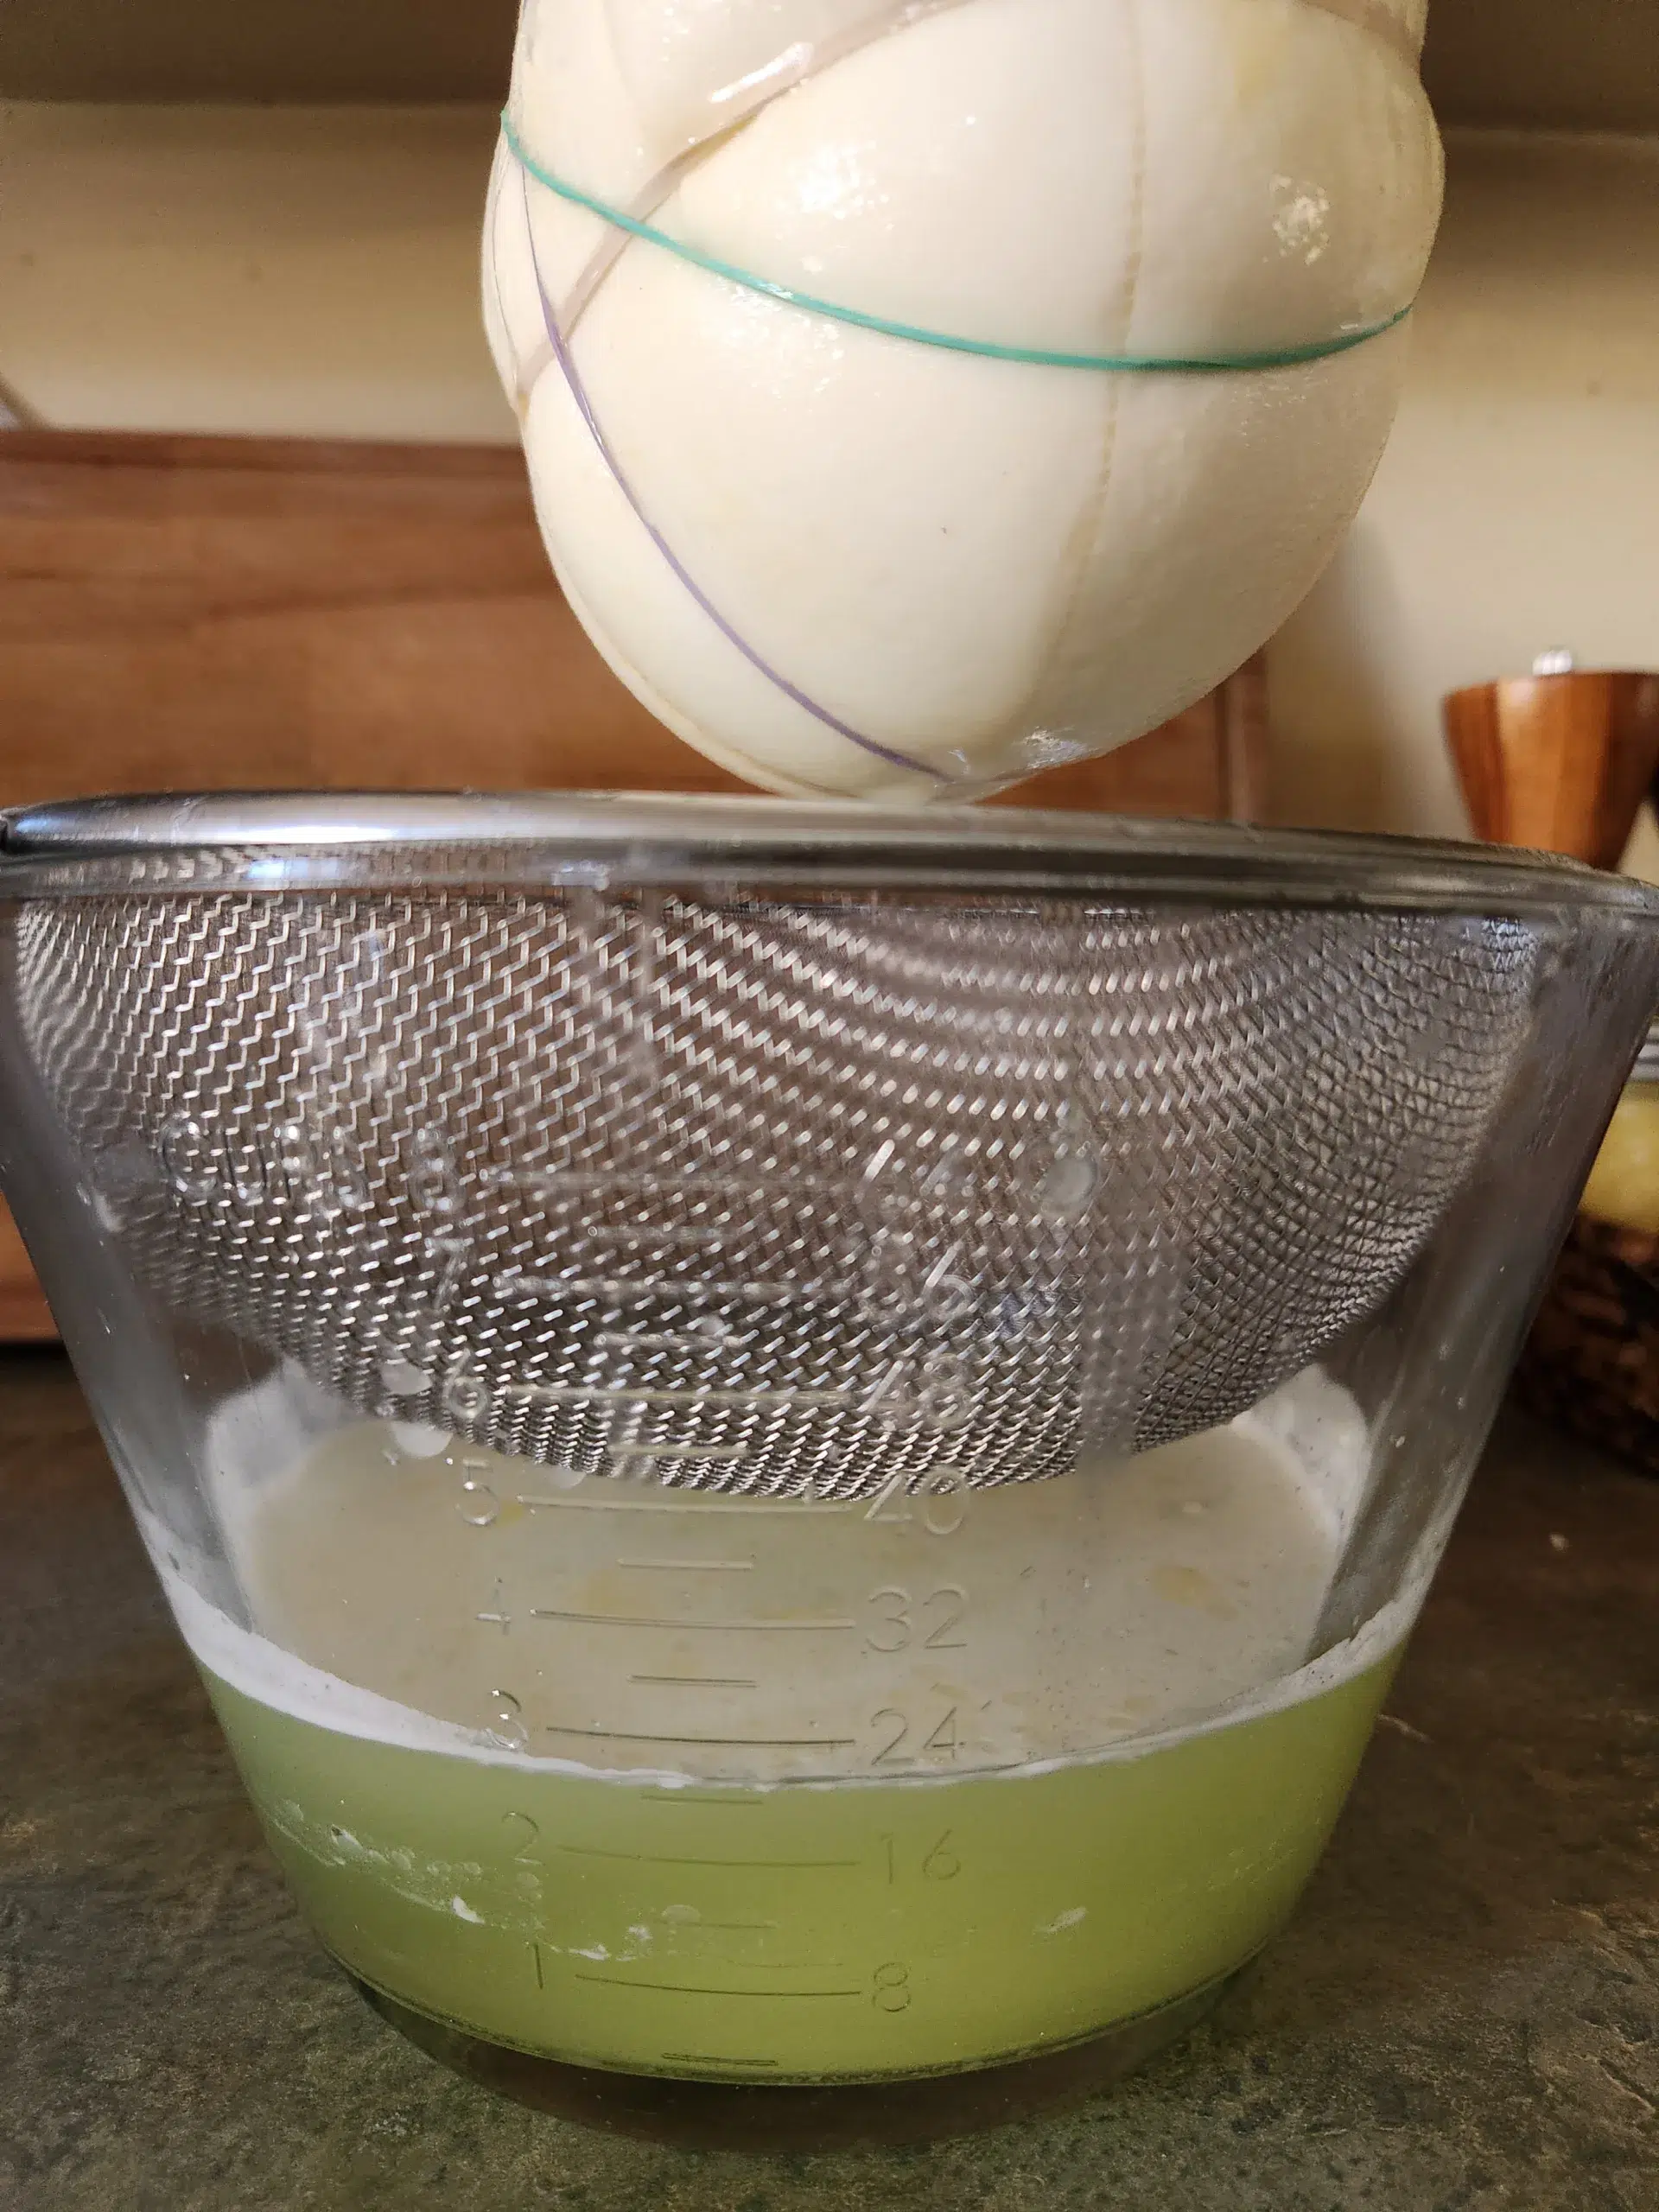
Use rubber bands or weight to make your yogurt extra thick
As you can see in the picture above, I wrapped the yogurt in rubber bands about halfway through the straining process to help squeeze out all the moisture. You can also place the nut milk bag directly in the fine mesh sieve and add a heavy bowl or another weight to achieve this same result.
Ingredients
- Plain, whole milk Greek yogurt (1-2 TBSP)
- Organic, non-GMO, pastured, whole milk-even better if you can get your hands on non-homogenized or raw milk
Supplies

Instant Pot Greek Yogurt
Ingredients
- 1 Gallon Whole milk see notes above about milk quality!
- 2 TBSP Plain, whole milk yogurt starter
Instructions
- Add milk to your instant pot and press the yogurt button until the screen reads "boil"
- Making sure your instant pot is sealed and the pressure valve is closed, boil the milk, ocassionally checking the temperature with an instant read thermometer.
- You might need to do two rounds on the boil setting before the milk is hot enough.
- Once the temperature reads 190 degrees F, turn off the instant pot.
- Use hot hands to remove the stainless bowl of the instant pot with the hot milk in it.
- Place the container on a cooling rack (I just use one meant for cookies).
- Cover and cool to 110 degrees F.
- Add 1 TBSP yogurt starter once the mixture is cool enough.
- Stir with a whisk to combine everything.
- Carefully place the bowl back in the instant pot body and press the "yogurt button".
- Tap this botton until it shows a timer. When you see the timer appear on the screen, use the + and – buttons to toggle the timer. I like to start with 10 hours and then see how thick the yogurt is.
- Once the timer is up, check on your yogurt. It should be quite thick, but still creamy and pourable. If it's not thick enough, add a few more hours to the yogurt timer and check again.
- Once the yogurt is done, strain using cheese cloth or nut milk bags, following my notes above.
- The liquid strained is called whey and can be used for all kinds of lacto-fermentation in the kitchen.
Serving Suggestions
I like to eat yogurt with fresh fruit, honey, or sourdough granola. I also like to strain it very thick to make homemade labneh. Another favorite is using it to make a yogurt sauce: lemon juice, garlic, and herbs are stirred in to make a delicious sauce for almost anything. The yogurt should last several weeks in the fridge, but we always finish it before that!
Leave a Reply