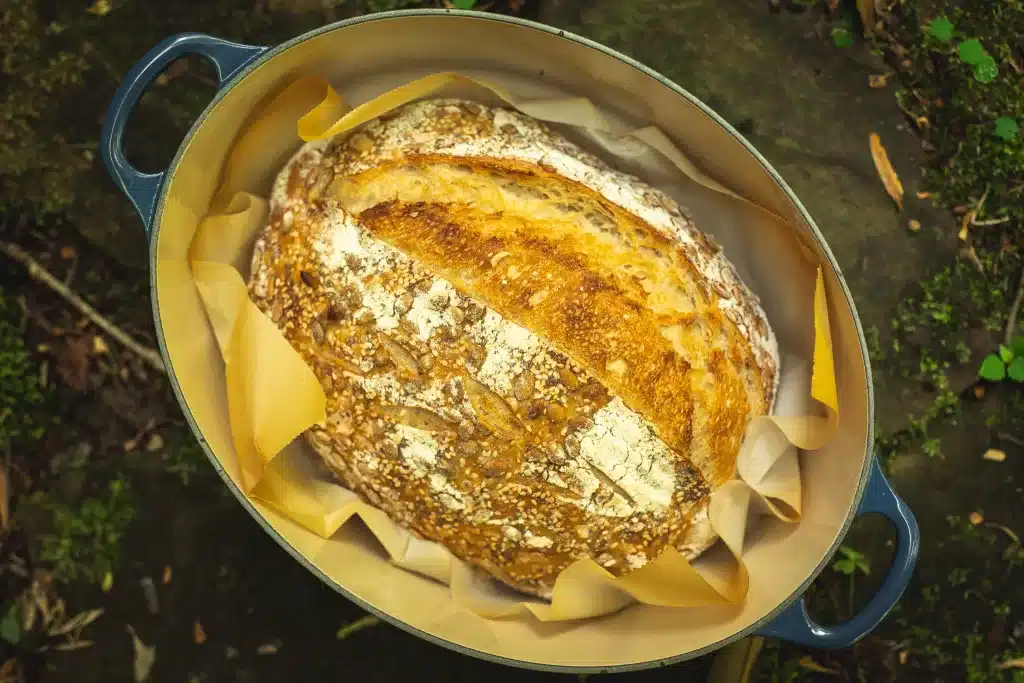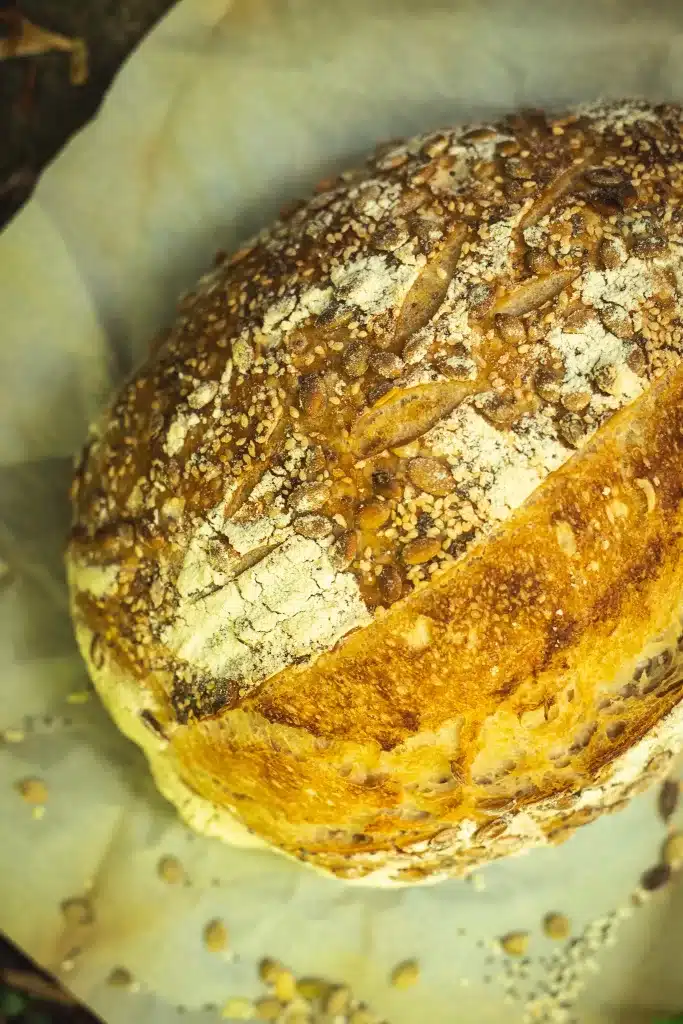
Organic sourdough bread might sound like an ambitious idea, but it is very easy to make the switch to less chemicals. By educating yourself about flour options and learning what to look for, you can be making organic bread in no time! I love to shop sales, buy in bulk, and mill my own flour in order to avoid chemicals and processed ingredients. Remember that organic foods are an investment in your health and longevity, so take your time with this change and embrace the process.
This post may contain affiliate links, which means I make a small commission at no extra cost to you. You can view my Privacy Policy Here.
What is Organic?
Organic means that a plant is grown in soil without the use of pesticides, fertilizers, herbicides, or bioengineering. Organic farmers instead use regenerative practices such as composting, companion planting, crop rotation, and more. This results in a food that is easier for our bodies to digest with higher nutrient density that is more bioavailable to the body. Of course, organic food is often more expensive because it takes more time, education, and space to farm this way.
Why choose organic sourdough bread?
Wheat and other grains are one of the world’s most heavily sprayed and processed crops. This means that by the time flour makes its way to the grocery store shelf, it has been doused in chemicals, bleached, and filled with bioengineered additives and preservatives. Sourdough starter is a living ingredient that draws from the bacteria and wild yeast in the air and the flour and water it is made of. As you can imagine, the last thing we want to do is mix chemicals like pesticides and bleach with a starter that needs healthy bacteria to produce carbon dioxide through fermentation. For the most optimal starter, we need ingredients that are as pure and simple as nature intended for them to be.
Ingredients for organic sourdough bread
Fresh organic flour
You can buy organic, unbleached all purpose or bread flour at the grocery store, which is a great option. You can also locate a local farm to source wheat berries or freshly milled flour from. A third option is to mill your own flour with bulk wheat berries, like from Azure Standard.
Organic mineral salt
Not all salt is created equal. The average table salt from the store is full of additives, preservatives, anti clumping agents, and is often bleached. For this reason, I would encourage you to use natural mineral salt, which is distilled from the earth and full of essential trace minerals, when making organic sourdough bread.
Fresh filtered water
After making the effort to use organic flour and natural salt, we don’t want to add water that contains bleach, chlorine, and other chemicals to our sourdough! This is why you want to make sure your water filter is removing as many contaminants as possible. We love to use British Berkefeld Ceramic Filters because they are the best bang for your buck when it comes to filtering our contaminated city tap water.
The best sourdough is the one you make yourself
Yes you can buy sourdough from many bakeries and grocery stores, but the best (and the cheapest) way to ensure you are eating organic sourdough bread is to make it yourself. It’s not that hard, I promise! Keep reading for my full recipe and baker’s schedule. You can also check out my full page of sourdough recipes here.

Baker’s schedule:
8 am: feed sourdough starter
2 pm: autolyse dough
2:30: add salt and mix with dough hook (or hands)
3-6 pm: perform stretch and folds
6-9 pm: proof at room temperature
9:00: shape dough and begin cold fermentation
Bake Day:
9 am: preheat oven and baker + lid
9:30: bake bread
To make this recipe you will need:
Bread Baker with Lid
~I love using my Le Cruset or my clay Baker from Breadtopia. Be sure to use an oven-safe, heavy bottom pot with a lid.
Bread Banneton
~for bulk fermenting your dough
A Kitchen Scale
I like to work with an inexpensive one from Amazon.
Bread Lame
~to score your dough. This is the one I use and love!
A fermentation crock or bowl with lid
For rising and fermenting your dough

Organic Sourdough Bread Recipe
Ingredients
- 500 g flour
- 200 g starter
- 350 g water
- 12 g salt
Instructions
- The Day before Baking
- Measure and sift flour into a large bowl
- Measure and add starter and water into a separate bowl and mix until starter mostly dissolves into water
- Pour the mixture into the large flour bowl and mix for about 20 seconds
- When the flour is mostly incorporated with the water, cover and rest for 30 minutes (this is the autolyse)
- Add salt to the dough and use your hands (or the dough hook of a stand mixer) to incorporate all the ingredients by kneading. To keep dough from sticking, keep your hands wet when kneading, stretching, and folding.
- Cover your dough with a moist tea towel, lid, or clean shower cap
- For the next hour, stretch and fold your dough every 15 minutes
- For the following two hours, stretch and fold your dough every 30 minutes
- After the stretch and folds are done, cover and allow to bulk ferment for 3-4 hours or until doubled in size
- Turn out the dough onto a clean work surface and pre-shape into 1 medium ball (or two small ones) Allow to rest for 15-20 minutes
- Shape into loaf and transfer into a floured banneton or colander lined with a floured tea towel
- Cover and place in the fridge for 8-10 hours
- Bake Day
- Place your baker and lid in a cold oven
- Preheat your oven to 500 degrees F for about 30 minutes
- When you are ready to bake, gently turn your dough out, seam side down, onto baking paper
- Score your dough as you like and using the baking paper, lift the dough into the preheated baker and cover with the lid. Place inside the oven
- Bake covered loaf in the oven for 25 minutes
- Remove lids after 25 minutes, turn your oven down to 475 and allow to bake for another 10 minutes or until the loaves reach the color you like. I like to strive for a dark caramel color but try not to burn the ears!
- Pull out your loaf once it reaches your desired color and allow to cool for at least 1-2 hours before slicing
Leave a Reply