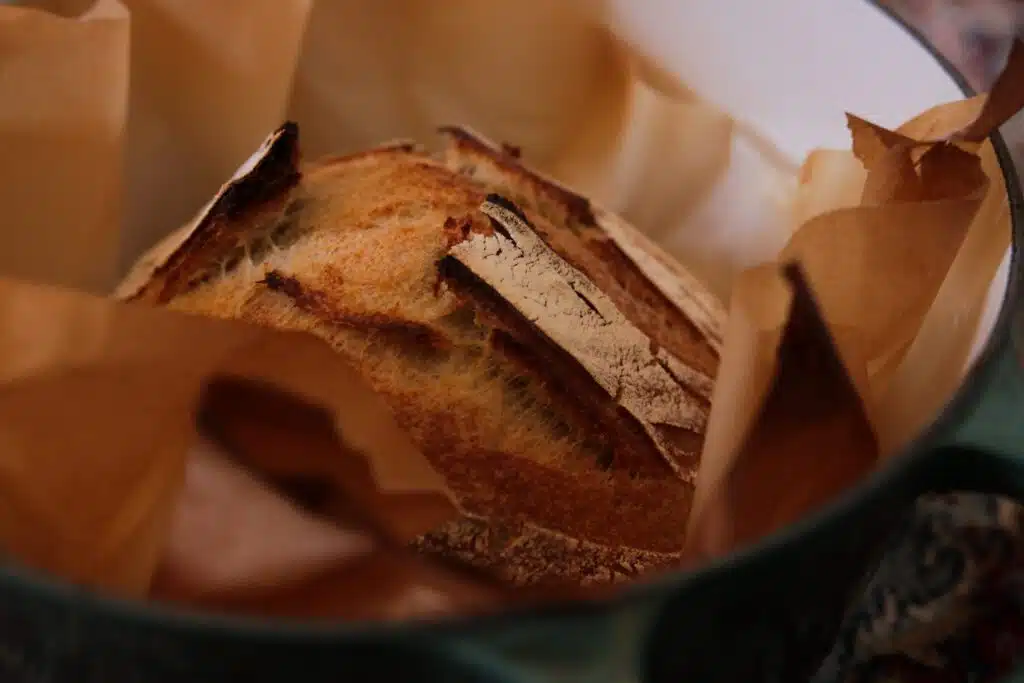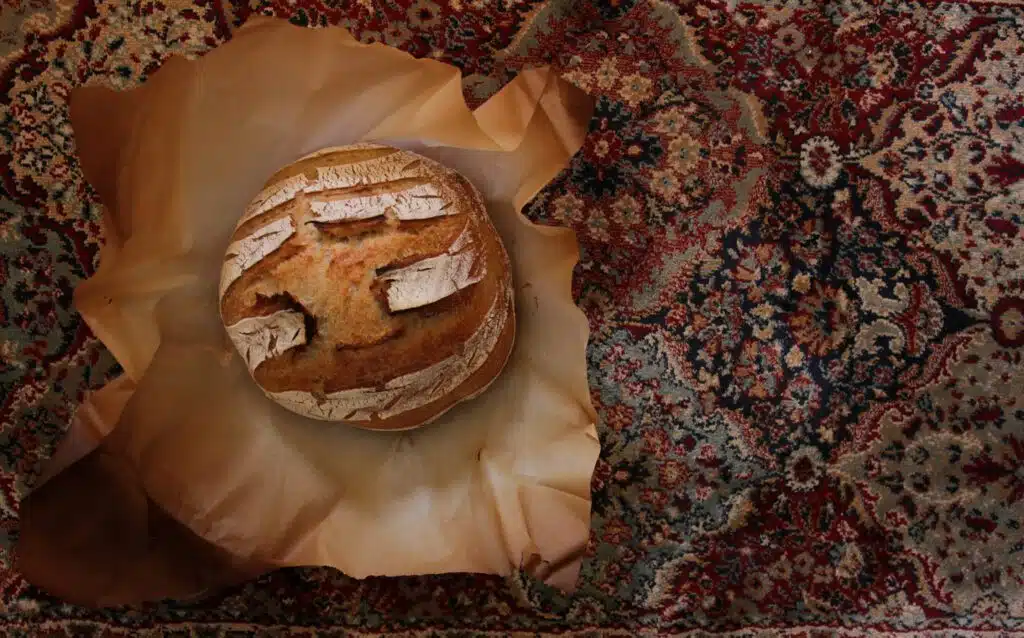
This rustic sourdough recipe is a classic and straightforward loaf to make any time you are craving delicious, rustic, artisan bread. I sometimes prefer to make this recipe over my super simple overnight sourdough bread because it yields only one loaf. When baking for one, it really is nice to make smaller quantities to avoid waste! I have also been enjoying using organic unbleached bread flour for this recipe, but feel free to mix in some whole wheat, rye, or whatever else you like!
A few notes before we bake some rustic sourdough:
A few words on Sourdough Starter
There is so much to say about sourdough starter, that I wrote an entire blog about it last year. Feel free to read that if you want an in-depth read on all things starter. That being said, you will want your starter to be active and bubbly before beginning this bake. There is no one right way to achieve this so it is important to know your starter and how long it takes to rise and fall.
Gluten Development
Because we are using natural yeast (starter), we need to develop our own gluten over time. That is why sourdough takes much longer than commercially yeasted bread. You can develop gluten in a number of ways:
Using an active starter
Stretching and folding dough
Not over-proving
Using bread flour and rye
Properly shaping dough before the bulk ferment
As you are working with your dough, pay attention to the elasticity. When gluten is developed properly, the dough will easily stretch (almost like taffy), but when gluten is not developed, the dough will be a wet blob without elasticity. To learn more about gluten development, you can read my blog about how to prevent a lax and sticky dough!
Salt
When I was first baking sourdough I foolishly omitted salt for a long time. I thought salt was unnecessary and would make the bread less healthy. Later, I learned that salt is vital for flavor and for keeping your bread from molding too soon.
Flour
At a minimum you should be using unbleached bread flour, it is up to you if you want to use organic or not. Flour is a lot like eggs: until you taste really delicious free-range eggs, you don’t know what you are missing! Similarly, if you have been using bleached all-purpose flour, your bread will taste fine but if you want it to taste great, you can level up your flour game. I am also a big fan of rye and wheat flours, so get your hands on some to feed your starter and your bread!
This post may contain affiliate links, which means I make a small commission at no extra cost to you. You can view my Privacy Policy Here.

To make this recipe you will need:
Bread Baker with Lid
~I love using my Le Cruset or my clay Baker from Breadtopia. Be sure to use an oven-safe, heavy bottom pot with a lid.
Bread Banneton
~for bulk fermenting your dough
A Kitchen Scale
I like to work with an inexpensive one from Amazon.
Bread Lame
~to score your dough. This is the one I use and love!
A fermentation crock or bowl with lid
For rising and fermenting your dough

Classic Rustic Sourdough Bread
Ingredients
- 150 g Active rye sourdough starter
- 300 g warm water
- 450 g organic, unbleached bread flour
- 10 g salt
Instructions
The Day before Baking:
- Measure and sift flour into a large bowl
- Measure and add starter and water into a separate bowl and mix until starter mostly dissolves into water
- Pour the mixture into the large flour bowl and mix for about 20 seconds
- When the flour is mostly incorporated with the water, cover and rest for 30 minutes (this is the autolyse)
- Add salt to the dough and use your hands to incorporate all the ingredients by kneading. To keep dough from sticking, keep your hands wet when kneading, stretching, and folding.
- Cover your dough with a moist towel (or clean shower cap)
- For the next hour, stretch and fold your dough every 15 minutes
- For the following two hours, stretch and fold your dough every 30 minutes
- After the stretch and folds are done, cover and allow to bulk ferment for 4 hours or until doubled in size
- Turn out the dough onto a clean work surface and pre-shape into 1 medium ball (or two small ones) Allow to rest for 15-20 minutes
- Shape into loaf and transfer into a floured banneton or colander lined with a floured tea towel
- Cover and place in the fridge for 8-10 hours
Bake Day
- Place your baker and lid in a cold oven
- Preheat your oven to 500 degrees F for about 30 minutes
- When you are ready to bake, gently turn your dough out, seam side down, onto baking paper
- Score your dough as you like and using the baking paper, lift the dough into the preheated baker and cover with the lid. Place inside the oven
- Bake covered loaf in the oven for 25 minutes
- Remove lids after 25 minutes, turn your oven down to 475 and allow to bake for another 10 minutes or until the loaves reach the color you like. I like to strive for a dark caramel but try not to burn the ears!
- Pull out your loaf once it reaches your desired color and allow to cool for at least 1-2 hours before slicing
OMG!!! I have tried several different sourdough recipes and NONE have been the right fit for me. I am so excited that I have the PERFECT loaf! I knew when I scored it and saw the structure. Thank you so much! I learned so much reading your articles and you gave me hope hahaha
Hey I’m so glad you’re finding my recipes and information helpful! This might be my favorite recipe I’ve written (shhh don’t tell anyone!) because it’s so simple and always turns out perfect!
I hope you enjoy,
Regina